
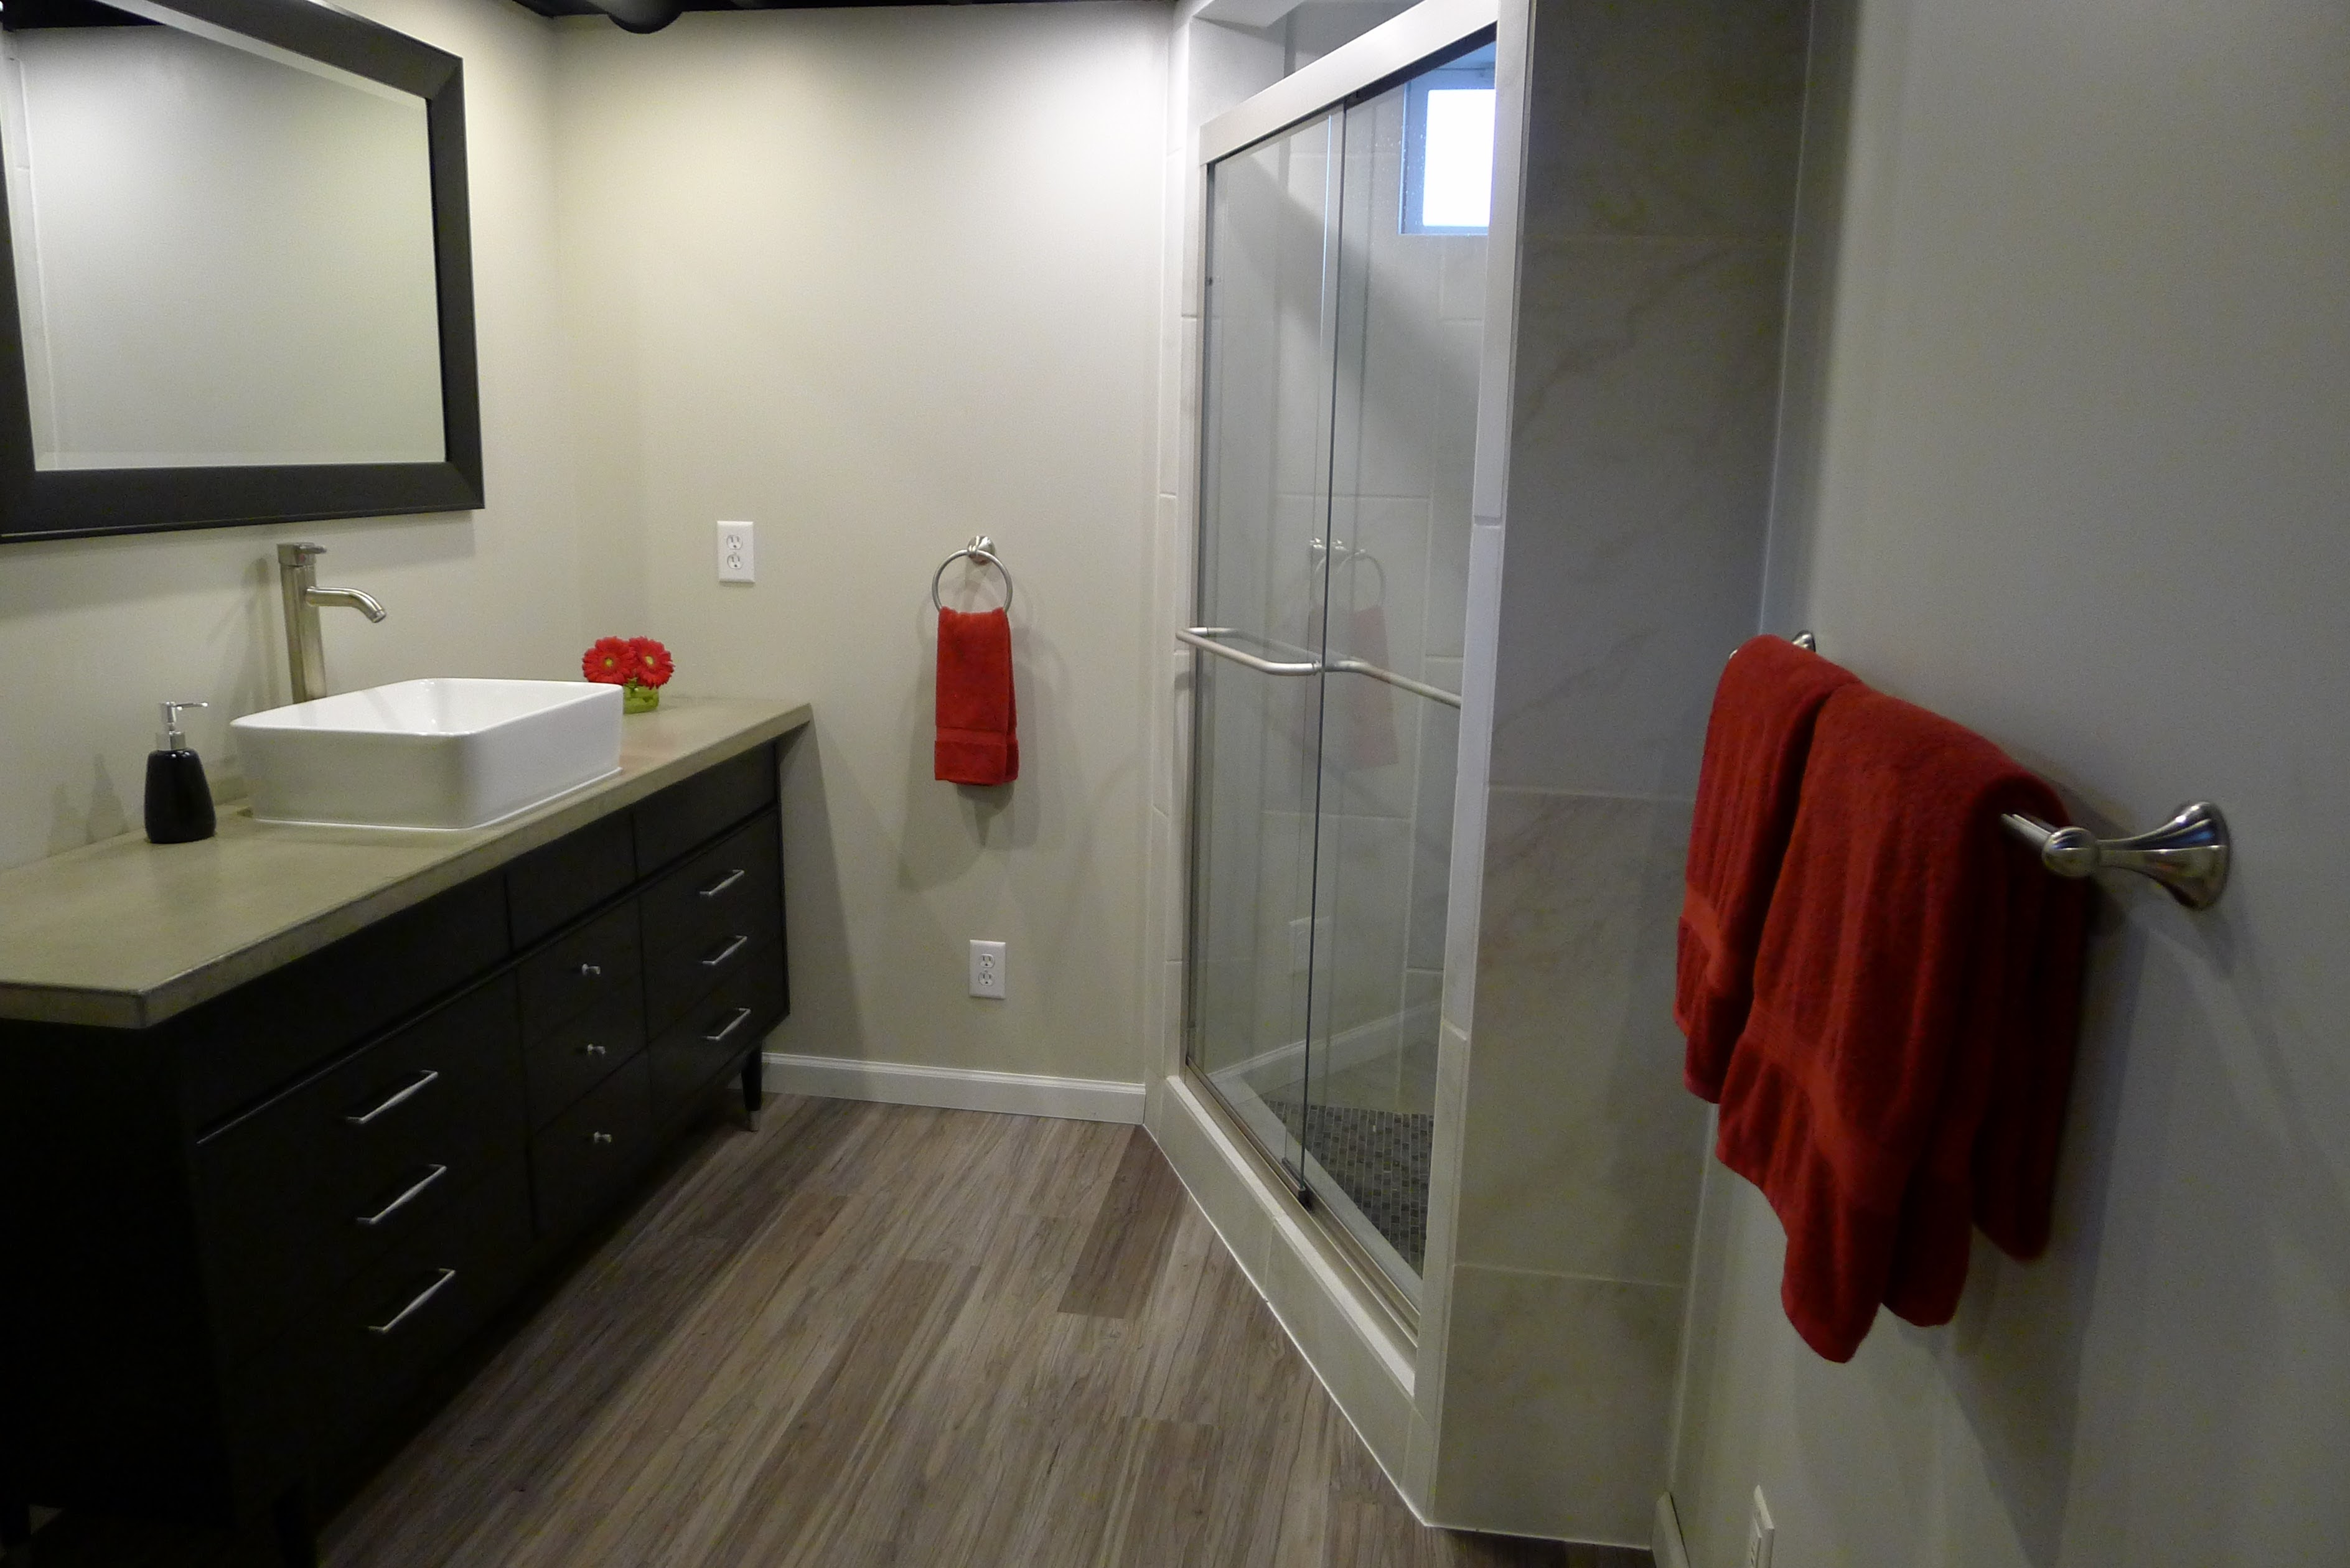
I built this bathroom vanity last year for our new basement bathroom. It turned out so awesome that I’m doing it again at our new house! It is a pretty simple design, and the result is a high-end look, on a shoestring budget.
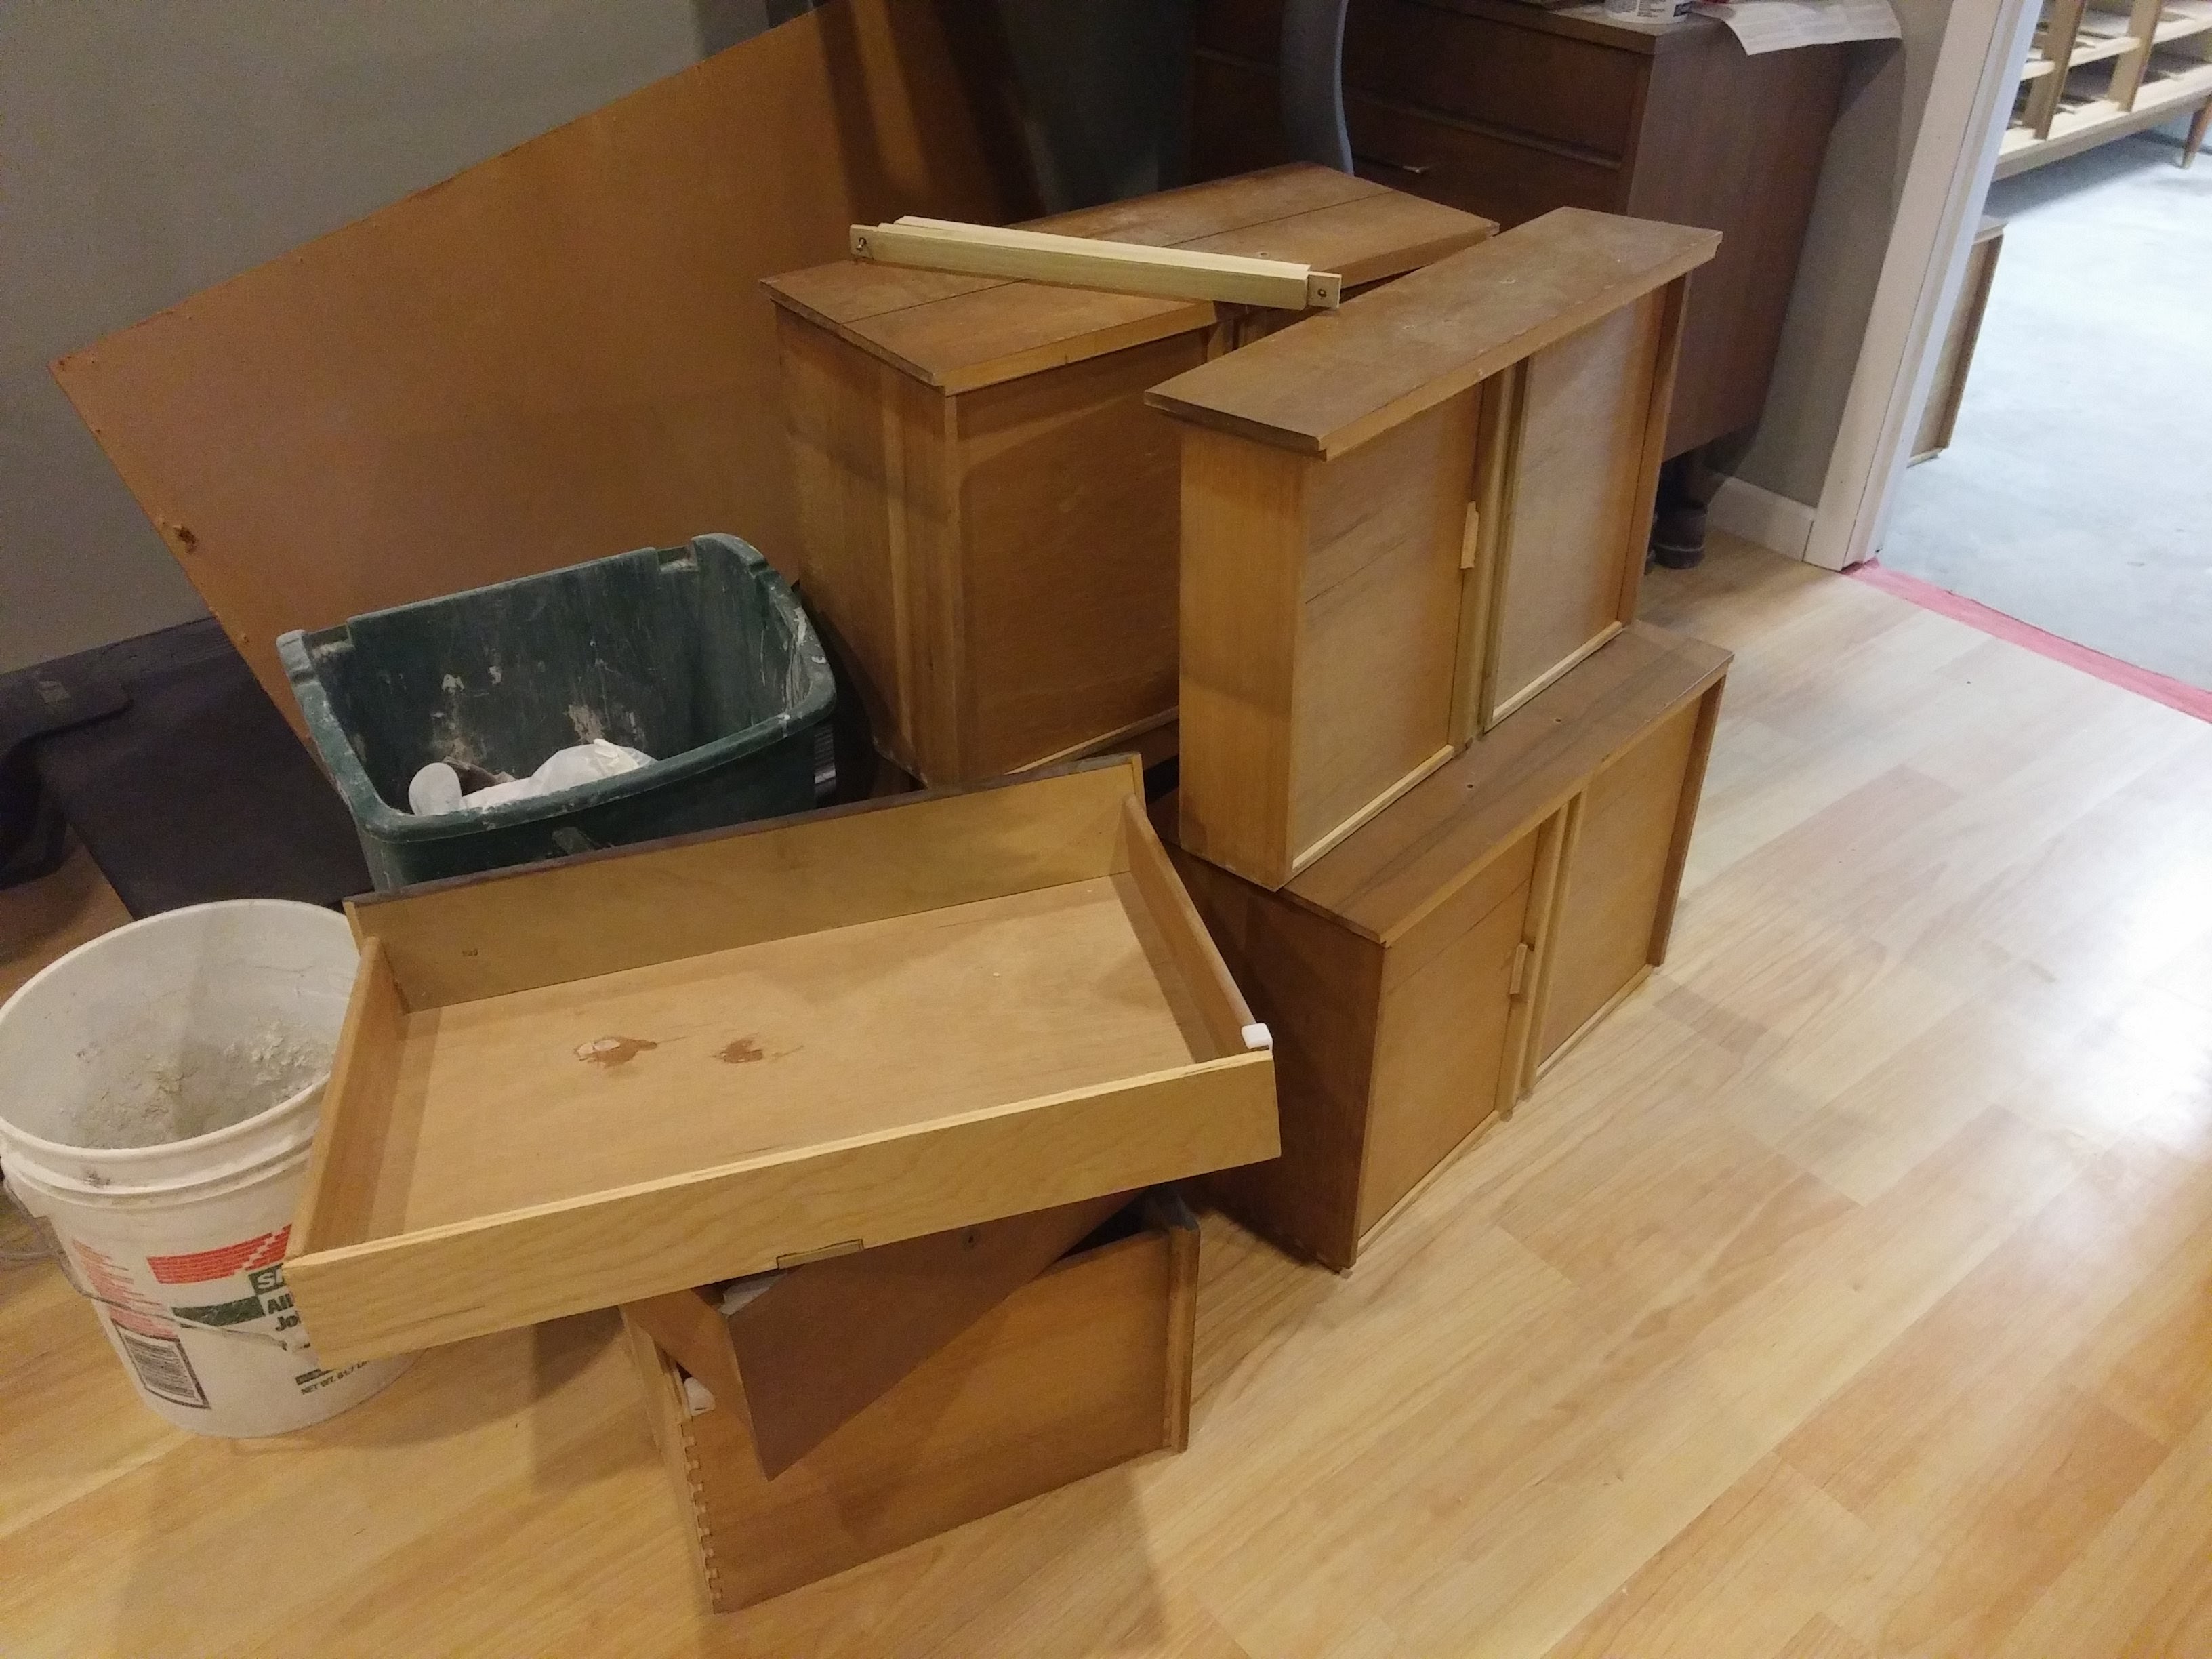
The cabinetry was even free for me on this build. My in-laws were moving to a new house and donated their 40-year-old dresser to me. At the time, I didn’t know what I was going to do with it, but I knew that the construction was solid on this antique, and it could be useful for something. I think that it’s revival as a bathroom vanity gave it a great second life.
The concrete countertop is something that I wanted to try for a while and it really was not too difficult. The vessel sink made the countertop construction simple with just two holes: one for the sink drain, and one for the faucet. I didn’t even use a wet polisher to finish it. I just used my 1/4 sheet sander.
So let’s get to it…
Tools I used
- Jigsaw – for cutting holes for the plumbing
- Table saw/Circular Saw – for cutting the melamine form for the concrete countertop
- Drill – you always need a drill
- 1/4 Sheet Sander – for vibrating the concrete form and sanding everything
- Hoe – for mixing concrete
- Plastic mixing tray for concrete
- Trowel – for smoothing the concrete
- 2×4 – yes, it can be a tool… for screeding the concrete
Materials
- (1) Used Dresser
- (2 1/2) Bags 5000 psi Concrete
- (1) Vessel Sink
- (1) Vessel Faucet
- (1) Pop-up Sink Drain
- (1) 4×8 Sheet of Melamine
- (2) Cans of Primer Spray paint
- (3) Cans of Satin Black Spray paint
- (1) Can of Brushed Nickel Spray paint
Total Cost: ~$180 w/o free dresser
Plumbing Plan
First, I figured out where the drain and hot/cold water lines would come in the back of the vanity. I cut oversize holes in the back of the old dresser for these. You won’t see them anyway.
I also positioned the vessel sink and faucet on top to layout and cut those holes. Again, I cut them a little bigger than necessary. These will be underneath the concrete countertop.
Additional Dresser Modifications
The drawer in the center of the vanity was going to interfere with the sink drain, so I cut the drawer off and fixed the drawer front to the frame with a few hidden screws from the inside.
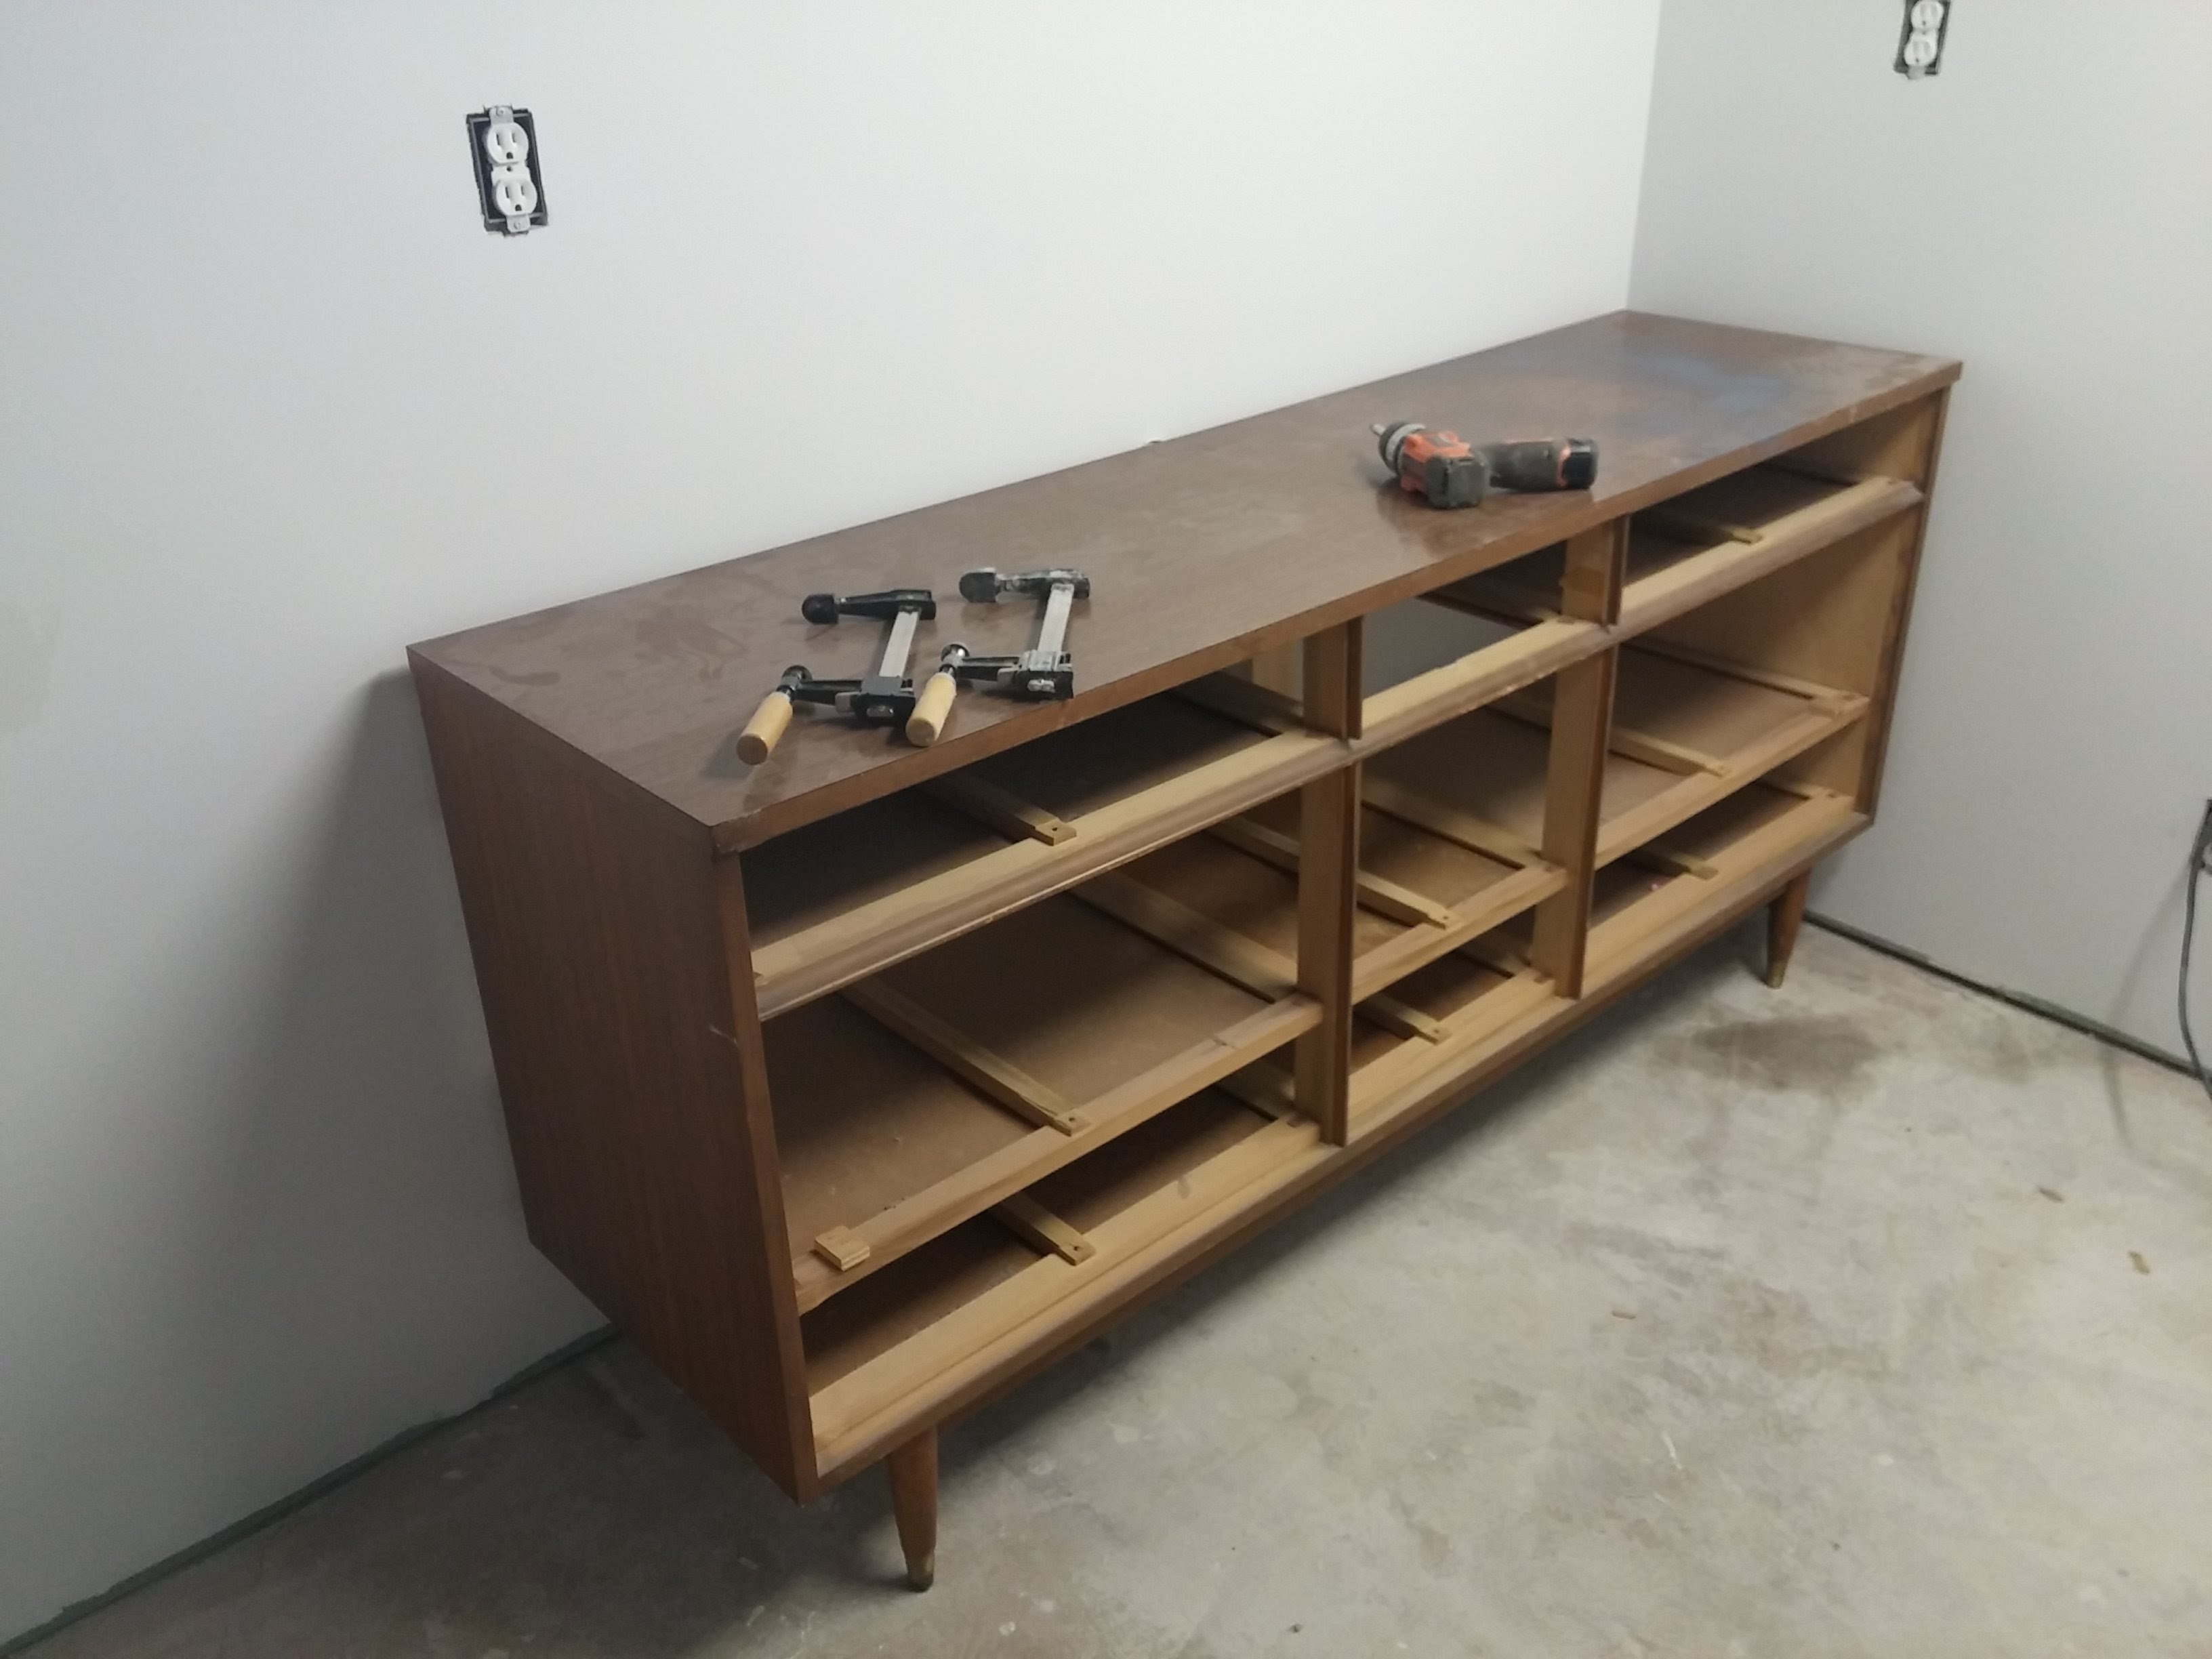
I also added two supports in the back on either side of the plumbing that go all the way from the top down to the floor. This area was weakened when I cut all the plumbing holes. The concrete top is heavy (over 100 lbs) and I didn’t want it to crack… or break the dresser.
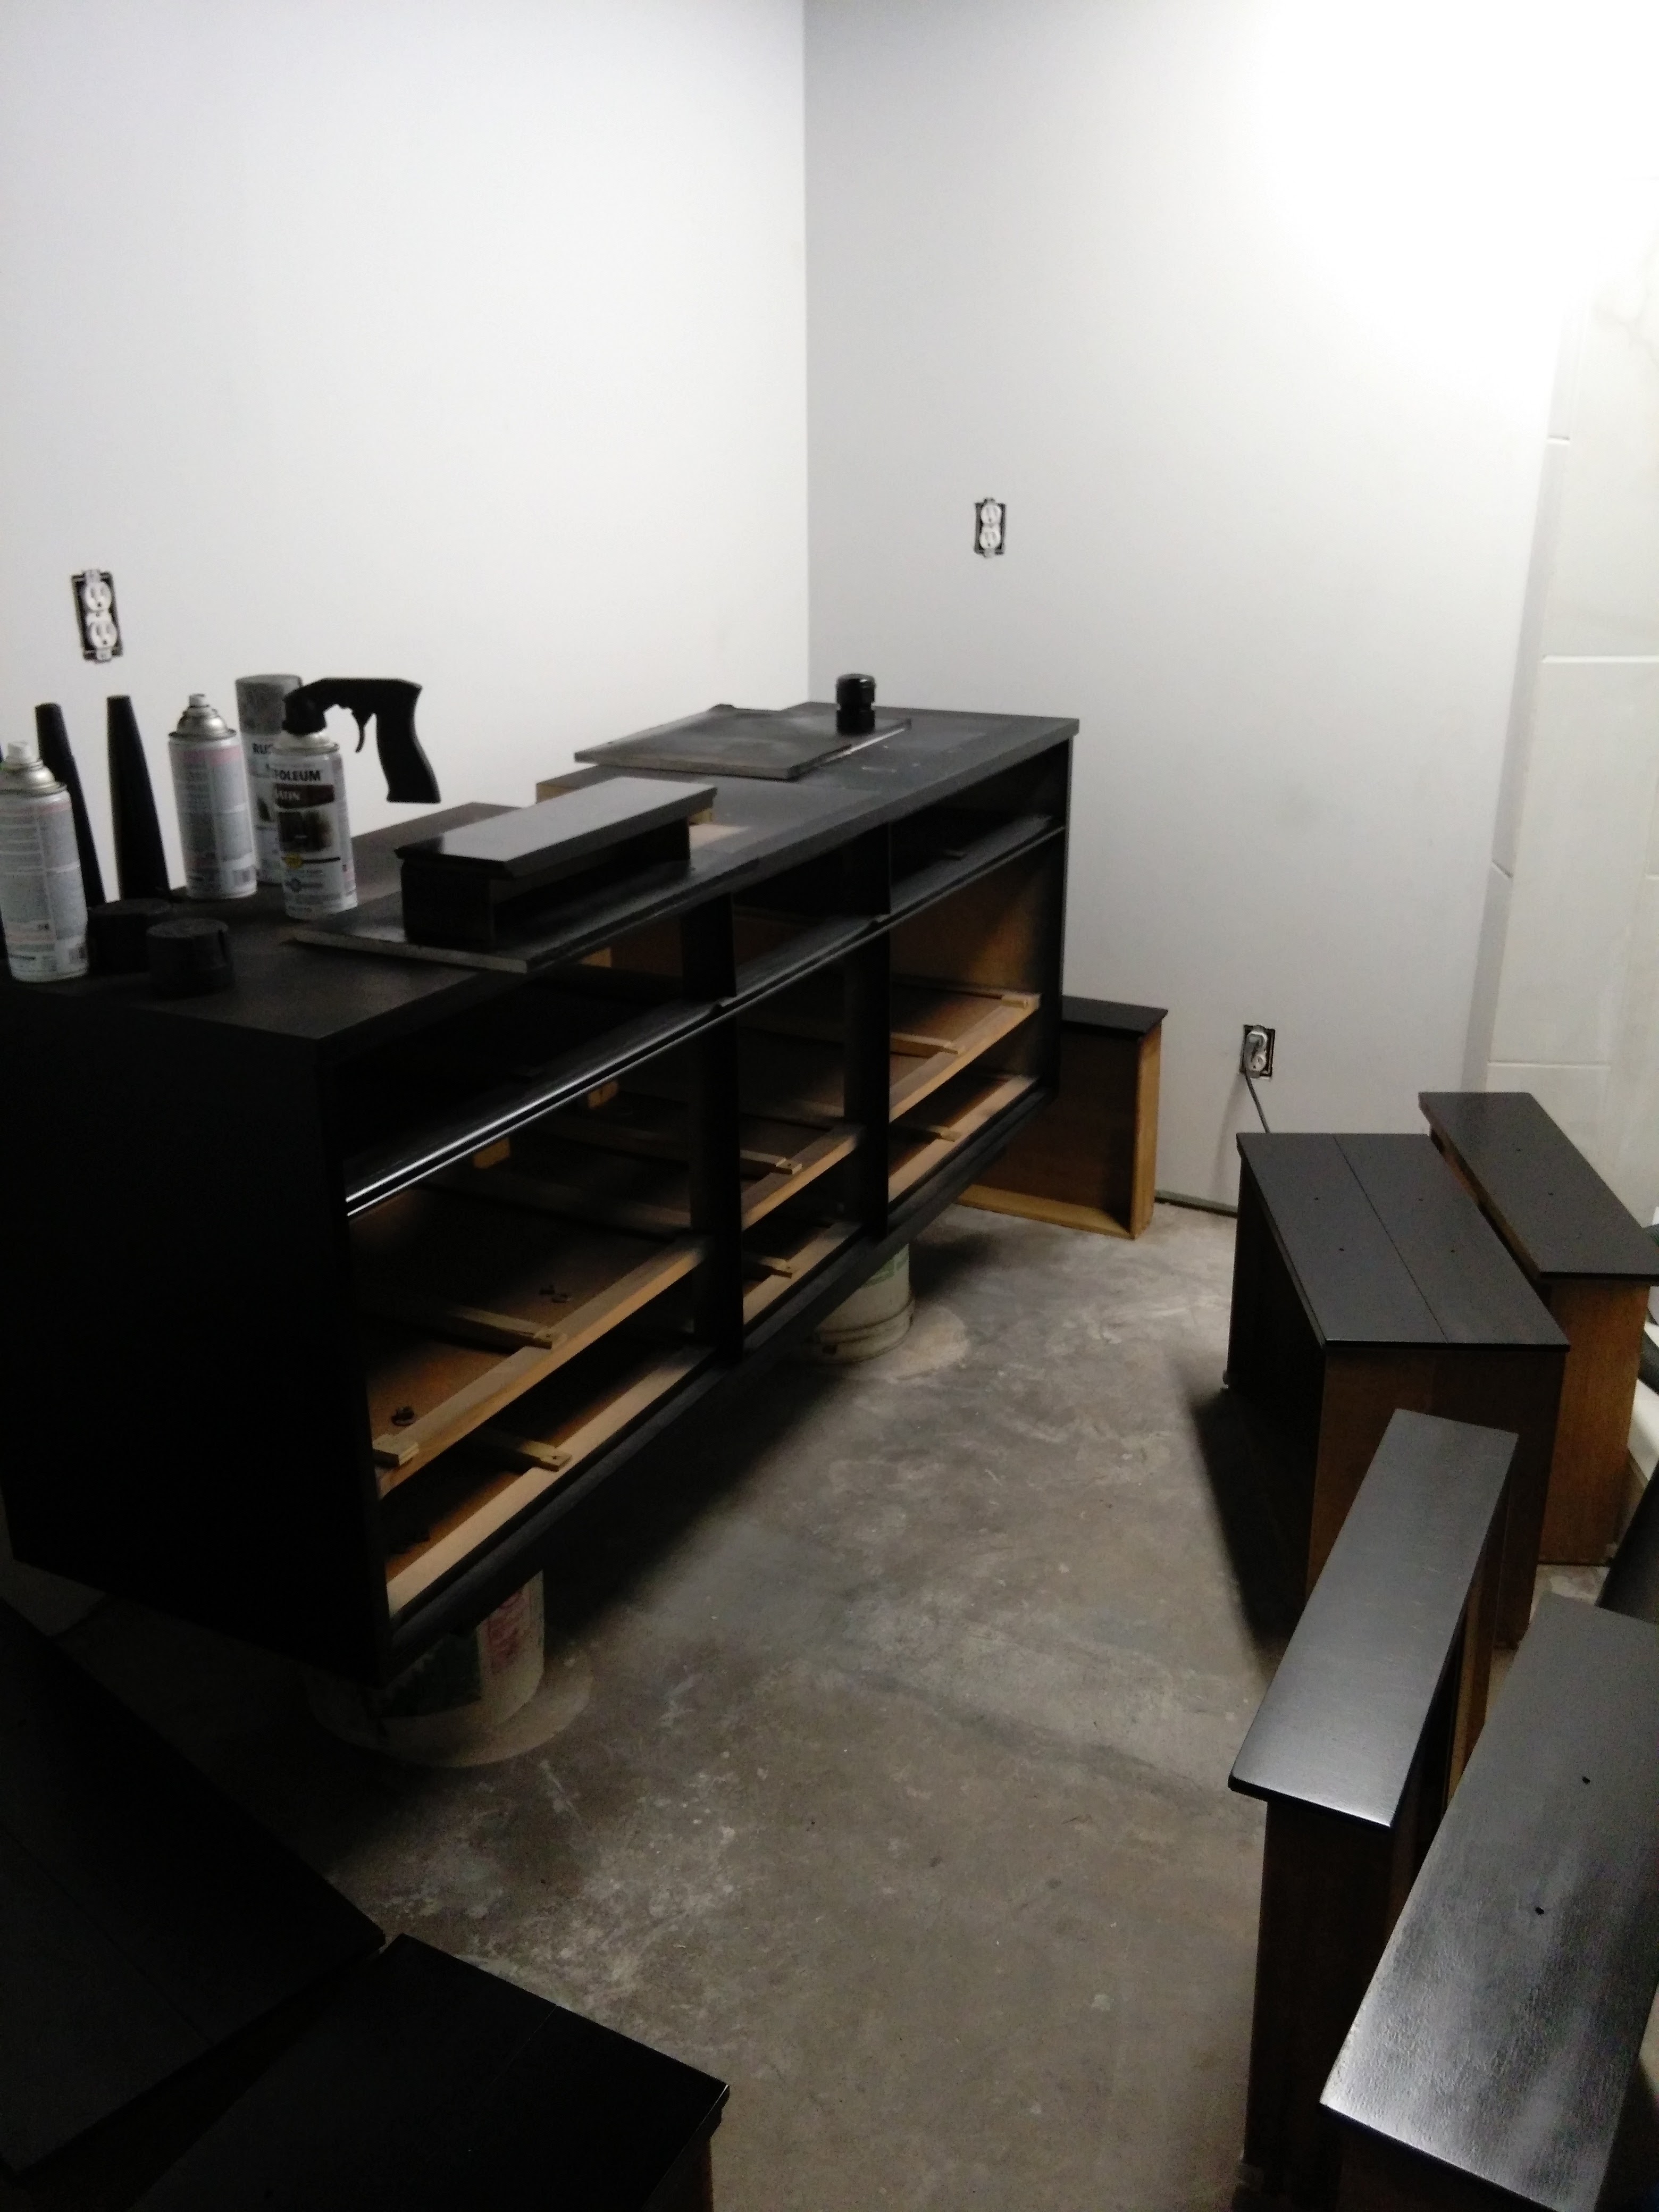
Sanding and Painting the Dresser
Now it was time to sand and paint the dresser. I sanded everything down to 220 grit and filled any little holes with spackle. I primed everything with some sandable primer spray paint. I followed that up with three coats of black satin spray paint.
Rather than buying new hardware, I just decided to spray paint the existing hardware in a brushed nickel color. I also taped off the bottom of the legs on the dresser and painted them to match the hardware.
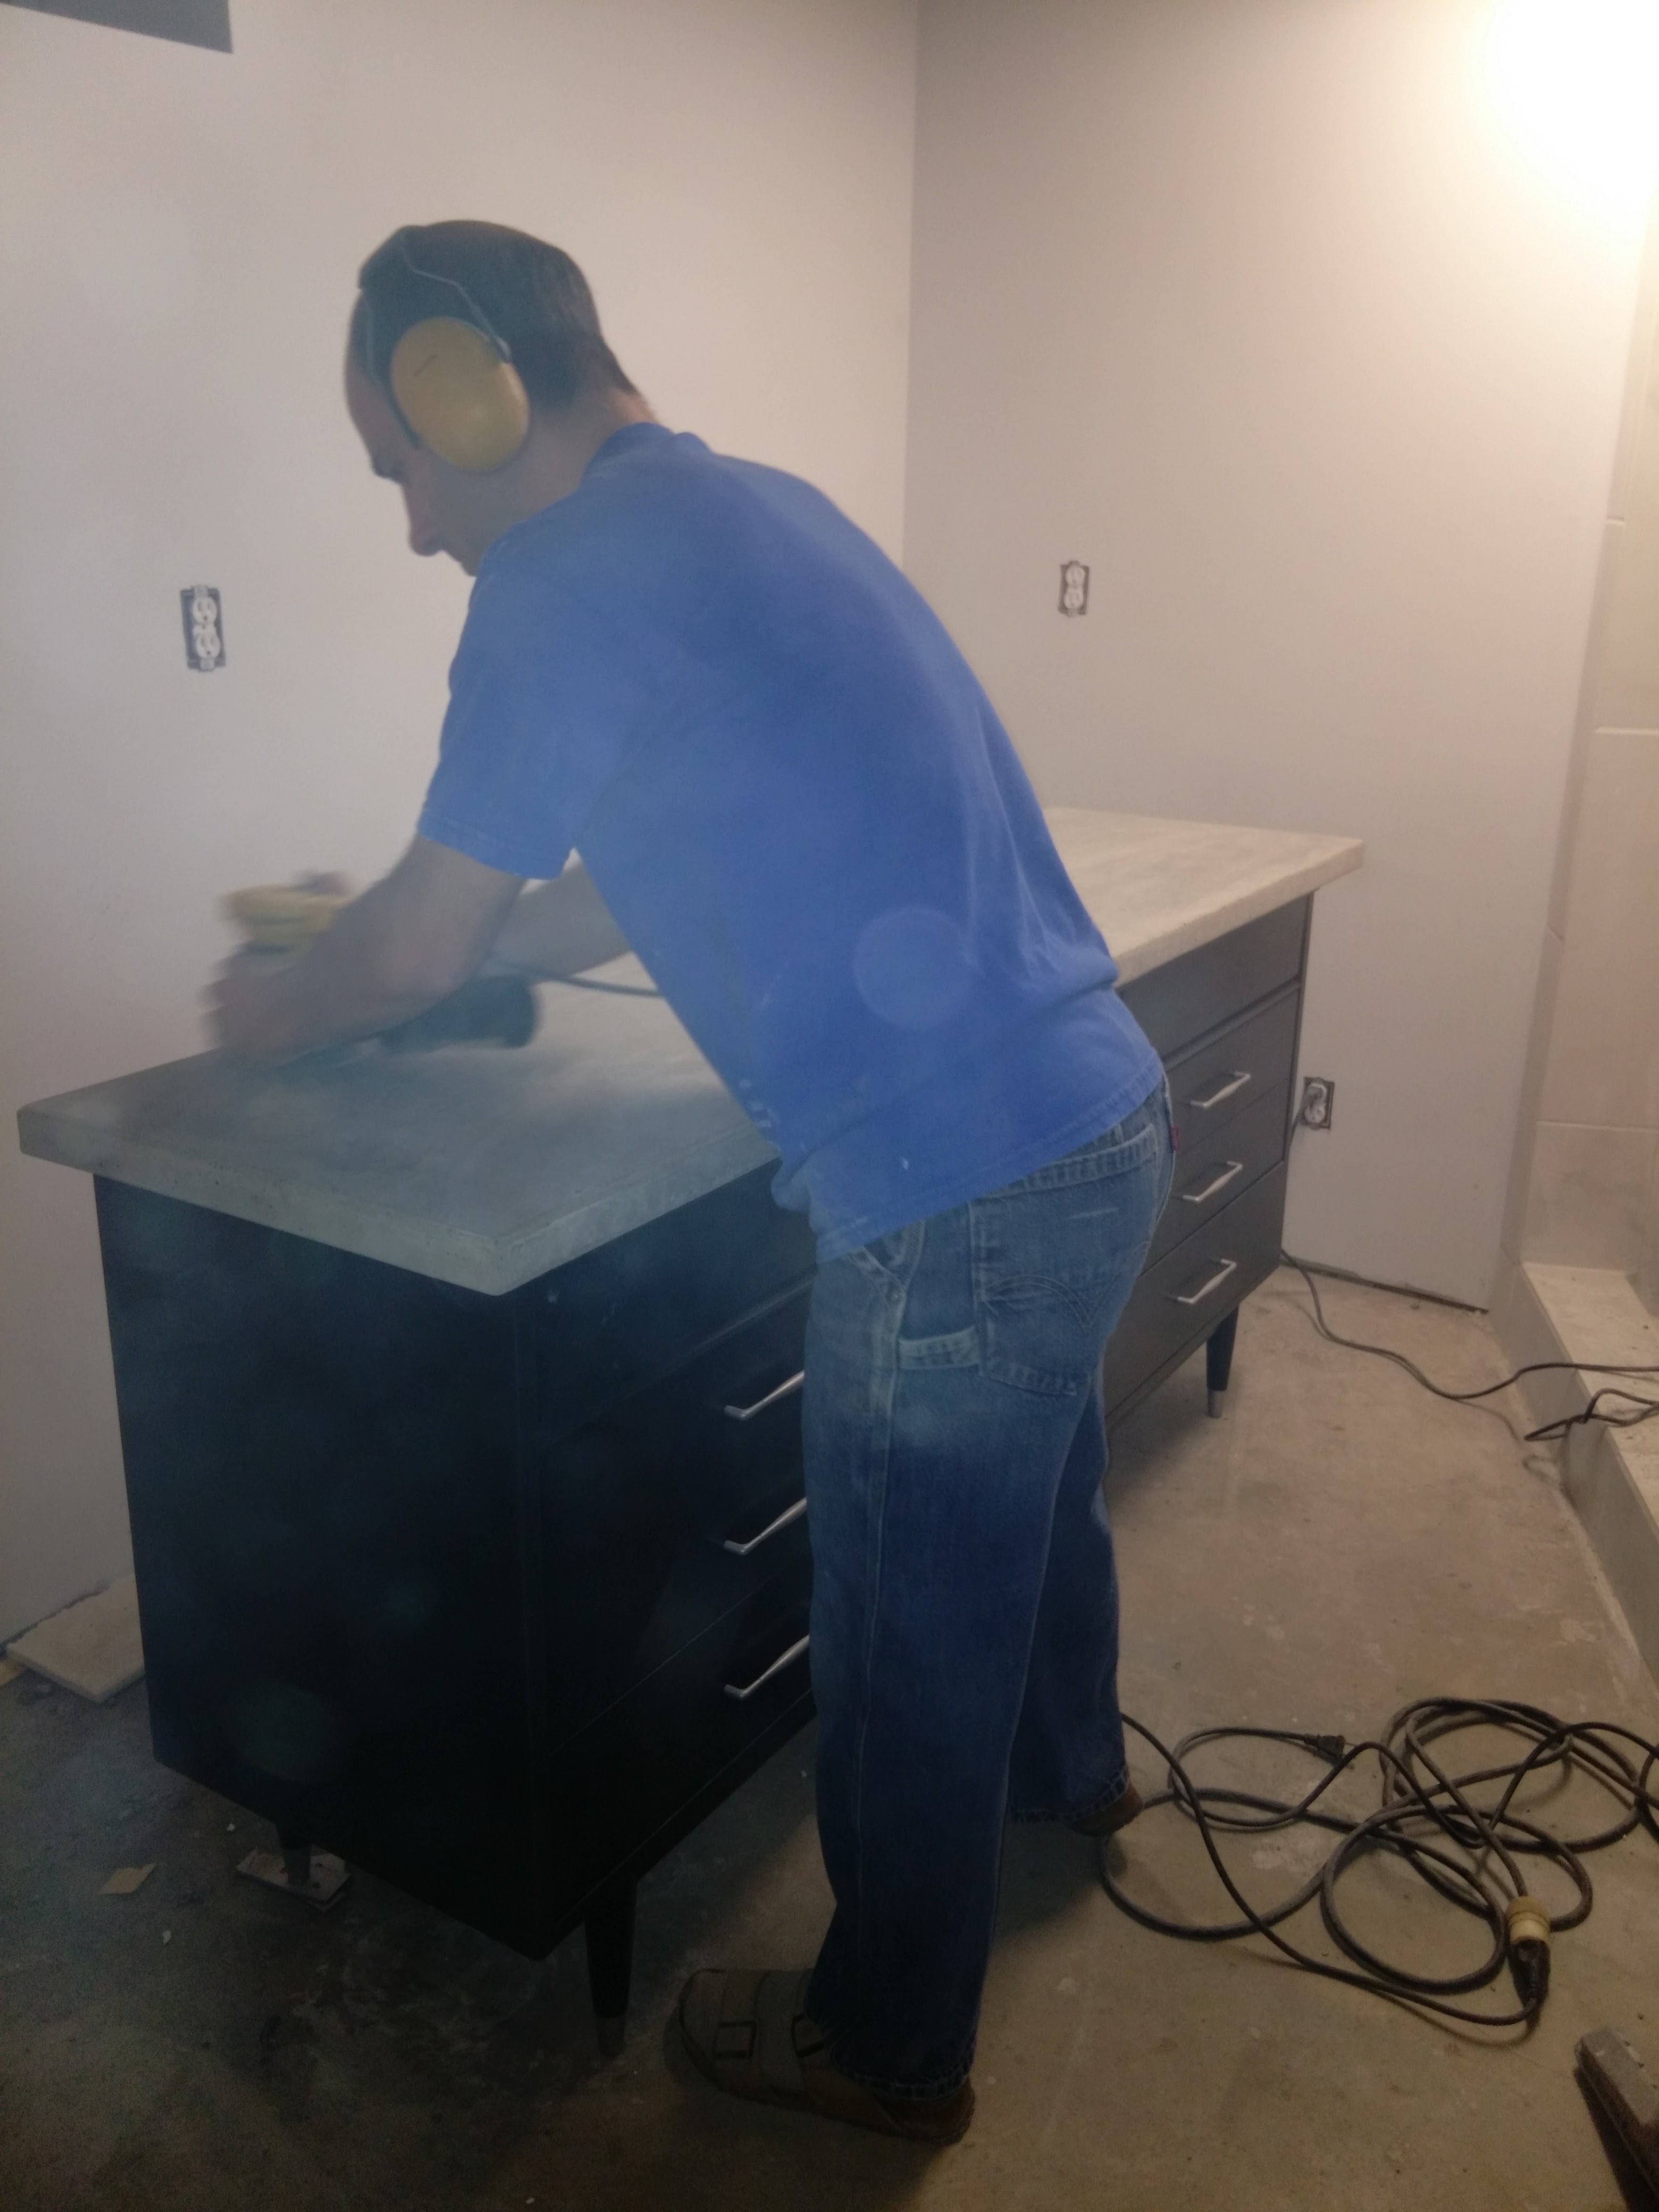
I really wanted a smooth finish on the dresser, so I wet sanded everything with 320, 400, and 600 sandpaper. Then I used 0000 steel wool with polishing compound to get the satin finish. This all takes some extra elbow grease, but the finished result is a professional looking finish instead of looking like somebody spray painted a dresser.
Making the Concrete Form
There are tons of articles online about making melamine concrete forms. The basics are not really that difficult.
I just cut some 1 1/2″ wide strips on the table saw. That is the thickness of the countertop. I also cut some 3″ wide strips to use as support backers for the sides. I attached the backers to the side pieces using pocket screws, but there are other ways to do it if you don’t have a pocket hole jig. Just make sure that you don’t put any screws inside the form.
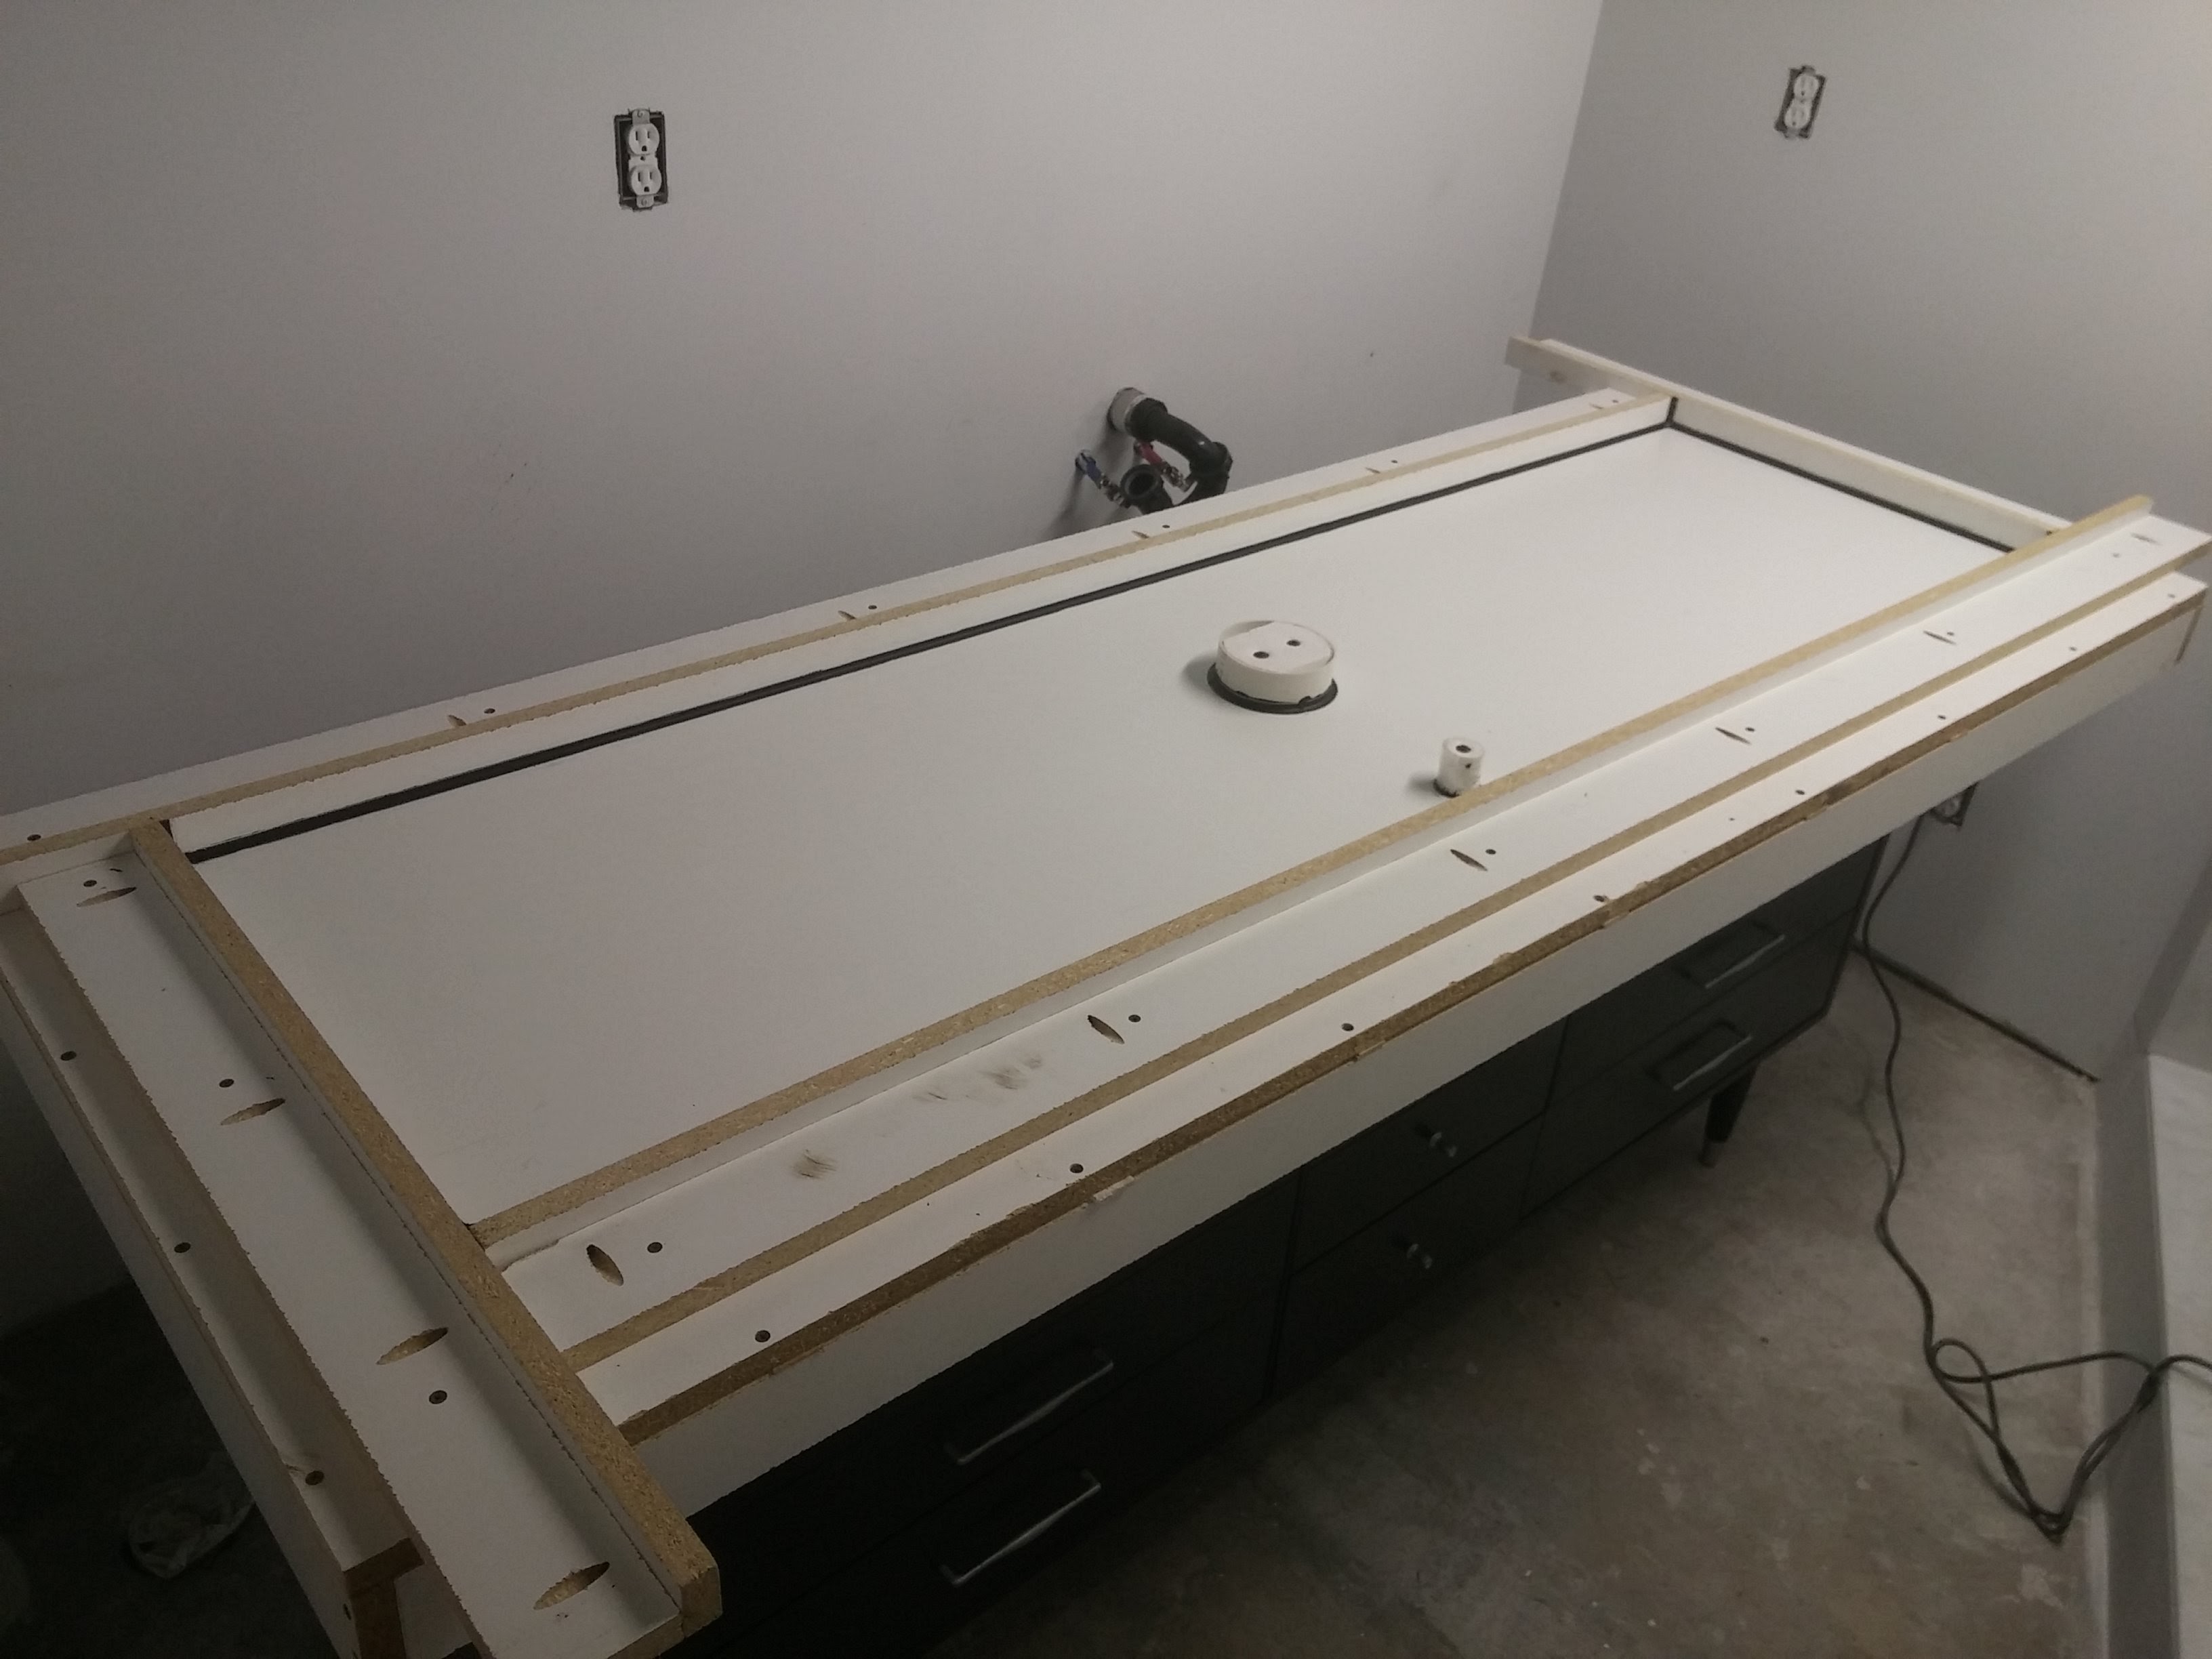
Then, I marked the dimensions for the countertop in the middle of the large melamine piece. Starting at one corner, I screwed the 4 side pieces down to the form. As you can see, I left the side pieces long. That made it a little easier to remove the form… And made cutting the side pieces easier.
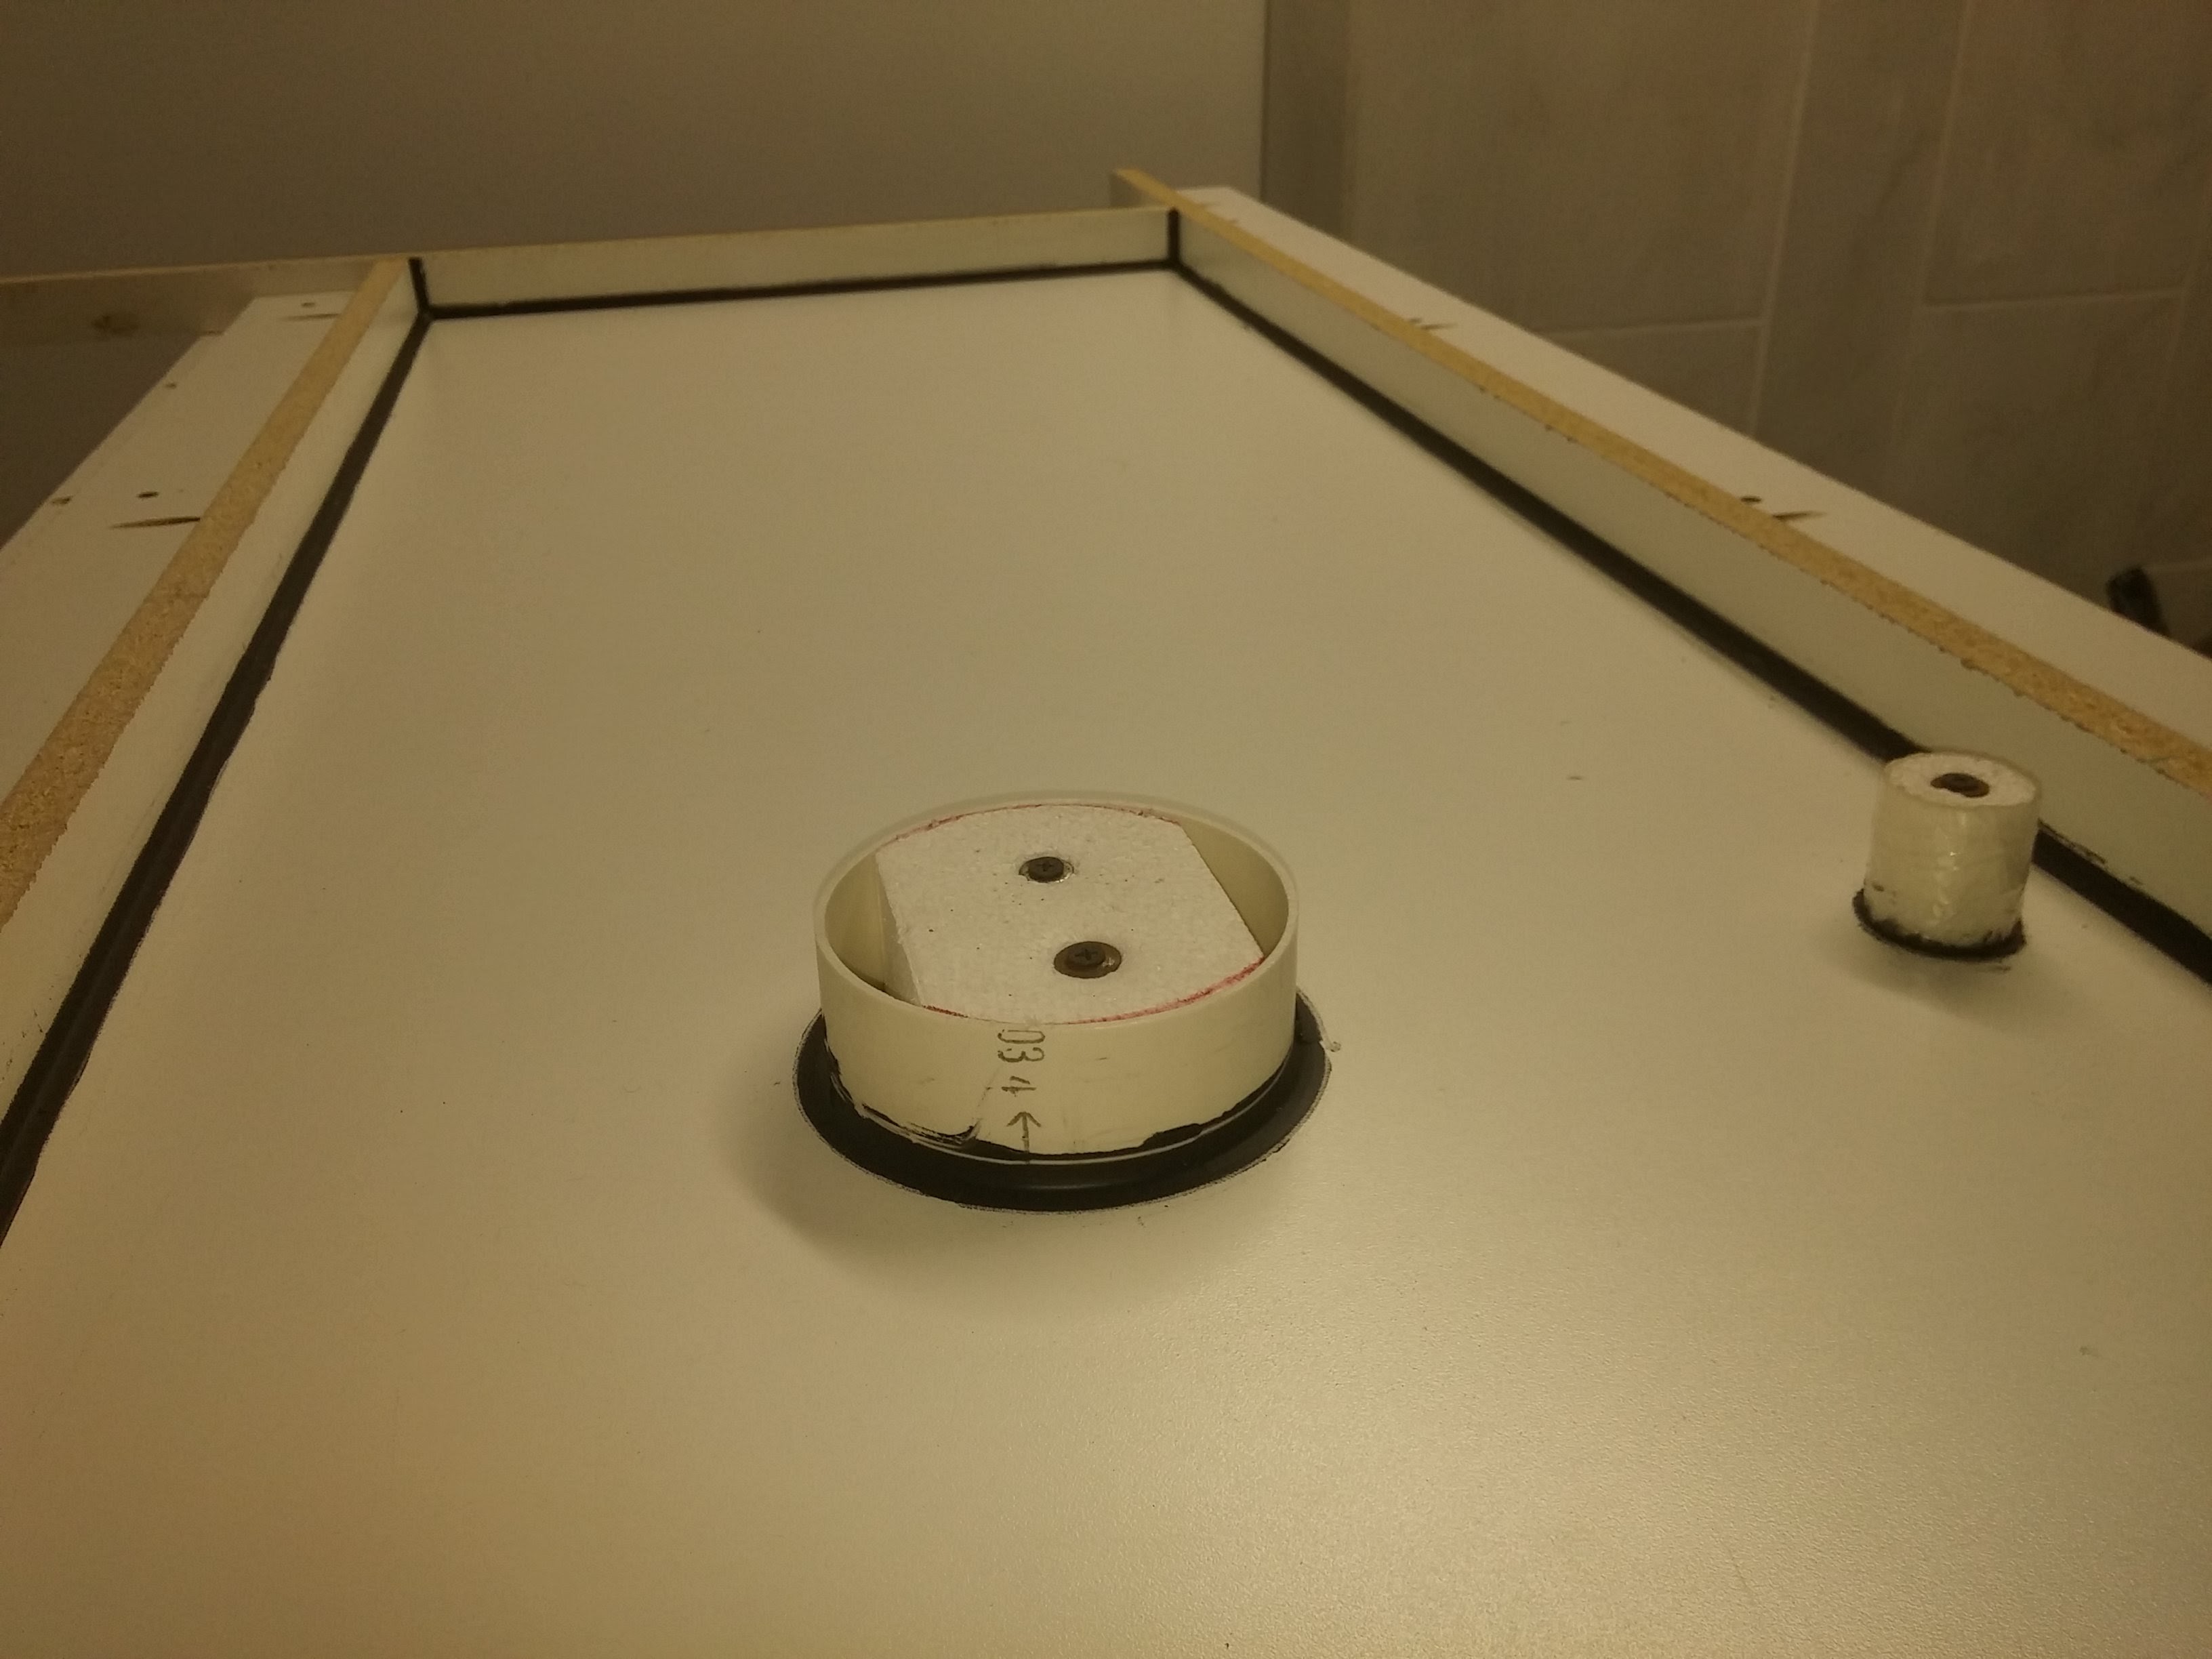
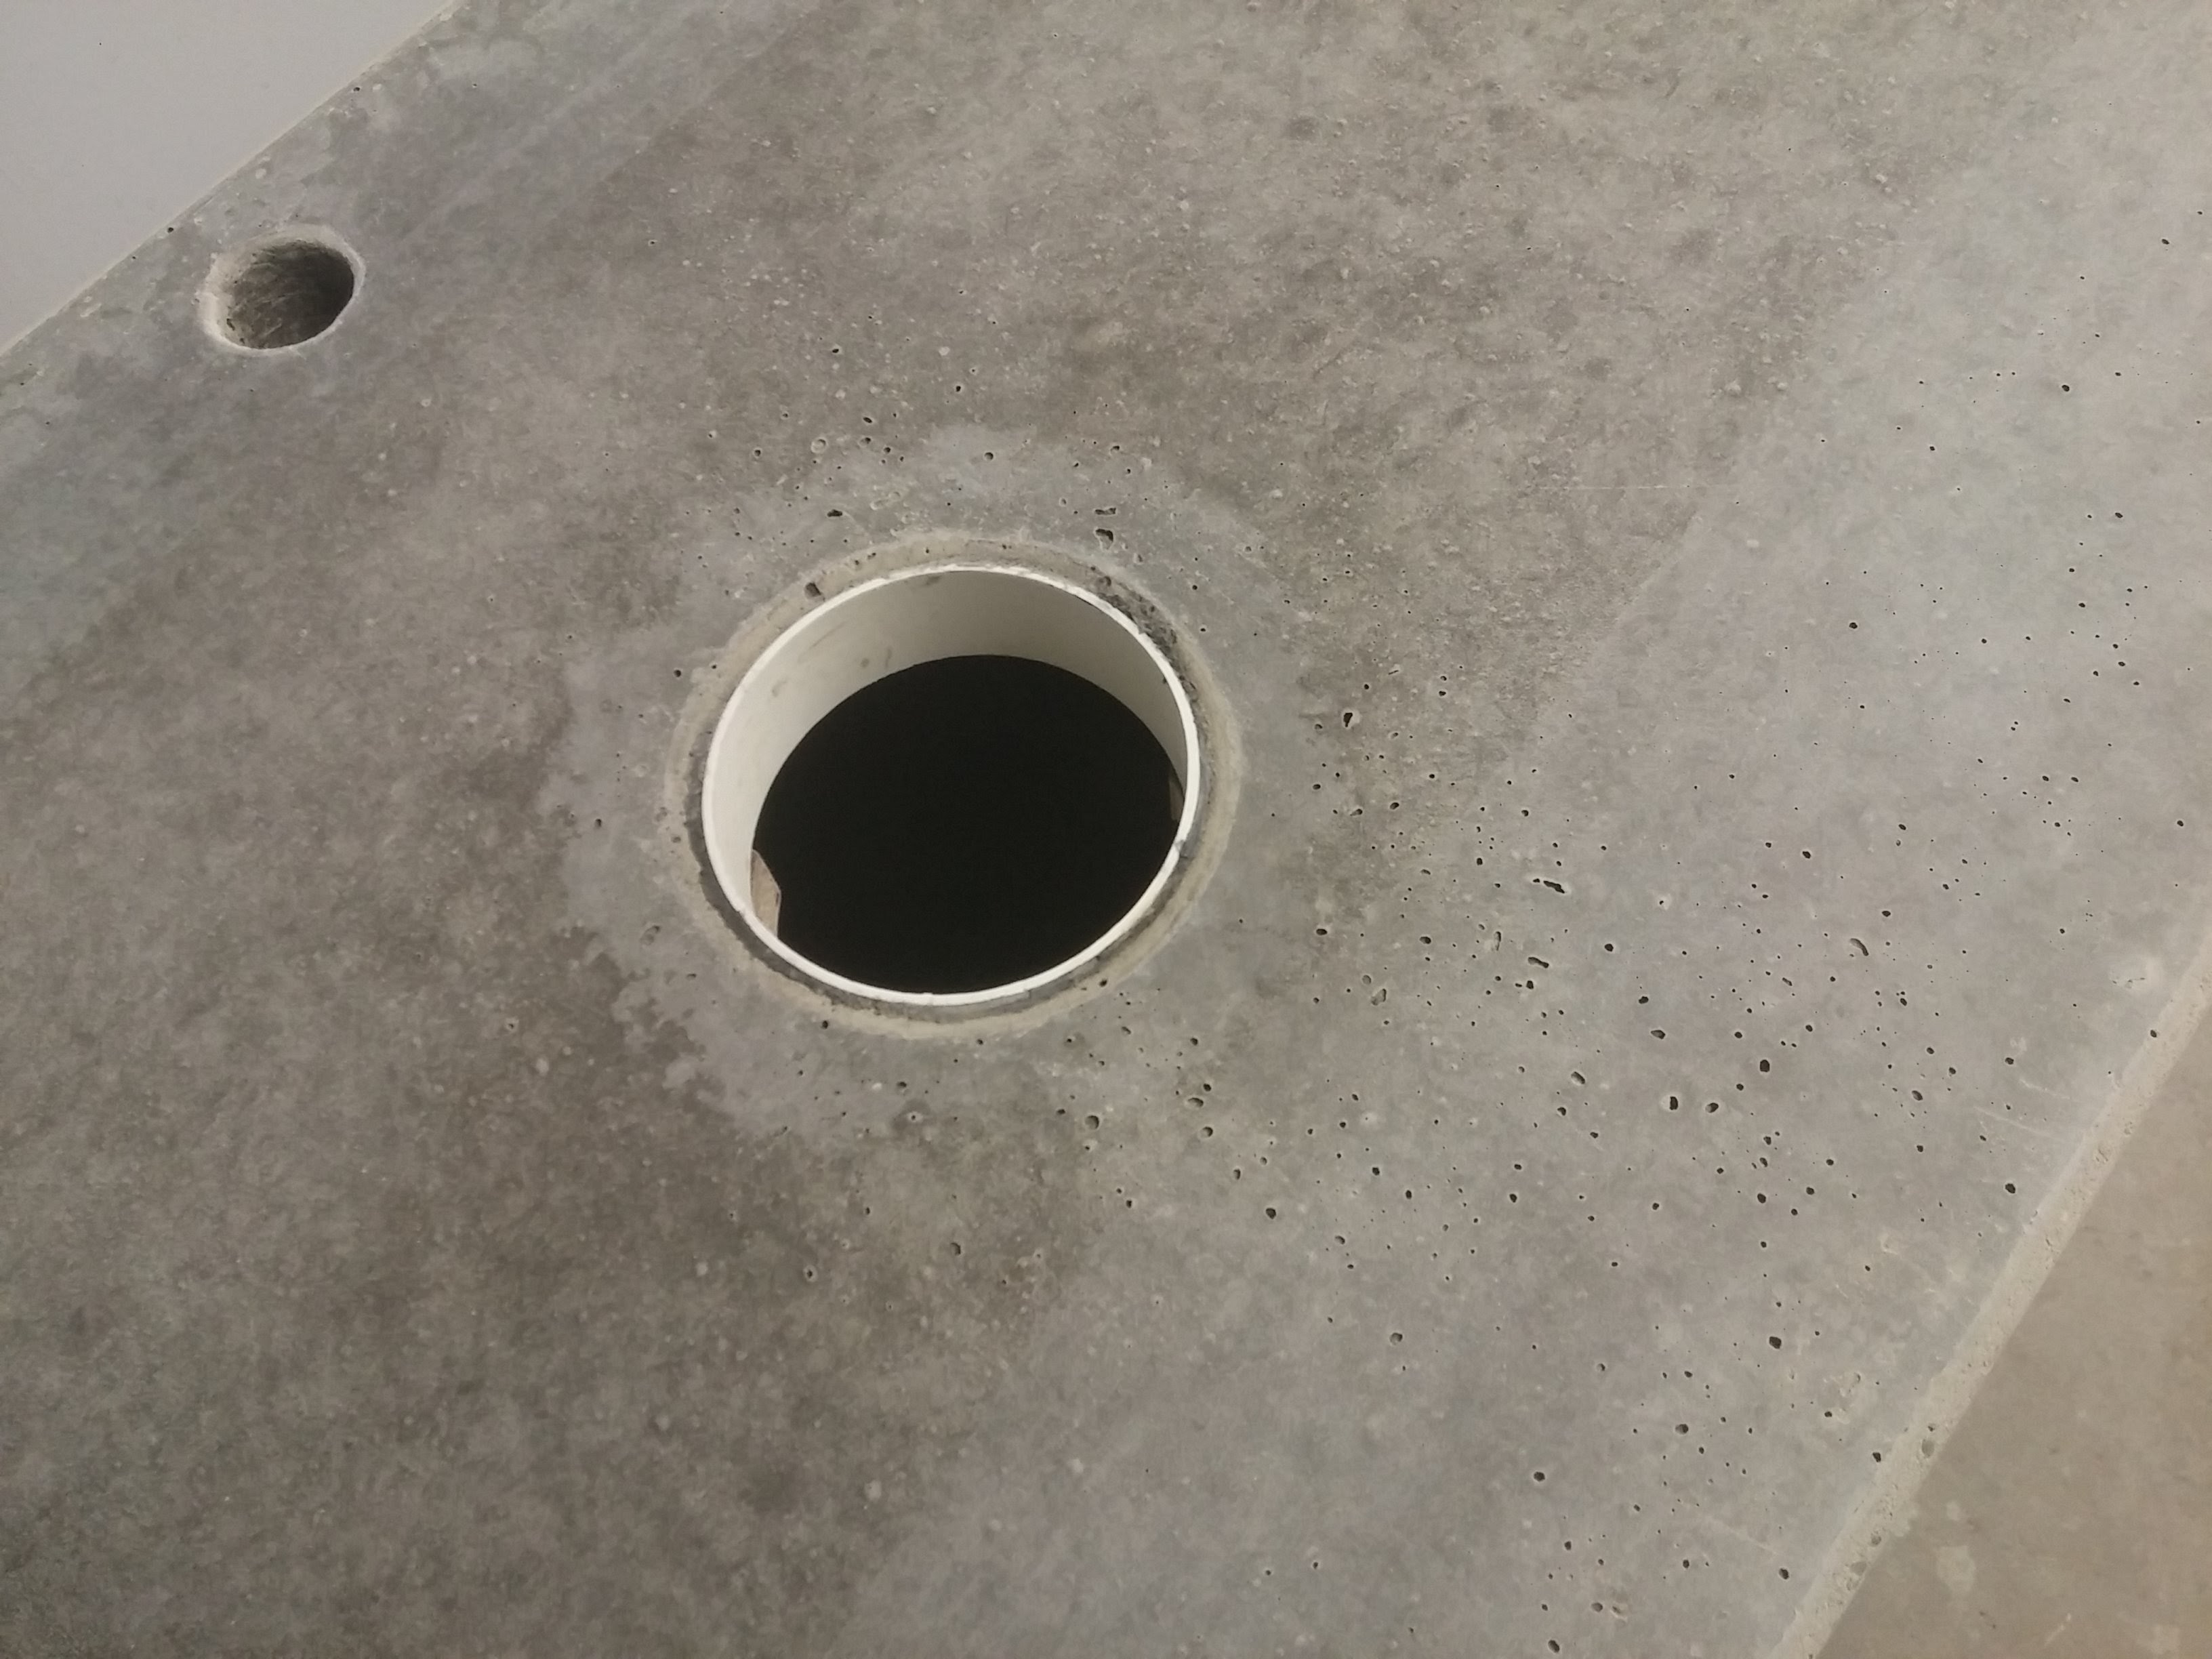
After the main form was made, I marked out the locations for the sink drain and the sink faucet. The basin sink style makes the drain hole a little less critical. I formed the hole a bit oversized by using a piece of 4″ PVC DWV pipe that I had lying around with a foam insert. I just used a piece of foam wrapped with packing tape for the faucet hole. Don’t forget that your form is upside down when you mark out the locations. The melamine will make the top of the countertop pretty smooth when it comes out of the form.
Once the shape was all formed, I vacuumed everything and caulked all the corners. I used a dowel to smooth the caulk and get a consistent round-over in the corners. This method also pushes the little bit of excess caulk out to the side with a crisp line where the dowel touches the melamine. I just waited for the caulk to dry and then peeled off the bit of excess around the edges.
Pouring the Concrete
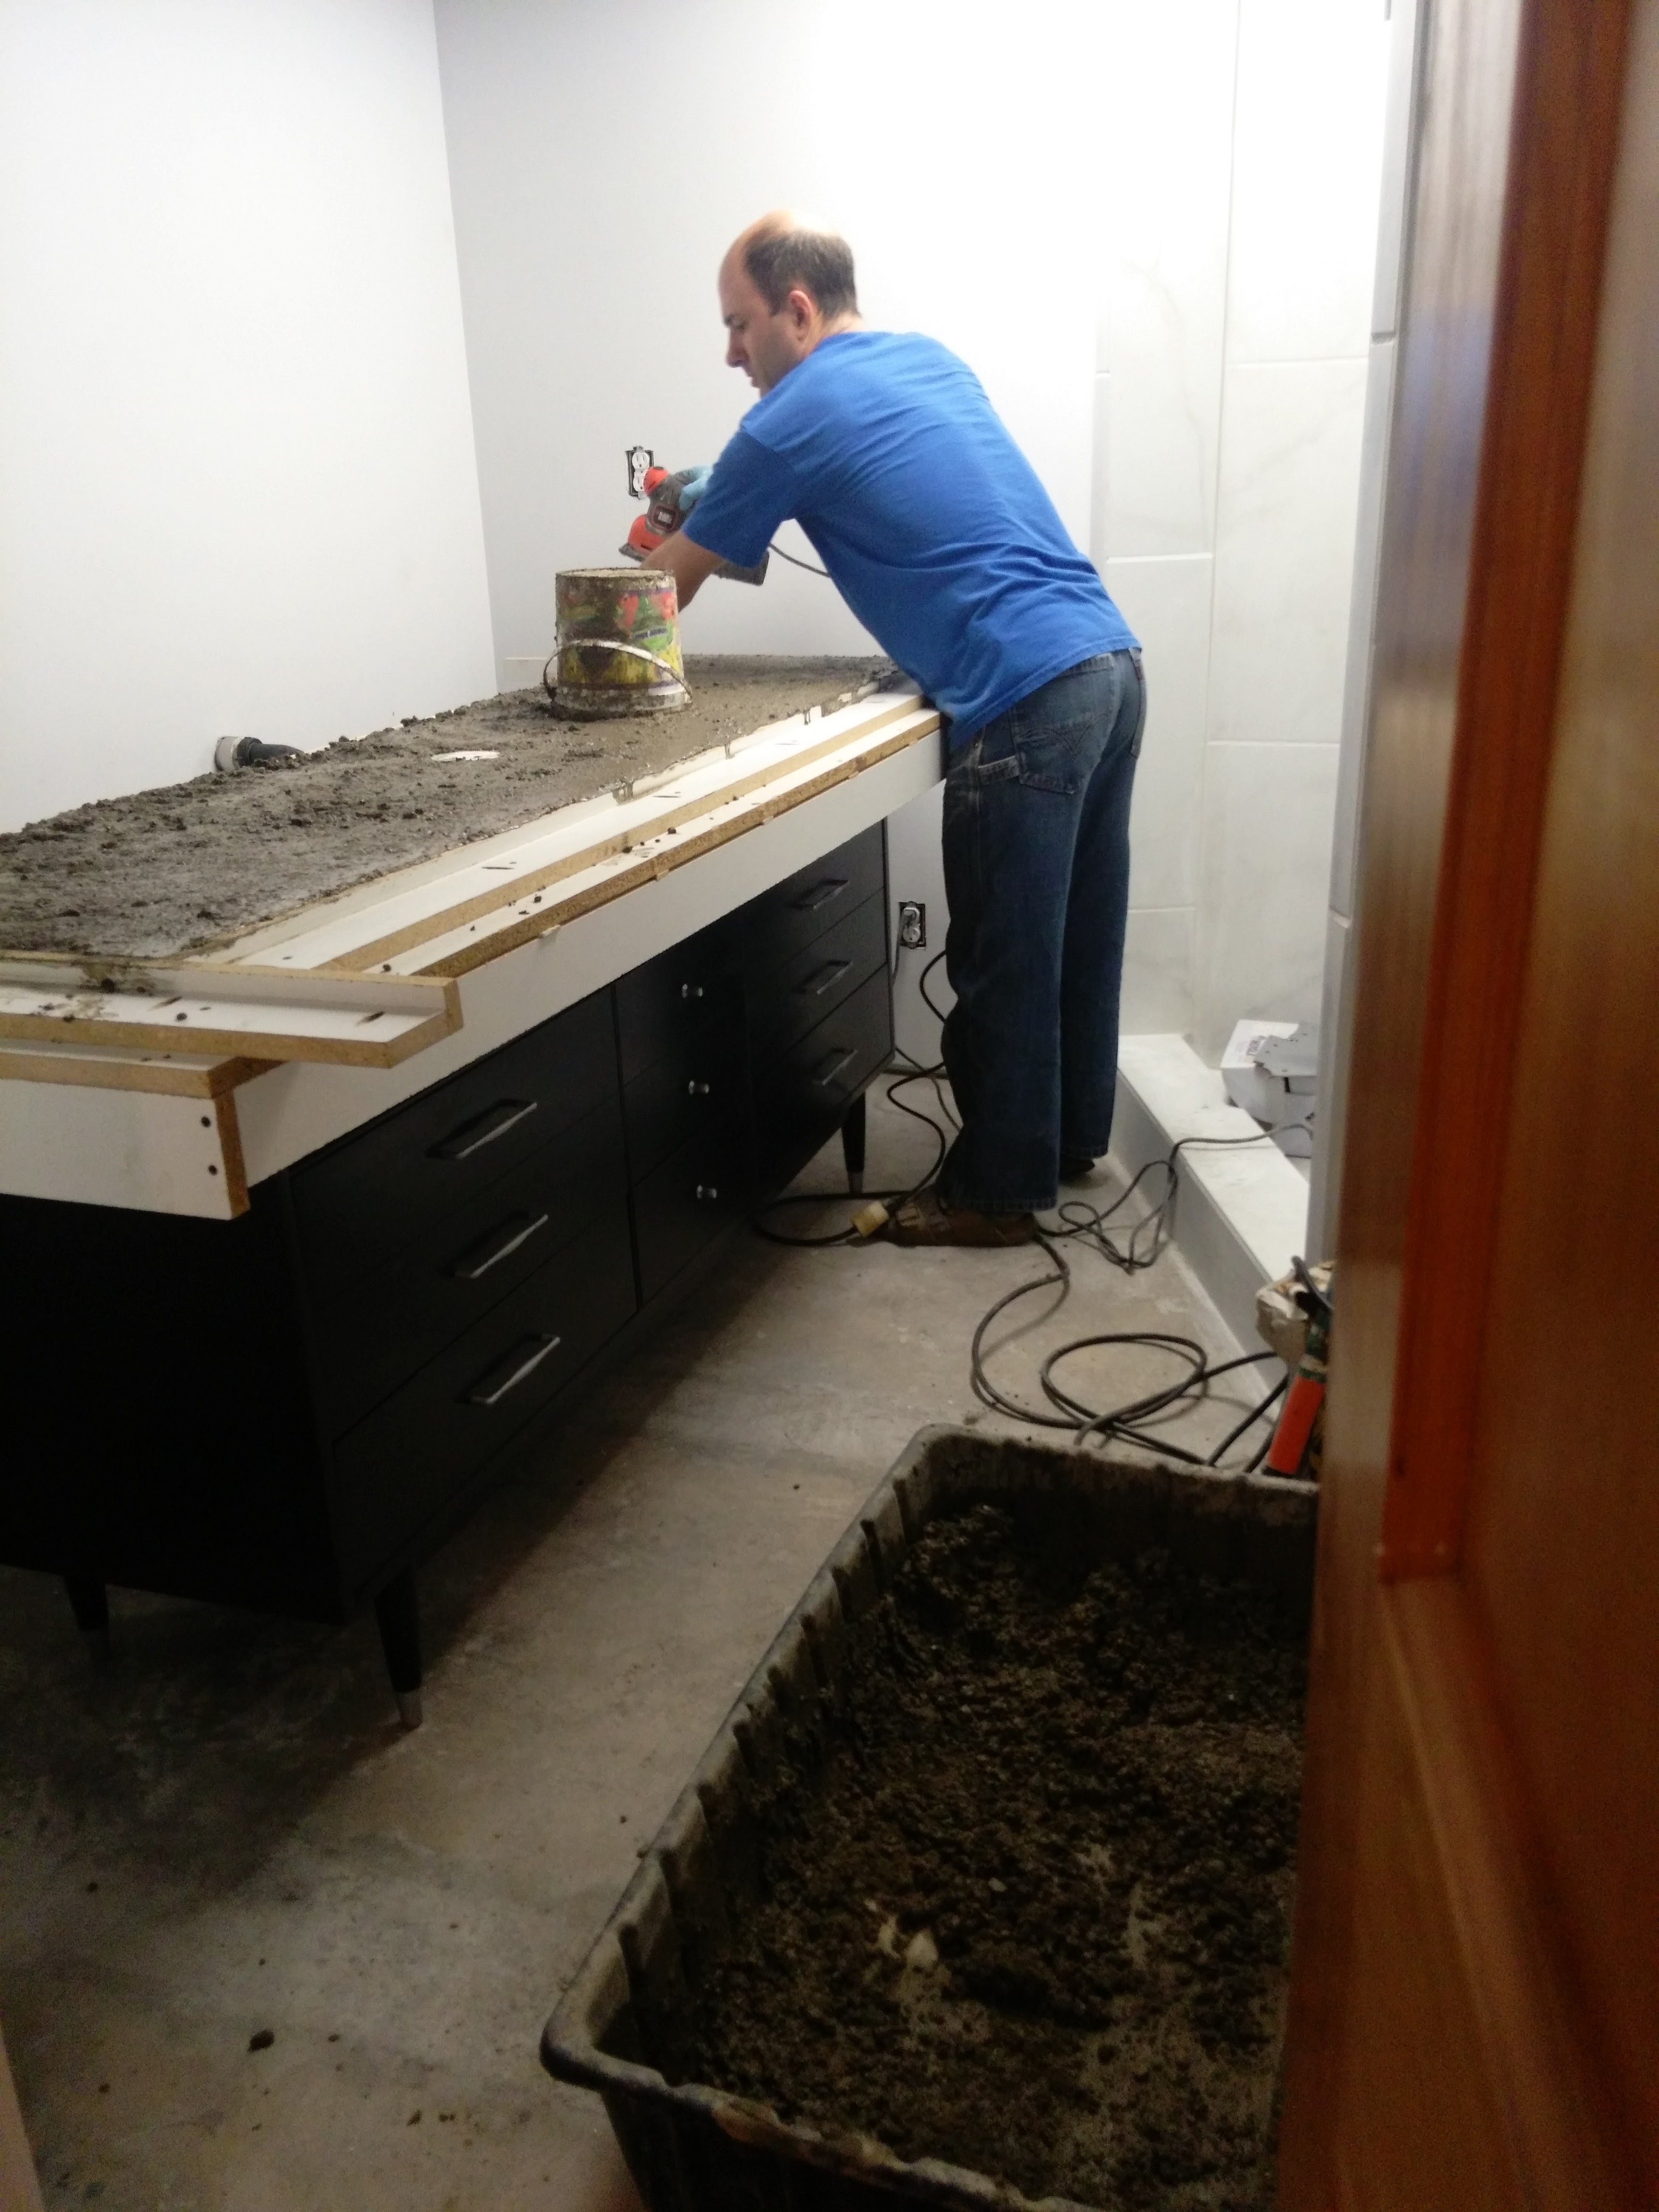
I put the concrete form on top of the dresser to pour the concrete. You need a sturdy and level surface to pour the concrete. I had to shim the legs of the dresser a bit to make sure it was level.
I mixed the concrete in two batches to get as much as I needed. Don’t try to mix more than a bag or so at a time by hand. This is tough work. I tried to make the concrete mixture just barely a wet consistency. More soupy is less strong and I didn’t use any reinforcing mesh in this project. Most of the countertop is supported well by the 3/4″ top of the dresser, so I decided not to add any rebar or reinforcing mesh. It seems to be holding up well.
I transferred the concrete into the form with a small bucket and pushed it around with my gloved hands. Once the form was about half full, I started vibrating around the entire perimeter with my 1/4 sheet sander (without sandpaper). You really can’t vibrate too much. The vibration takes air bubbles out of the concrete and makes the finishing process easier.
I filled up the rest of the form and screeded off the excess concrete with a 2×4. Then I came back with a trowel about an hour later and smoothed out the bottom a bit more. I covered up the concrete with a piece of plastic to encourage slow even curing, and waited about 72 hours…
Finishing the Concrete
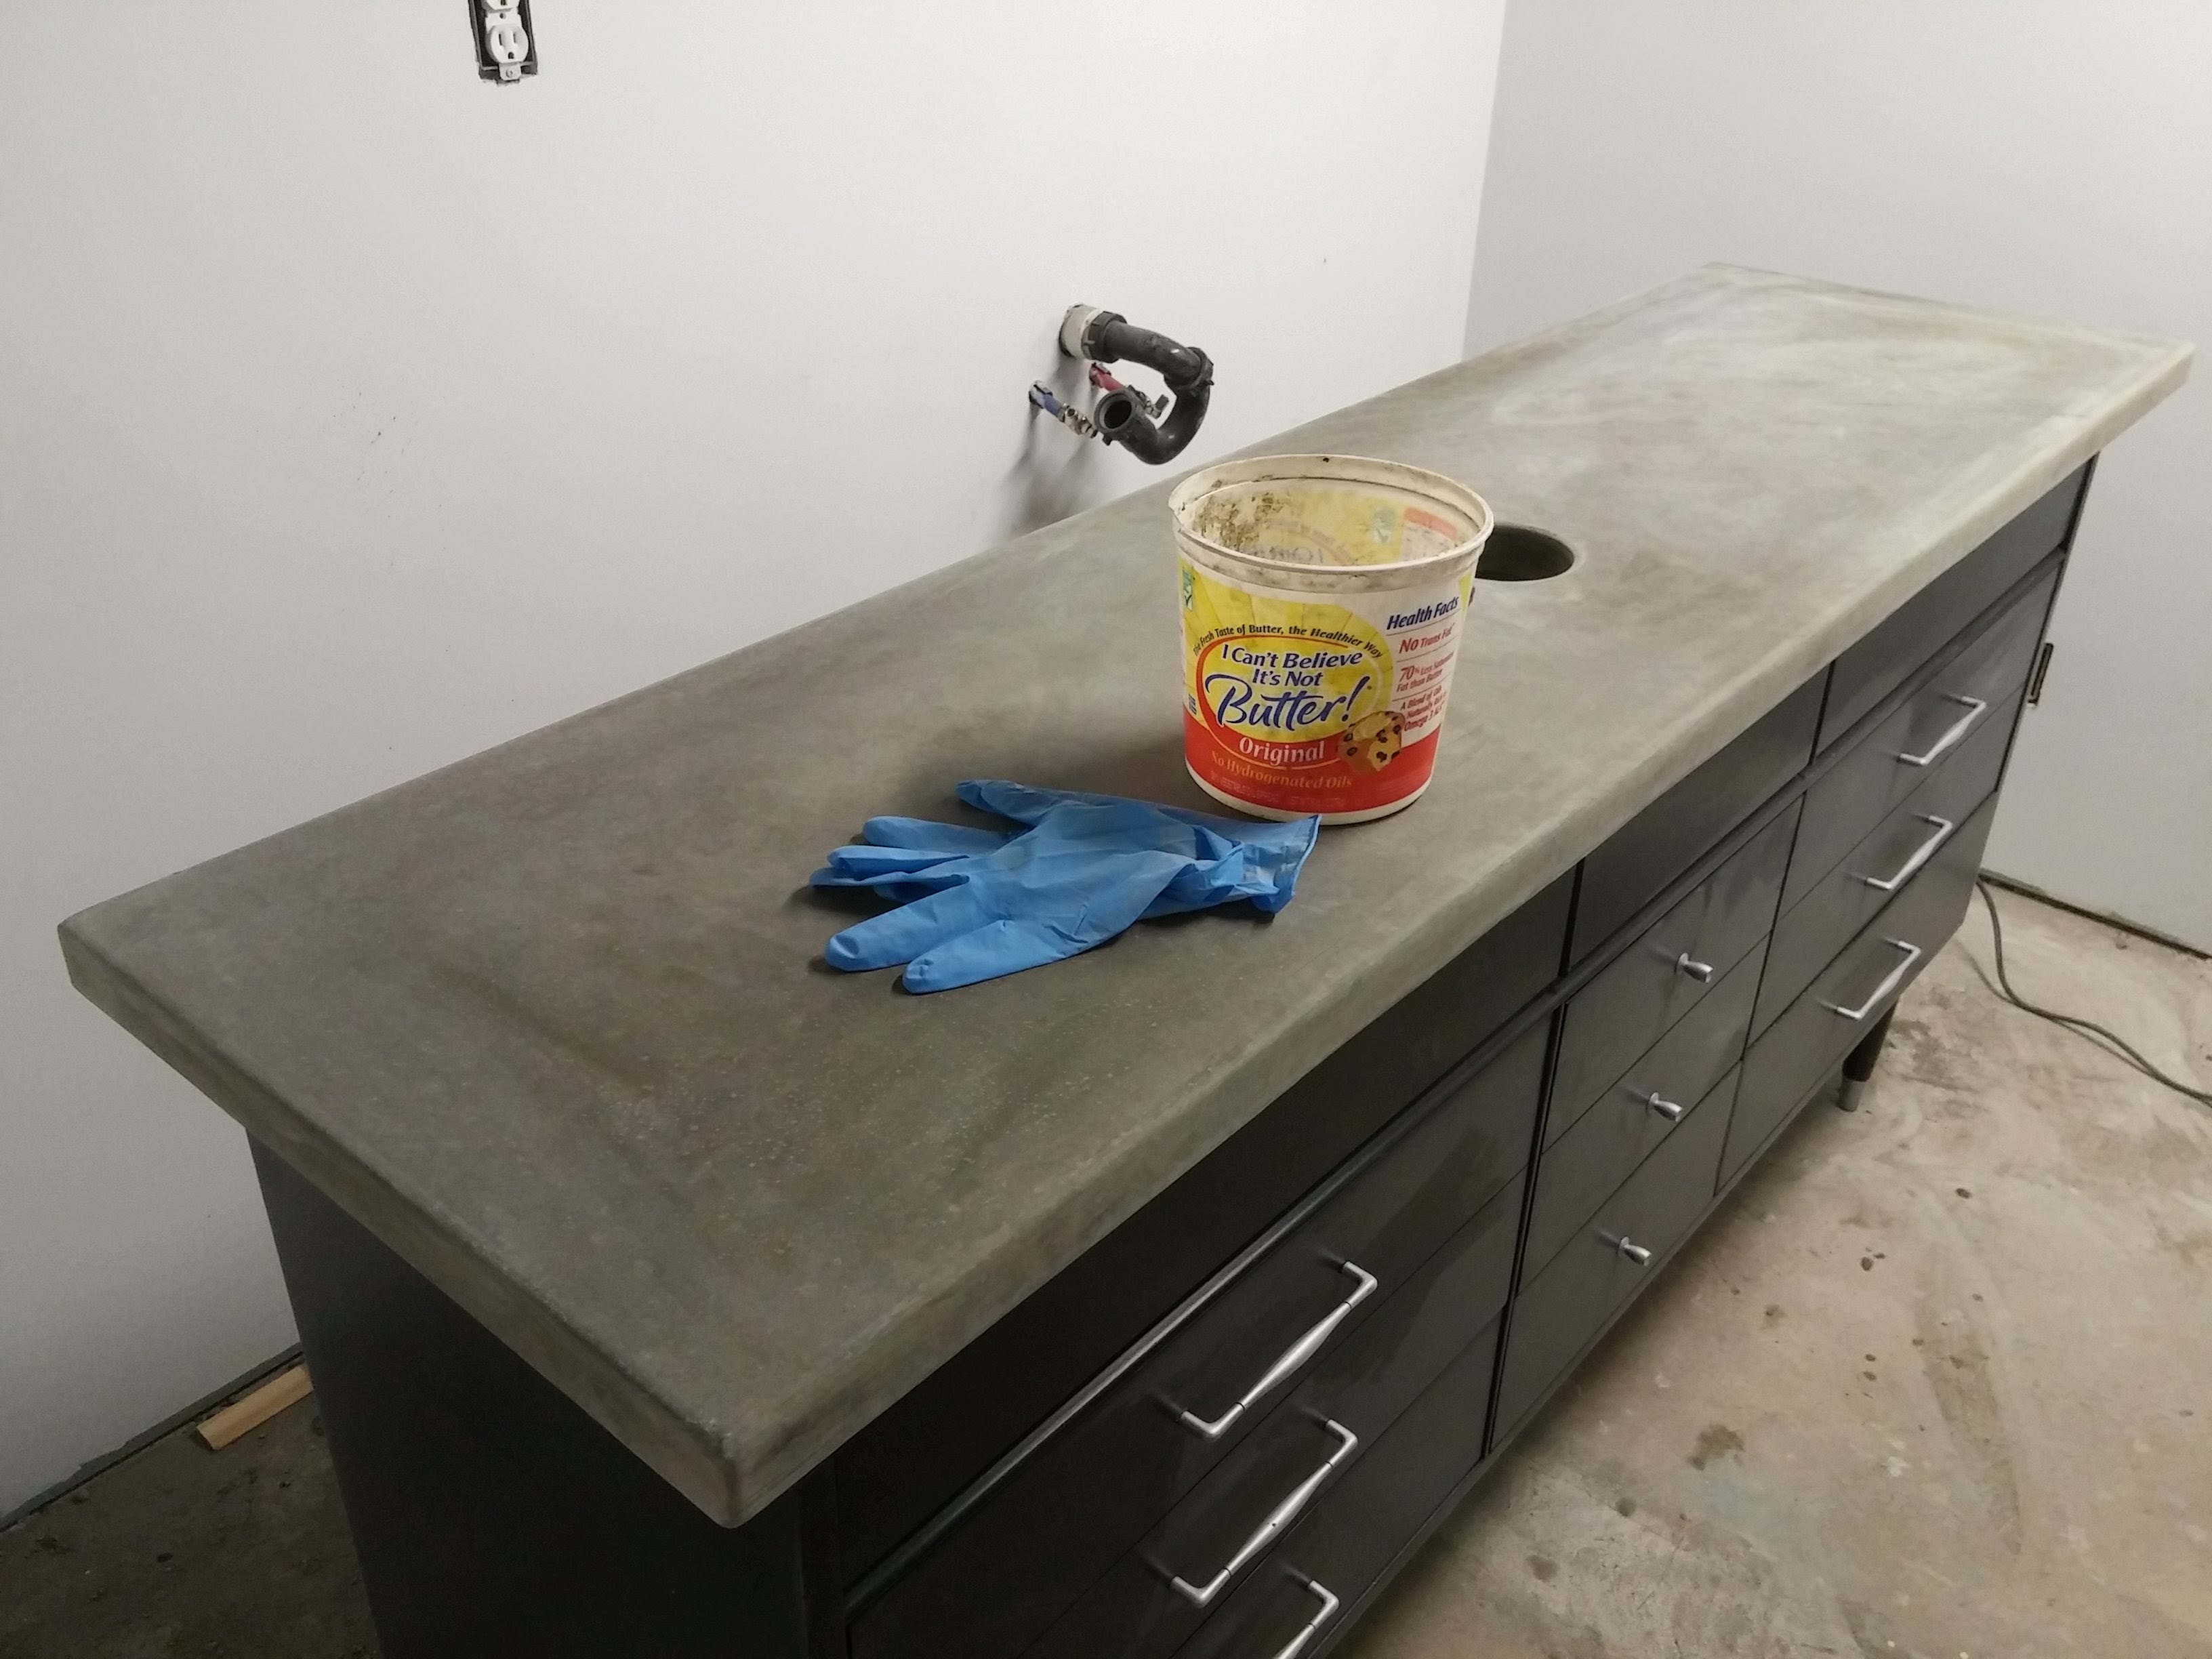
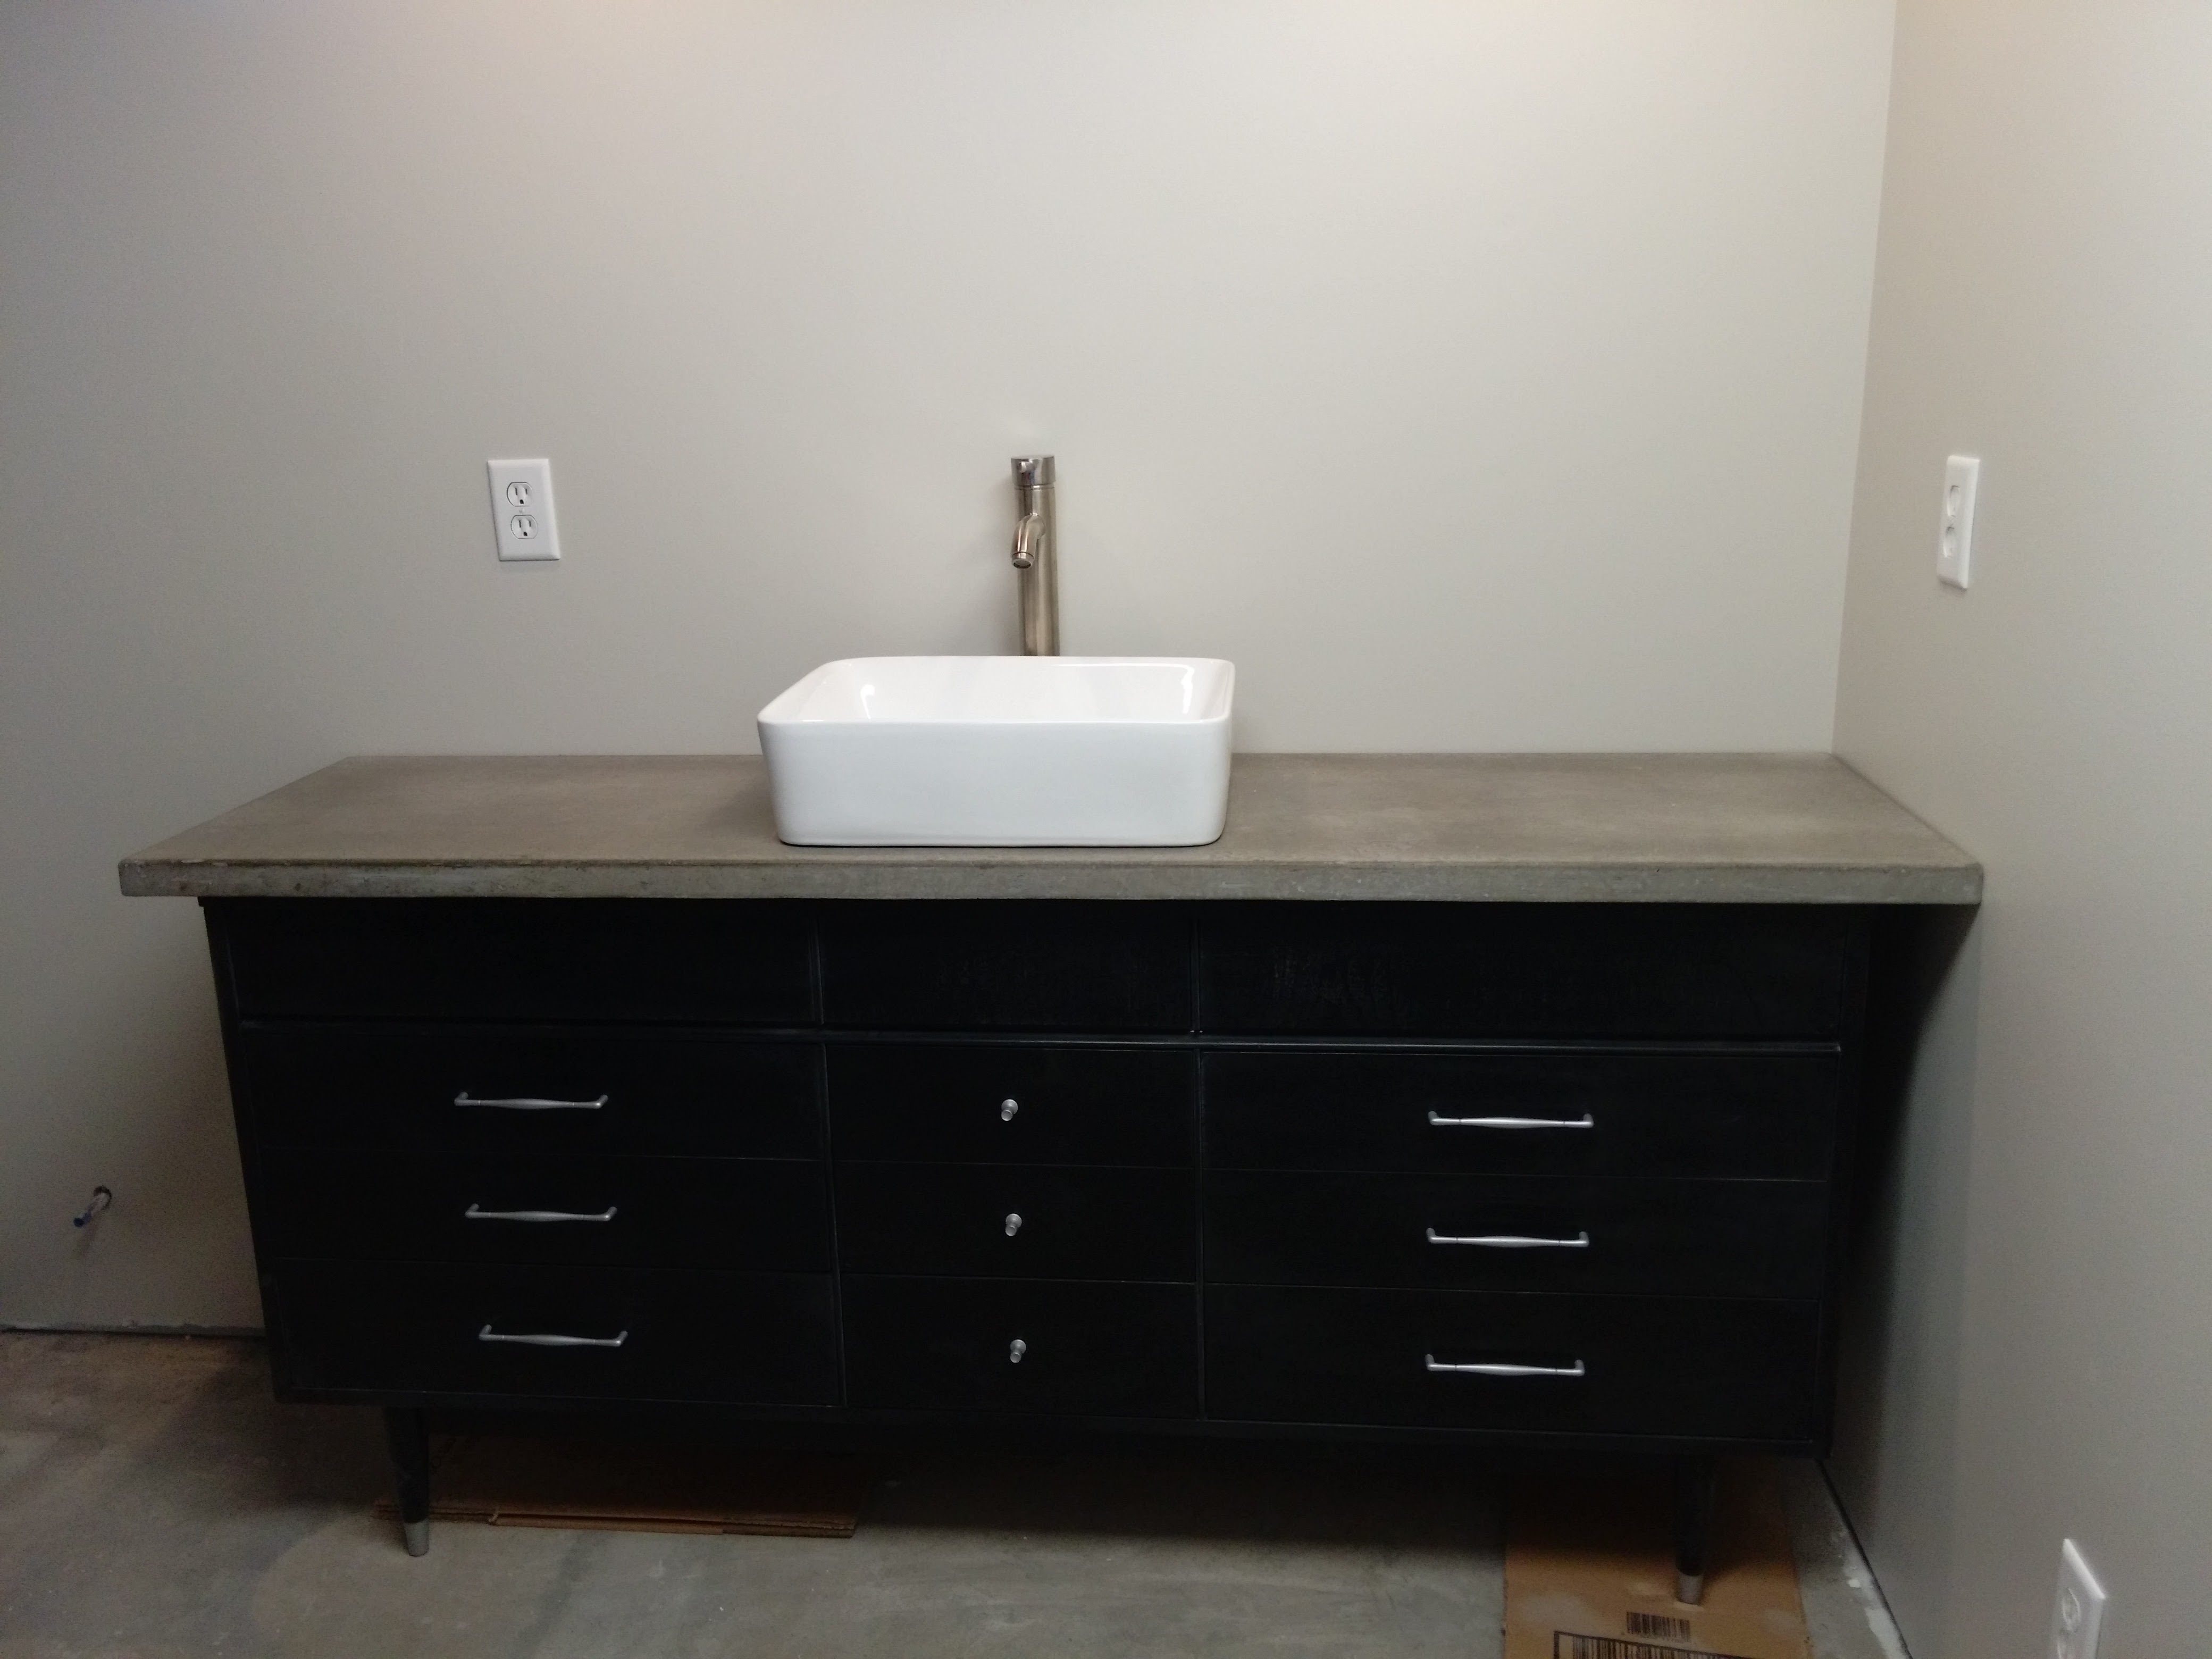
Three days later, I carefully removed the concrete from the form and flipped it over. Eureka! It looked pretty awesome already.
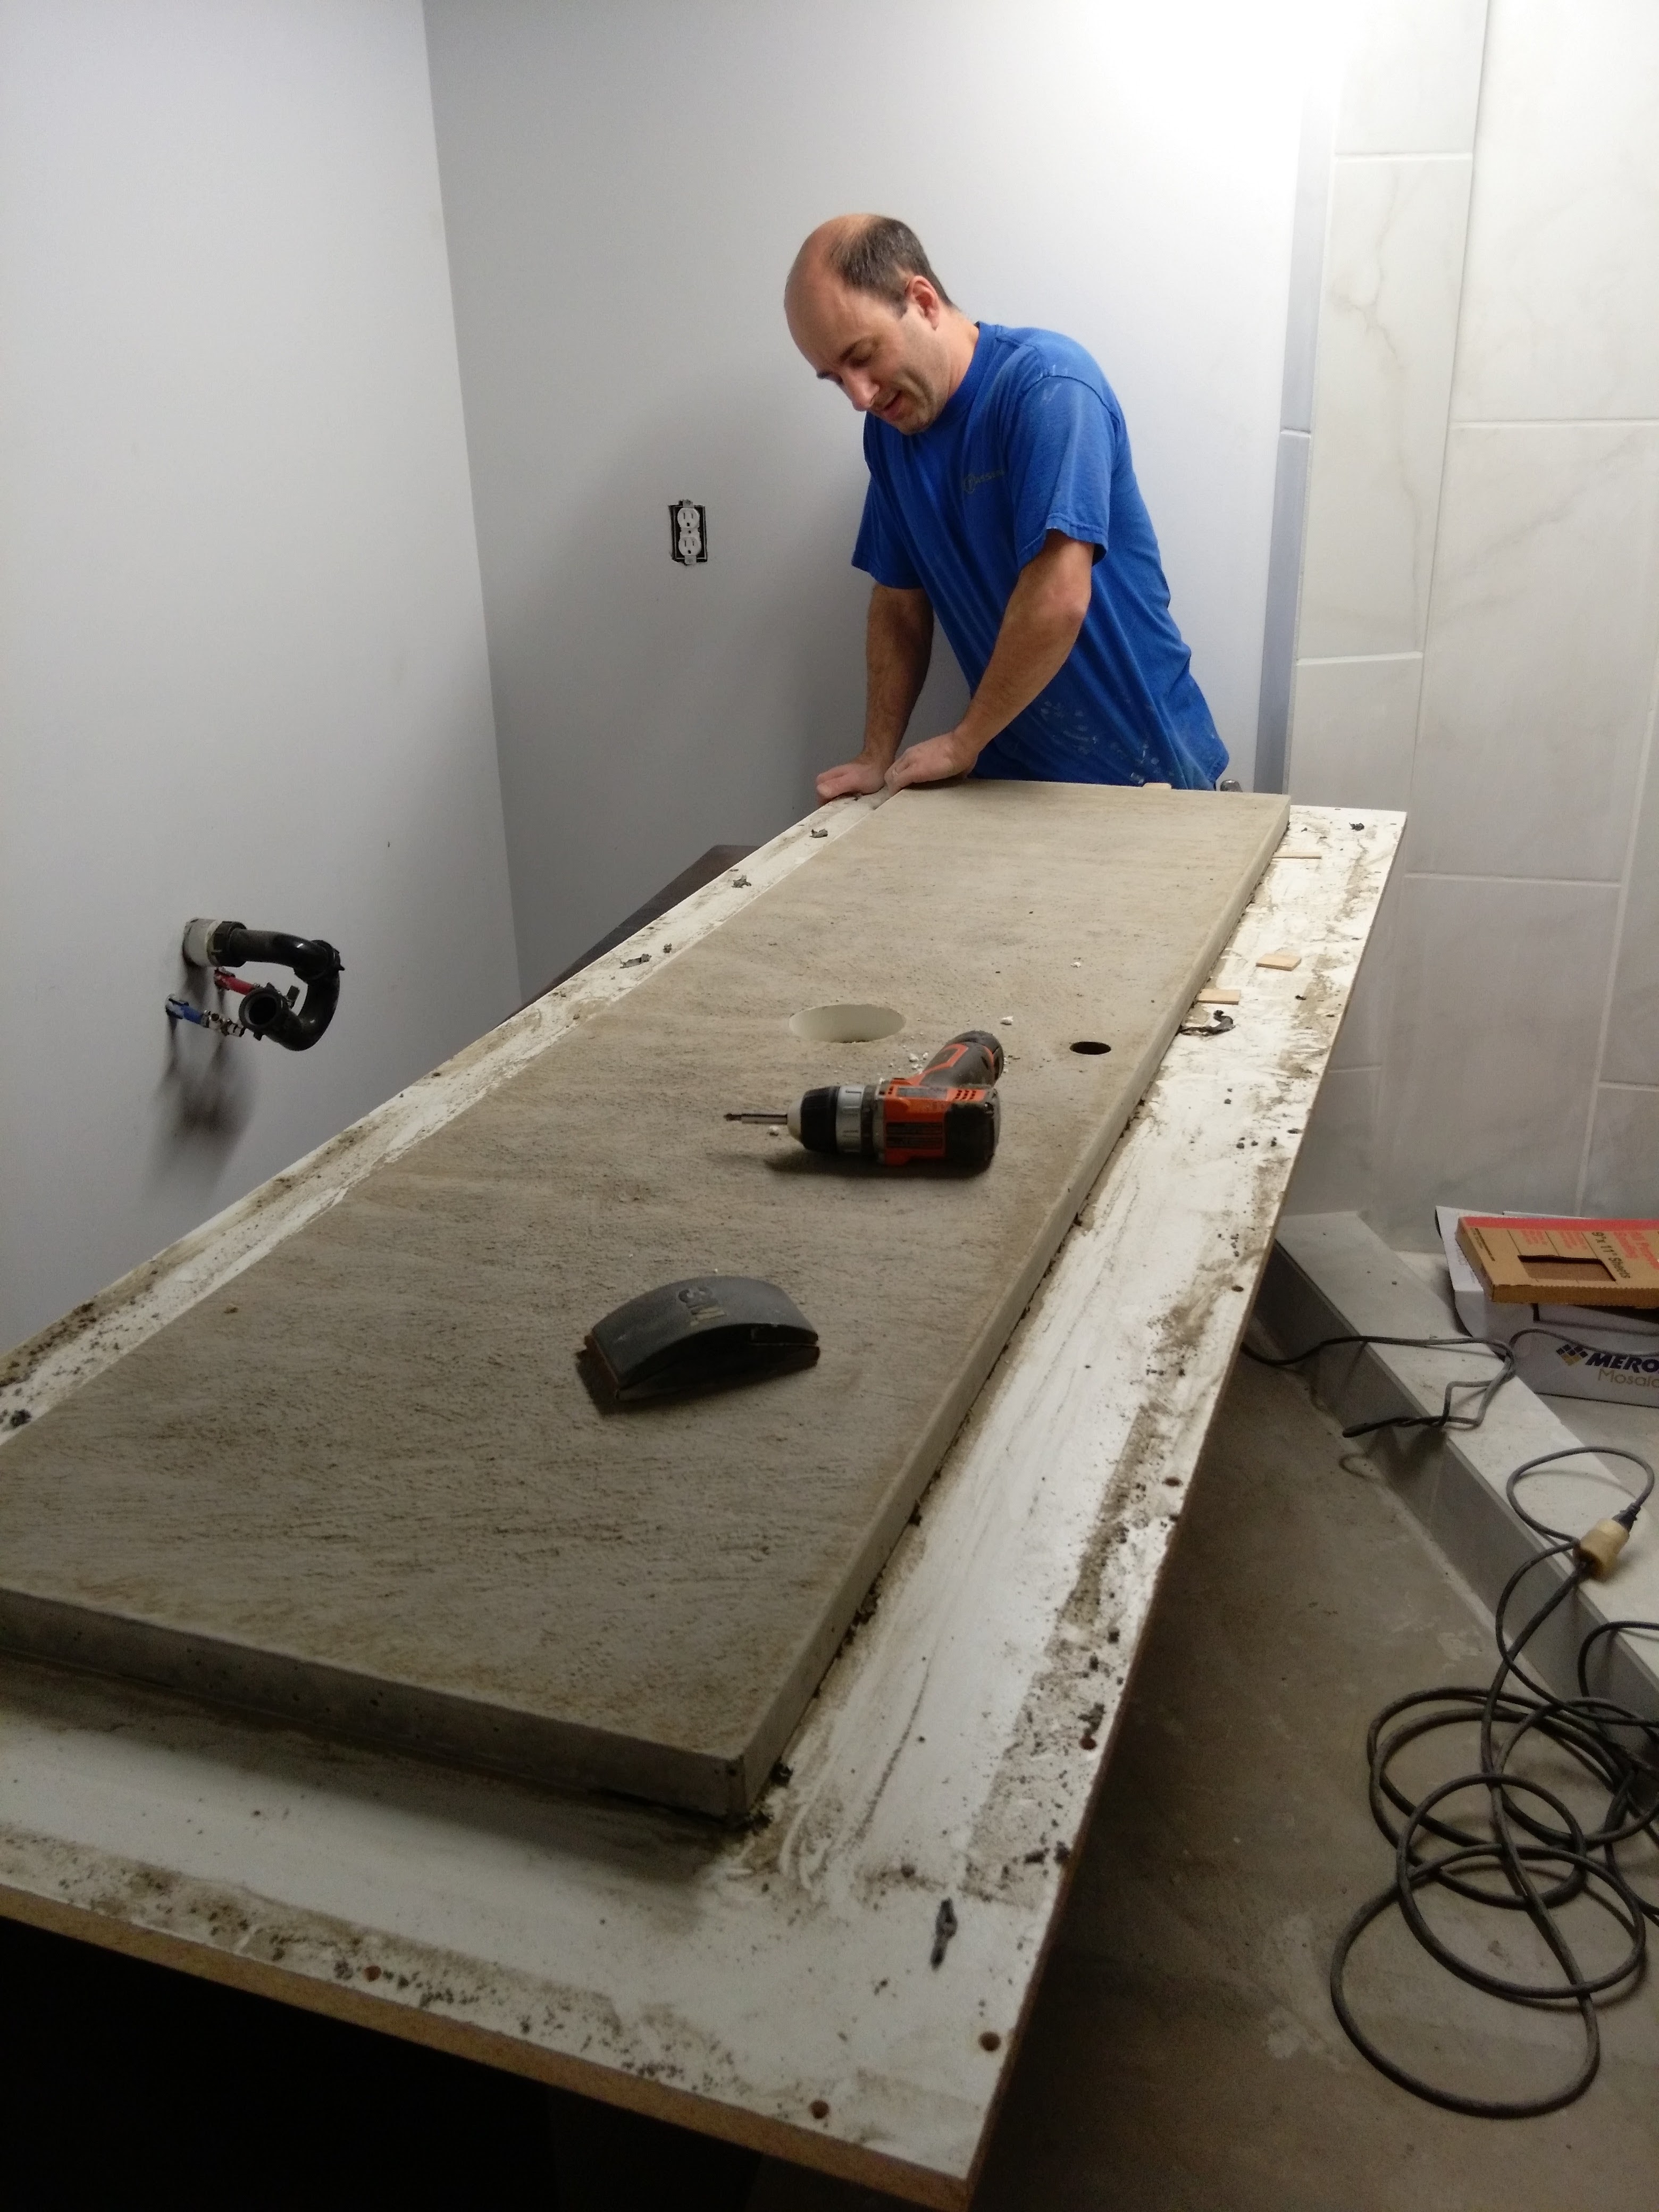
I continued the finishing process by lightly hand sanding all the edges. The concrete is still not fully cured at this point, so you need to be gentle. I sanded the entire top with 220 grit sandpaper using my 1/4 sheet sander. This opens up any of the little air voids on the surface, so they can be filled.
I mixed up some more concrete to fill in the little pin holes. This time though, I sifted out any of the aggregate in the concrete mix, so I ended up with just a paste like mixture to fill in the holes. Once the holes are filled and everything fully cures, you don’t see the spots.
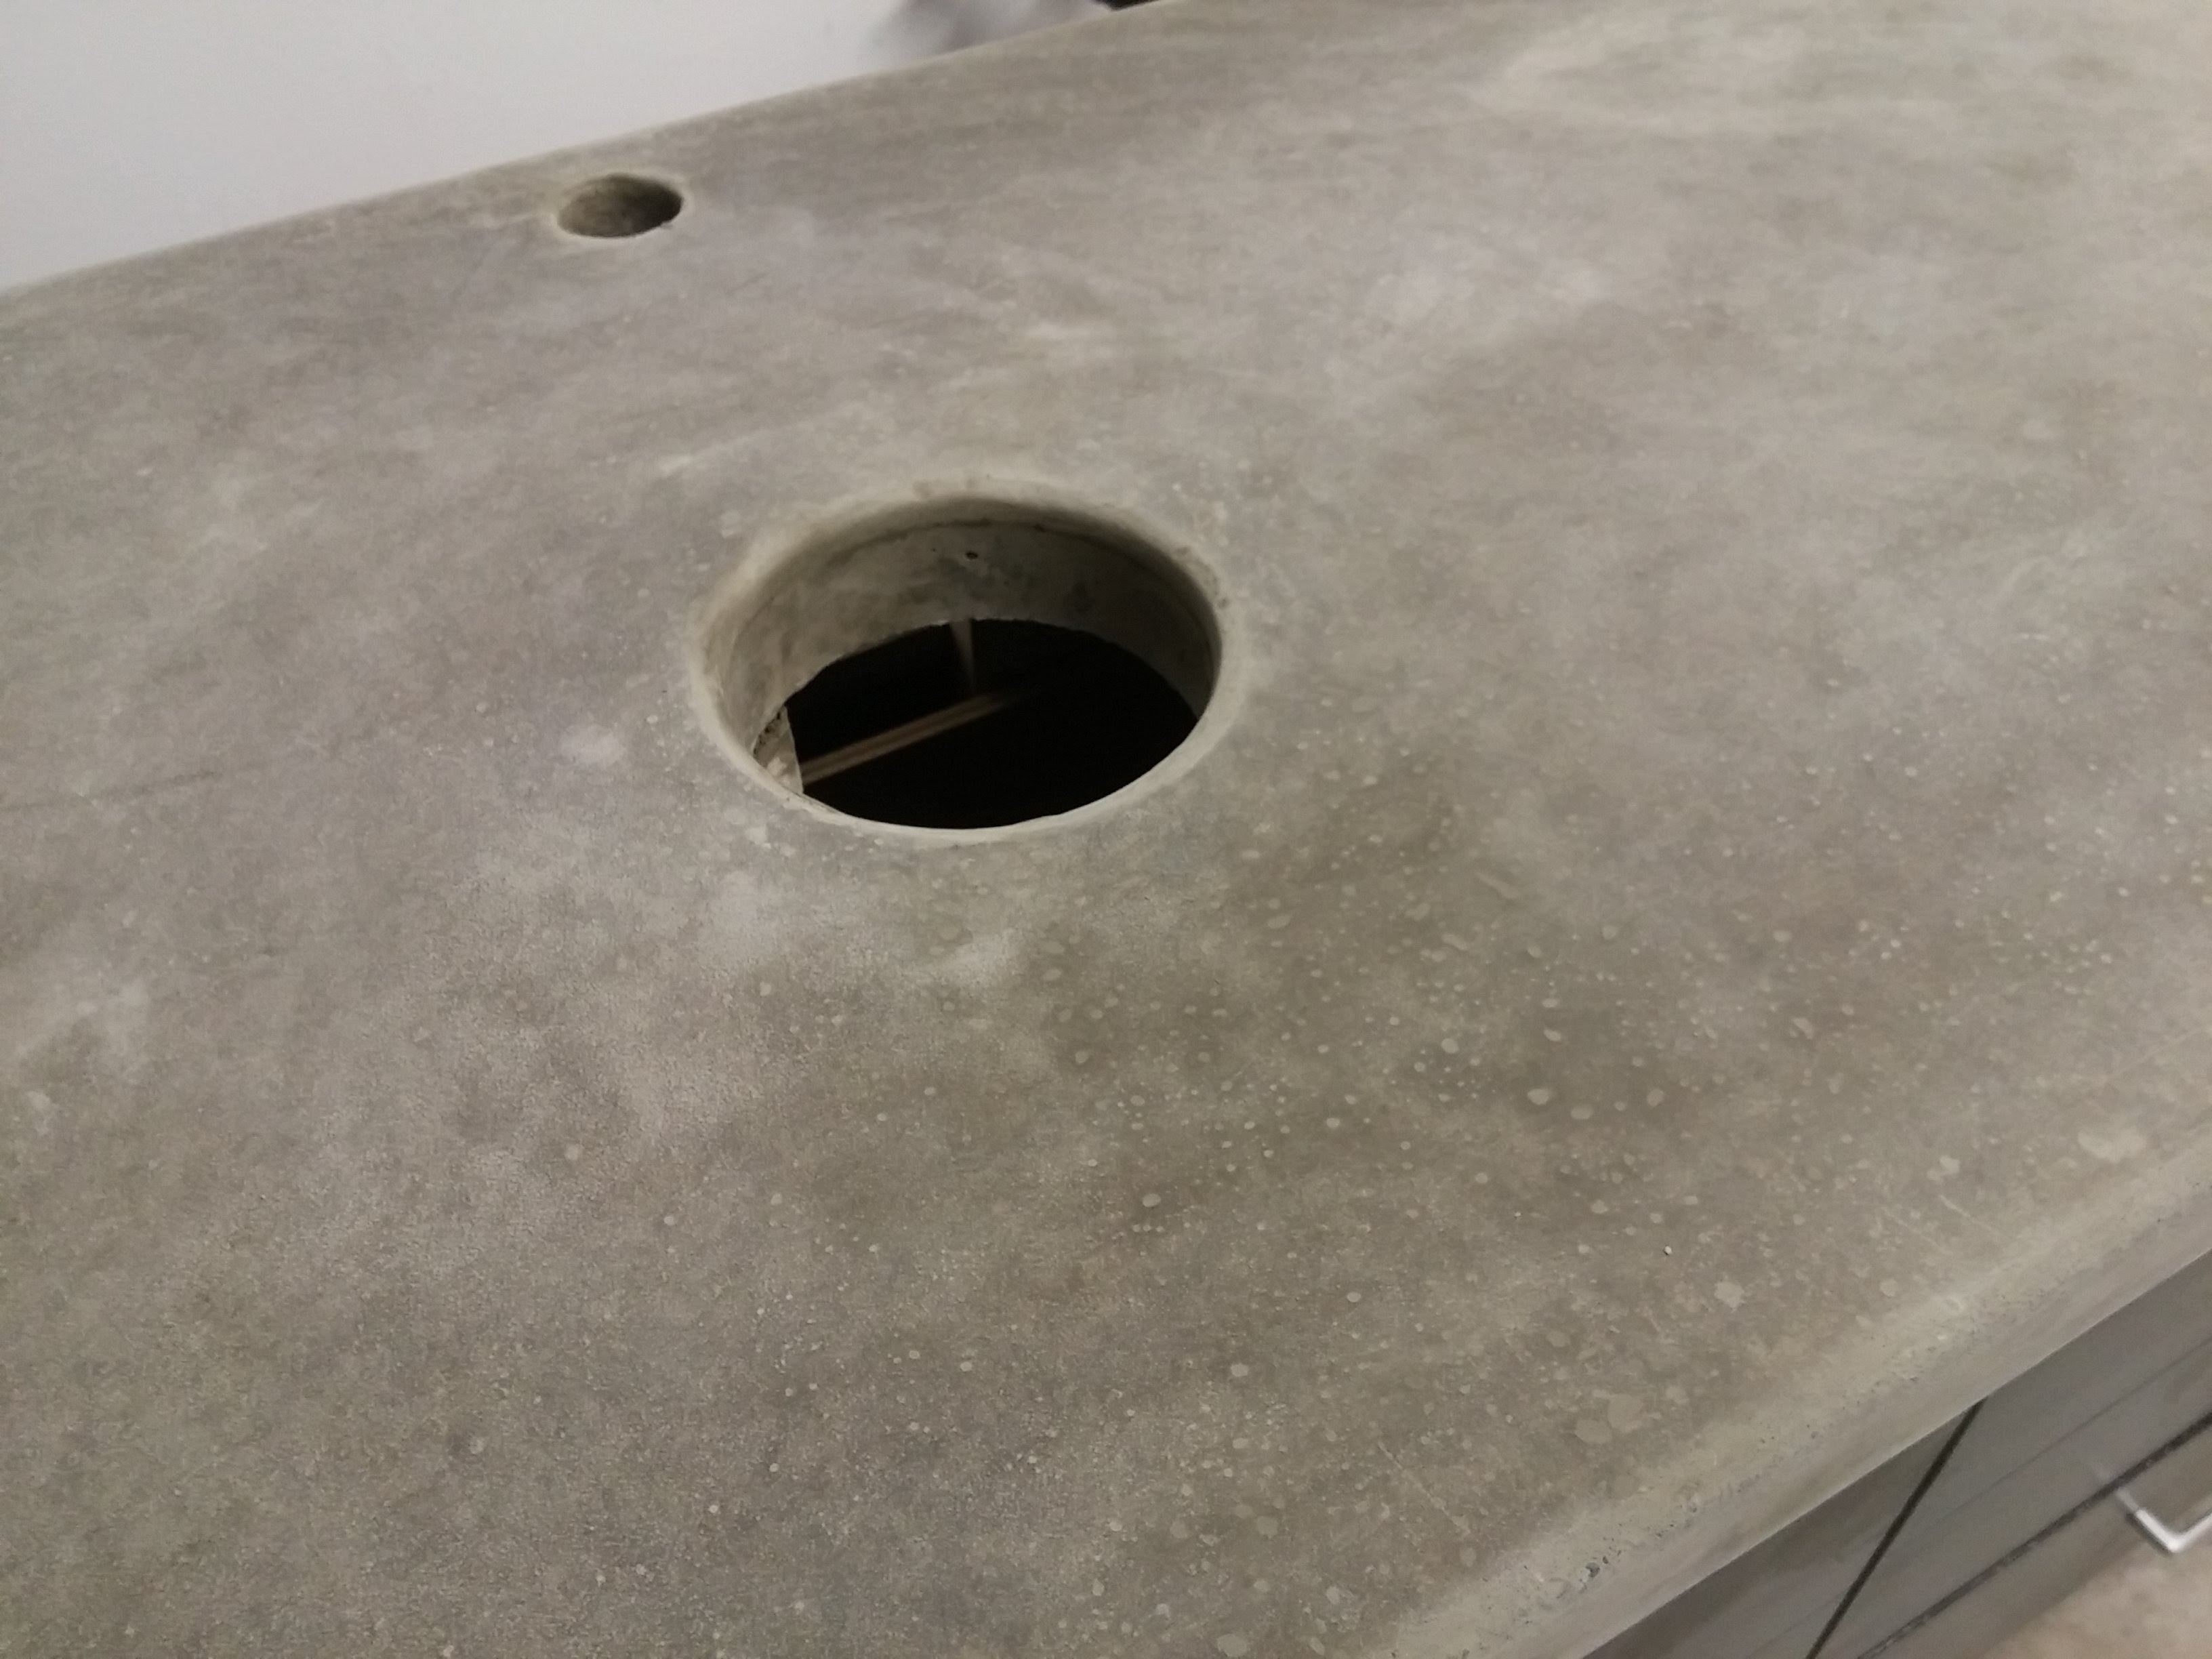
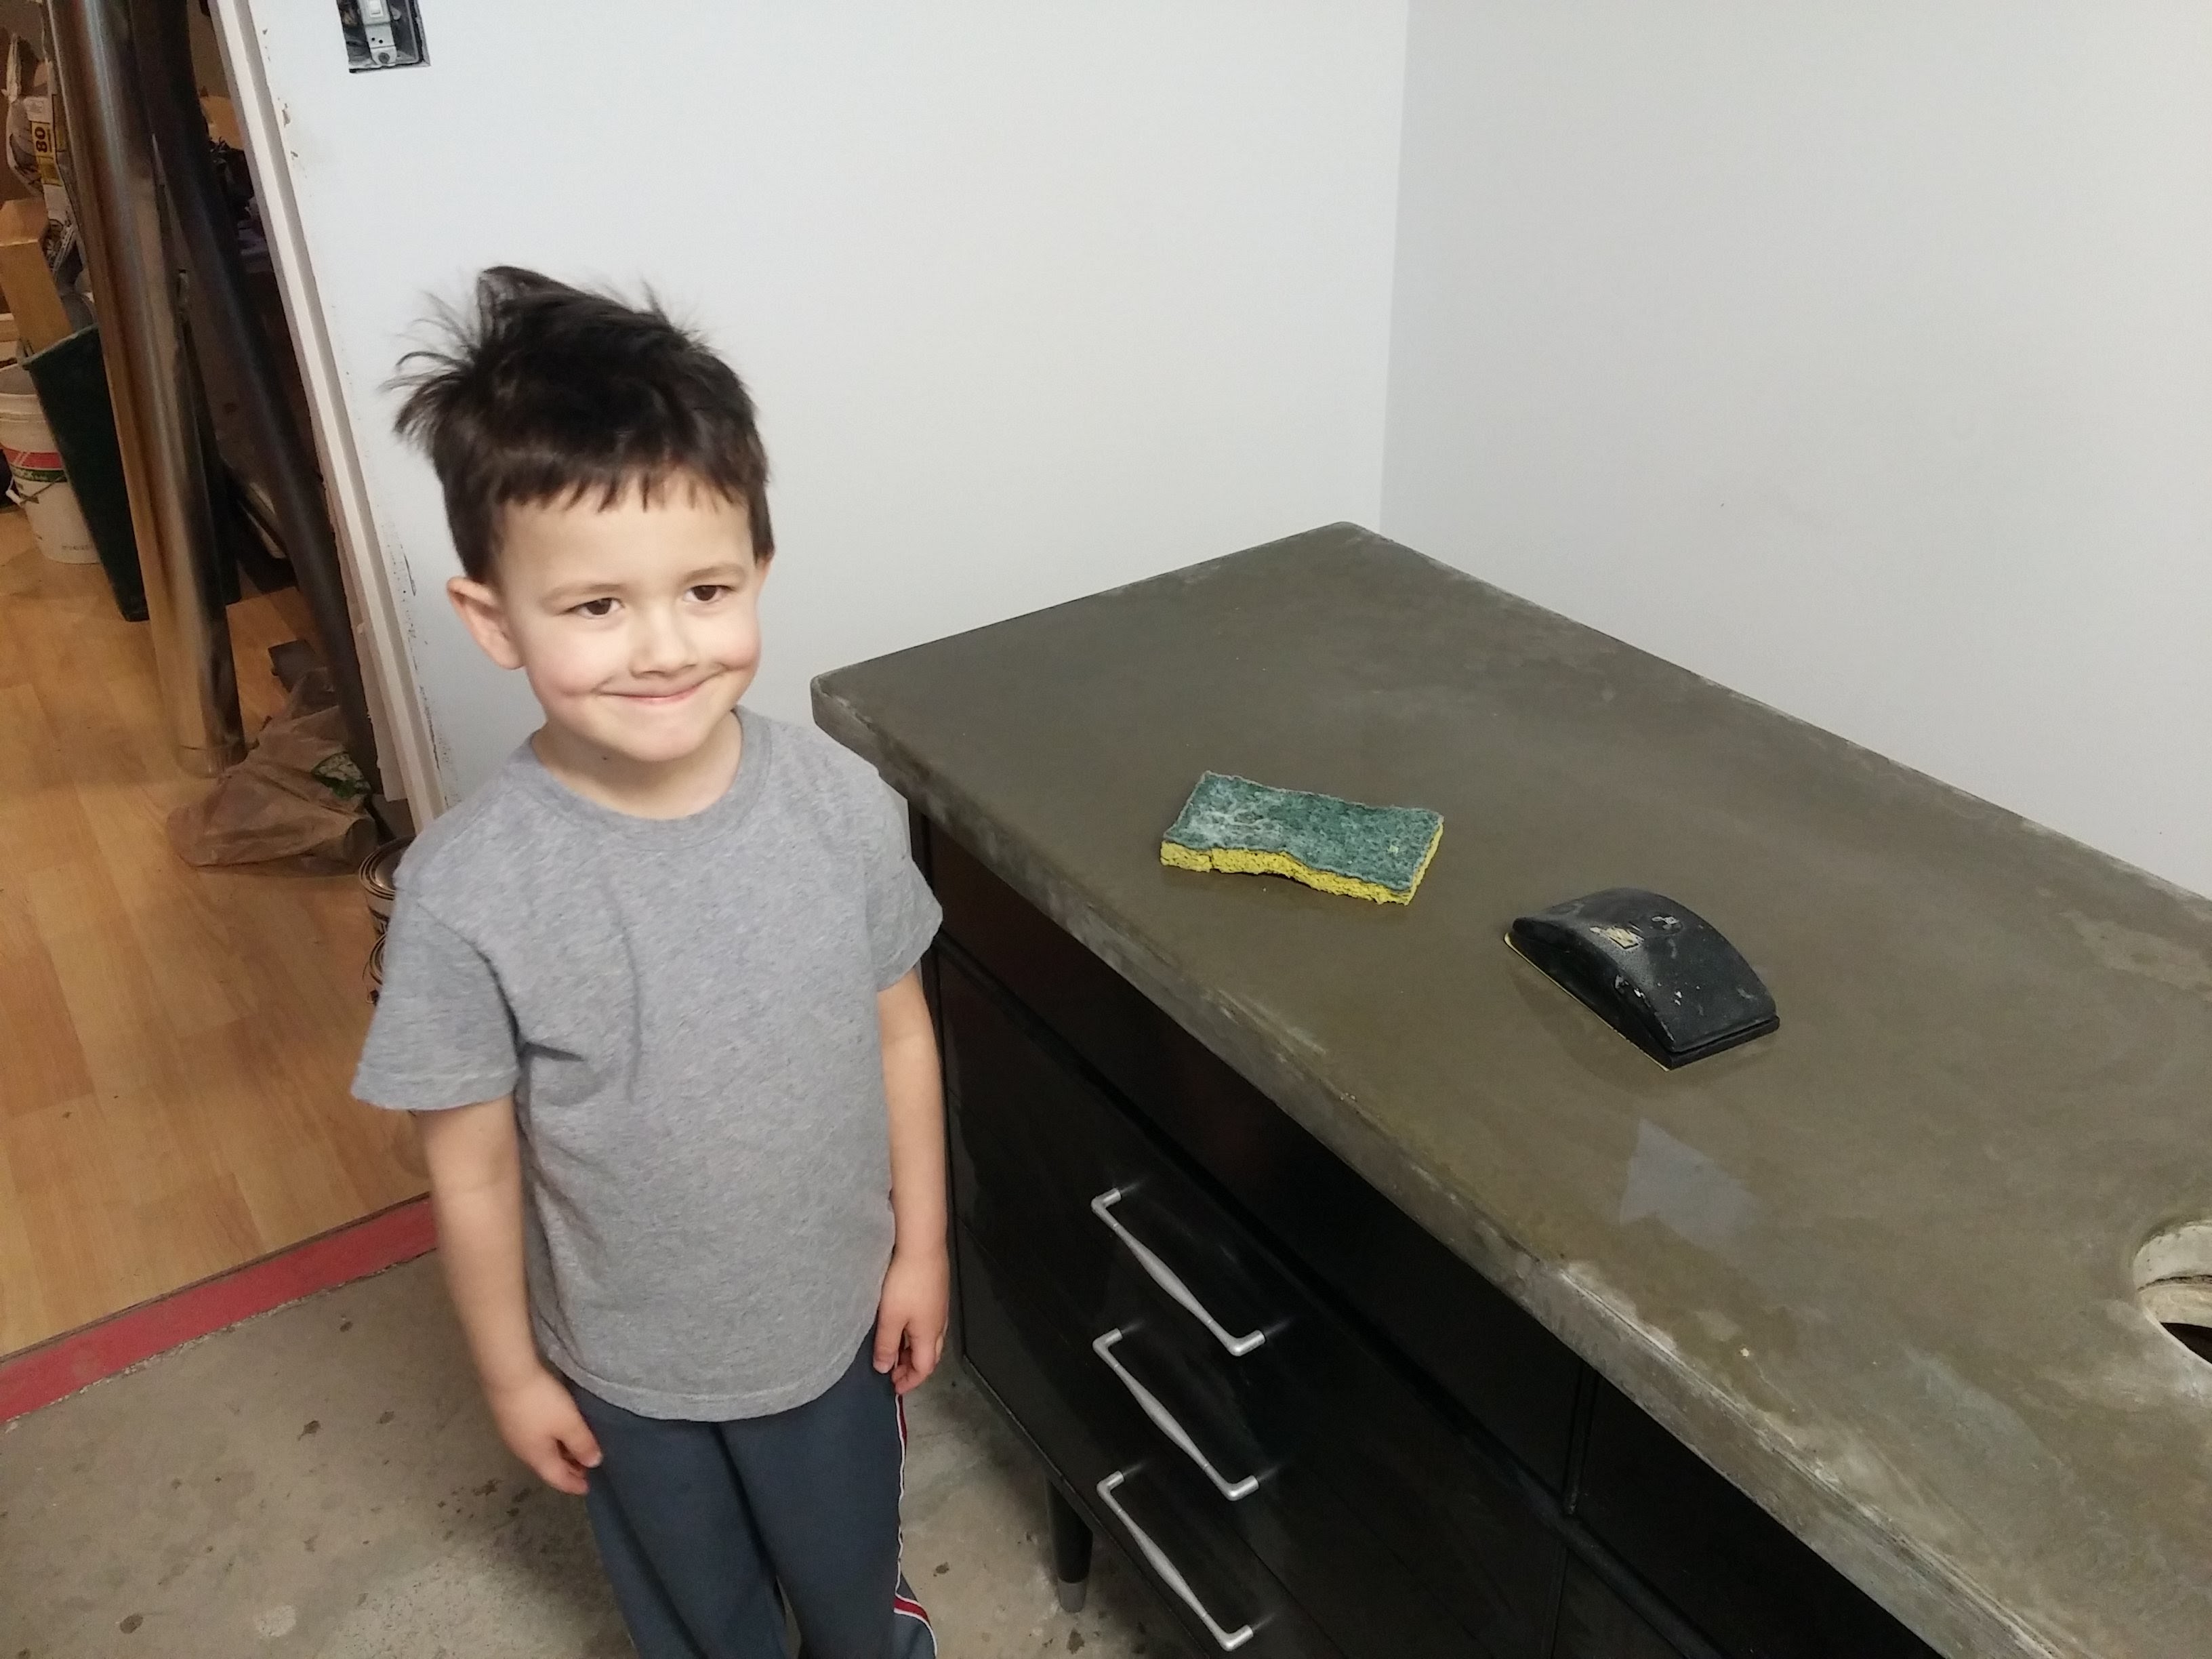
Final finishing of the countertop was done by wet sanding with 400 grit sandpaper after the filled holes had cured overnight. I had a little help with that part. 🙂
I put about 8 coats of stone sealer on the entire countertop to seal everything up. The first few coats penetrated right into the concrete. A few coats after that it started to soak in less and less. The sealer dries quickly, so I only waited 30 minutes or so between coats. I also added a couple more coats after we started using the vanity. Initially, I noticed some water marks, but adding more sealer solved that problem.
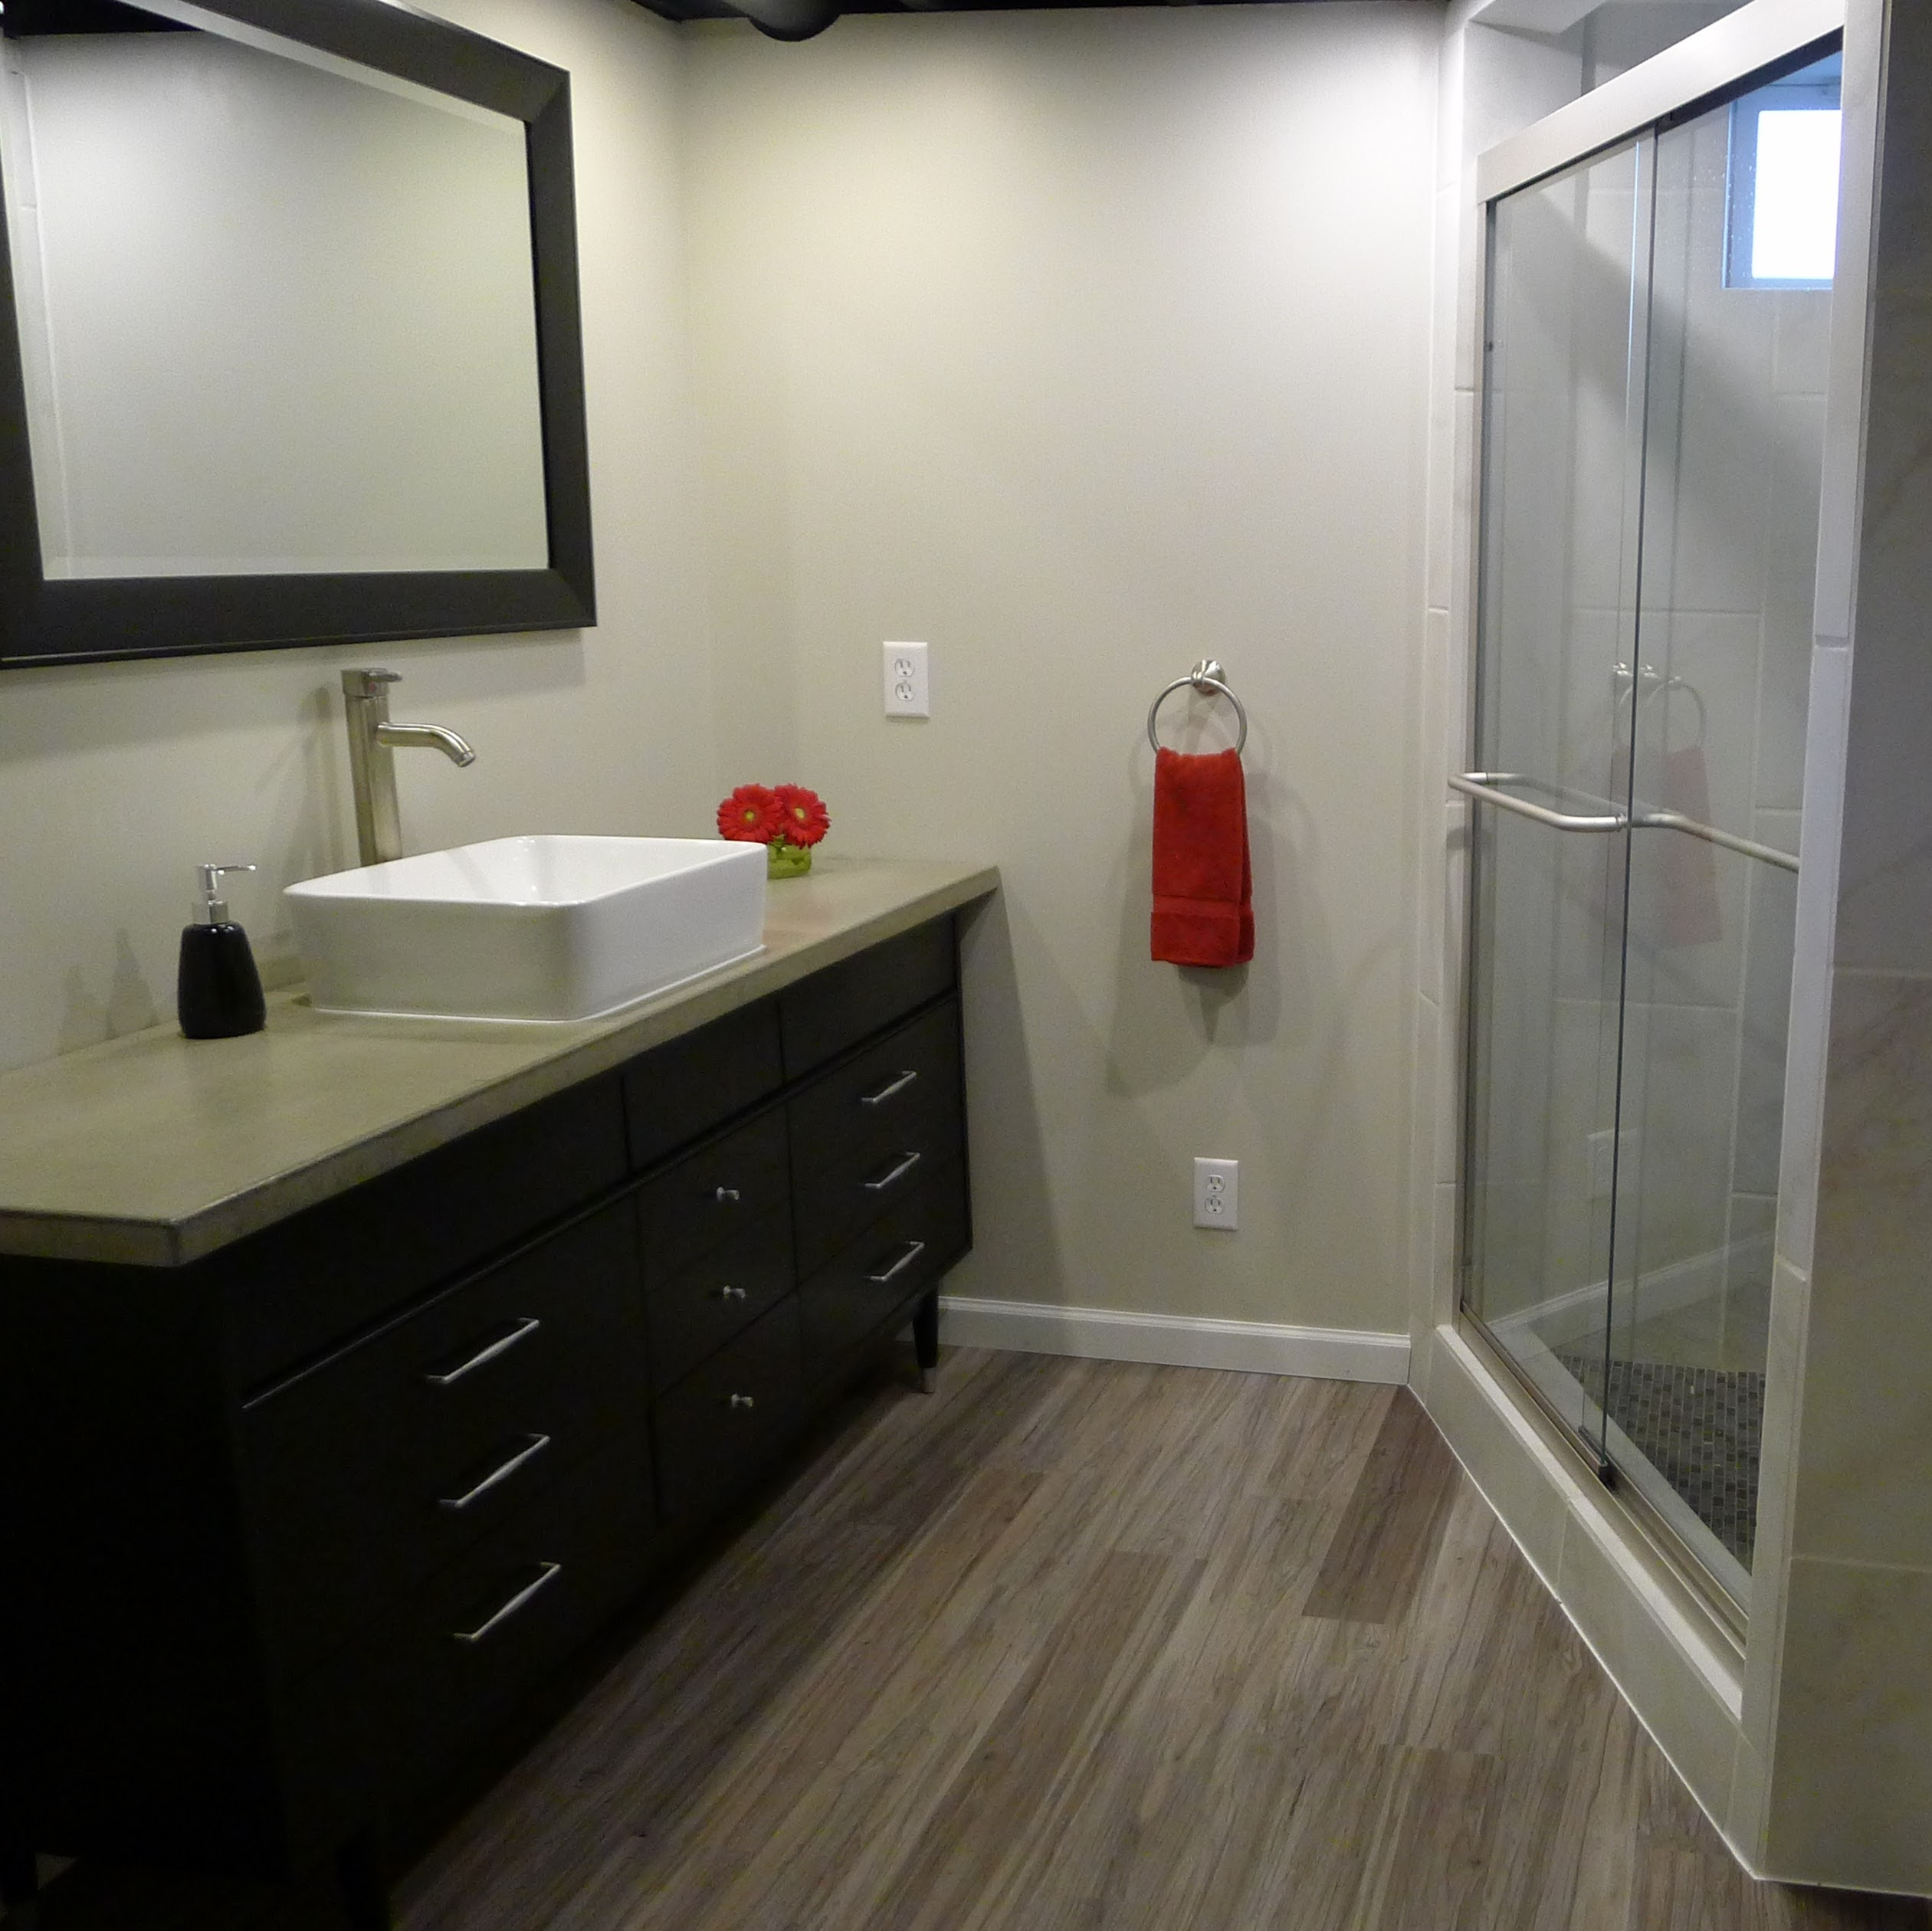
I’m super happy with the finished result! What do you think? If you’d like to see more details on the construction of this bathroom, check out the photo album over on the Home Remodeling page of the website.
For the next vanity, I’m going to try under-mount type sinks in a double vanity. Keep an eye out for that post. Till next time…