
Last summer I dragged the hose and sprinklers around the yard to keep the grass half-way green. This year, I decided it was time for a sprinkler system. I was surprised at how cheap I was able to do the project and it was pretty easy to install too…
Parts I Used
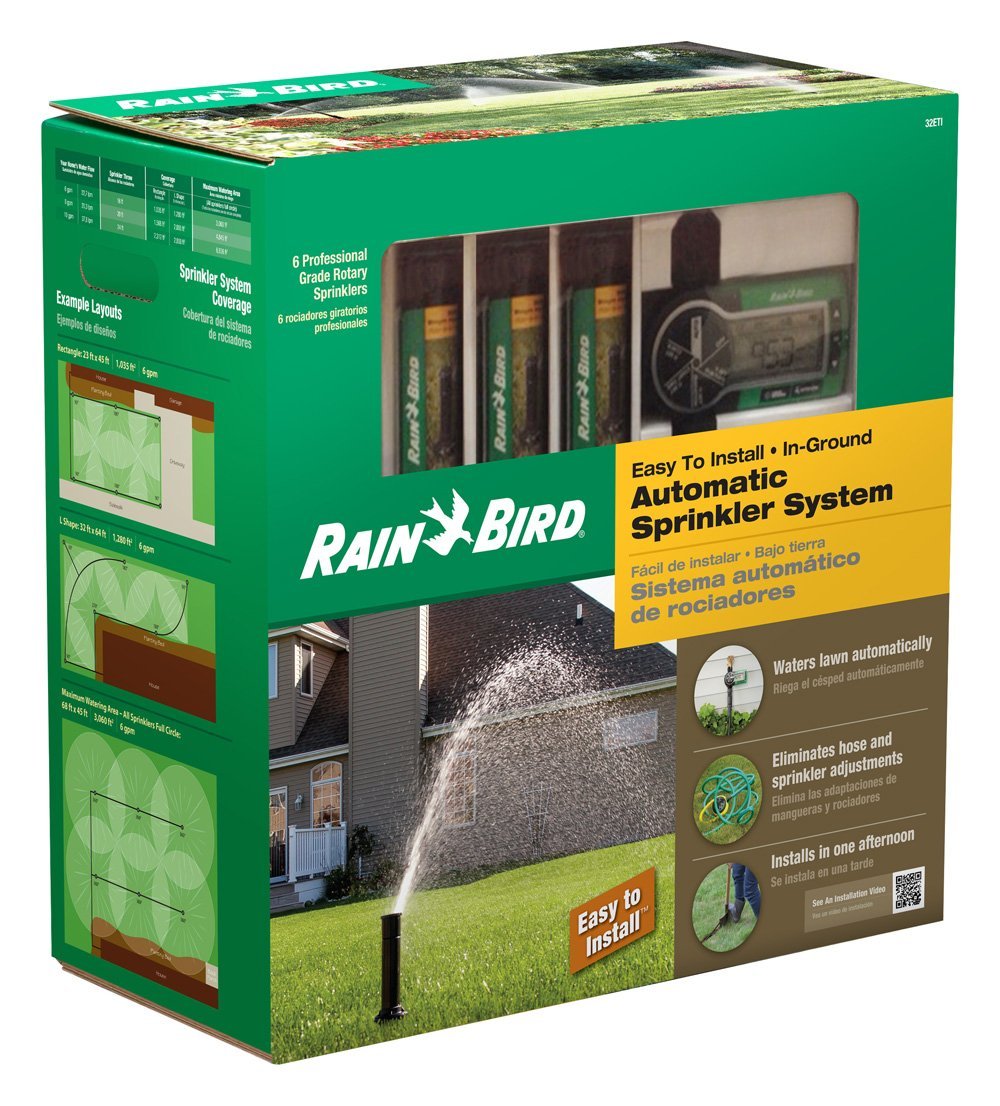
- The basic Rain Bird 32 ETI kit (I got this for 50% off at my local Lowe’s at the end of last season!)
- You can download the instructions here. They are actually pretty useful, for a change.
- Extra hose. I needed more than the 125 ft. included with the kit.
- Extra fittings
- Y-splitter (I already had this)
- (Optional) I added a flower garden sprinkler with these parts too:
My total cost was just over $100. Awesome deal!
Check Your Water Flow Rate
Use a 5 gallon bucket to measure the water flow at the hose nozzle you plan on using for the water supply. Open the valve wide open and time how long it takes to fill the bucket with water.
5 gallons / XX time in seconds * 60 seconds per minute = XX gallons per minute
Refer to the sprinkler head chart in the manual. This will tell you the maximum distance that the sprinkler heads will throw… assuming that you use all (6) sprinkler heads with the largest nozzle installed (worst case). If you draw a circle this diameter around each sprinkler head in your plan, you will see the maximum coverage area for each sprinkler.
We have really good water pressure at our house. I measured 10 gpm, which is enough for maximum distance (24 ft. radius) with these sprinkler heads.
Sketch Your Piping Plan
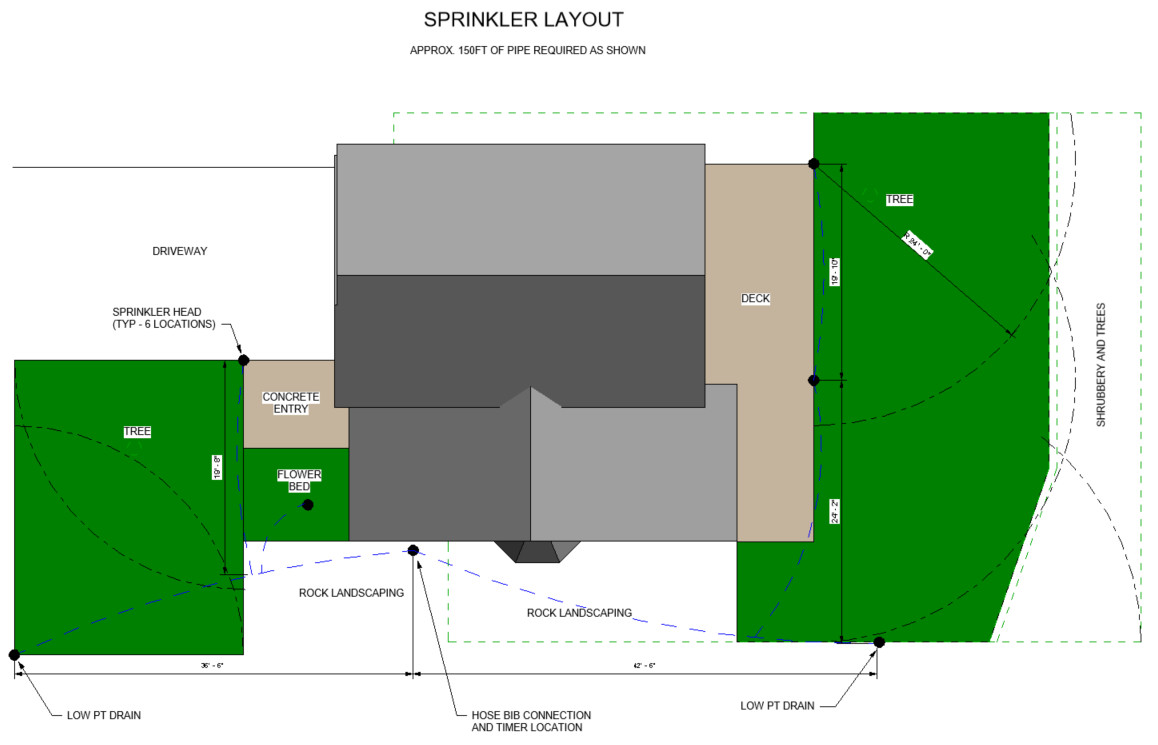
I’m an Engineer, so of course I drew mine up in CAD, but a pencil and graph paper will work just fine. This is a 1-zone system, so all the sprinklers are on/off at the same time. Basically, you just need to figure out a reasonable pipe route to the location of all the sprinkler heads. You should consider any obstacles in your yard, and the slope of the yard when you lay it out as well. Trees are definitely a major consideration. Digging through and around roots for big trees can be a lot of hard work.
Figure out where any necessary tees, elbows, or other fittings will need to be located. I also installed an automatic drain at the (2) low points in my layout to help keep the lines drained. This will be really helpful if we ever have an unexpected freeze. I don’t want that underground piping to burst! I also plan on blowing out the lines with compressed air in the fall to prevent any winter issues.
Temporarily Install and Test the System
|
|
|
|
|
|
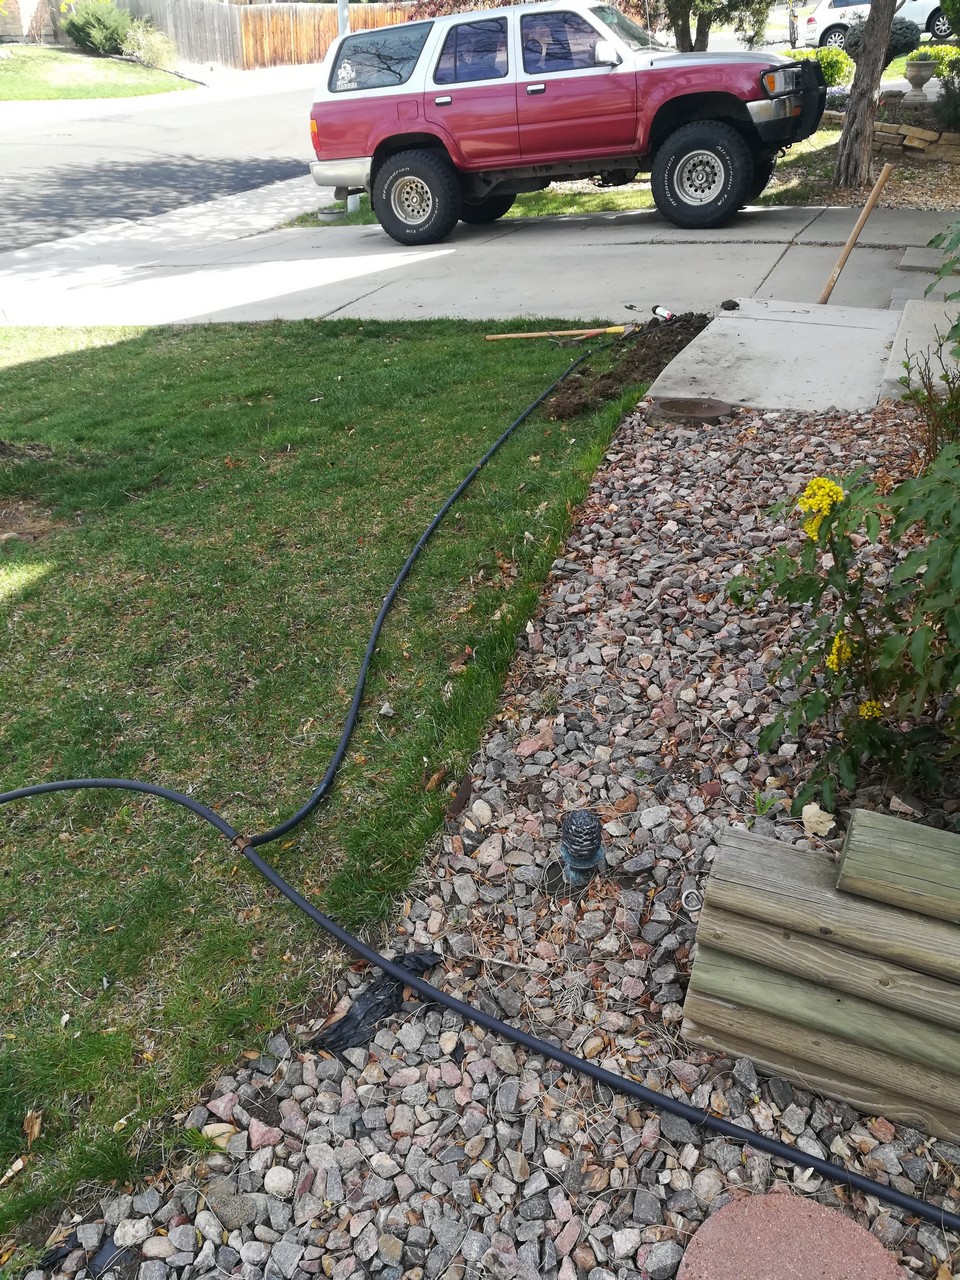


Don’t start digging yet. First you need to layout the whole system on top of the grass. You want to test out the system to make sure the coverage of your yard is good, before you start into the heavy manual labor.
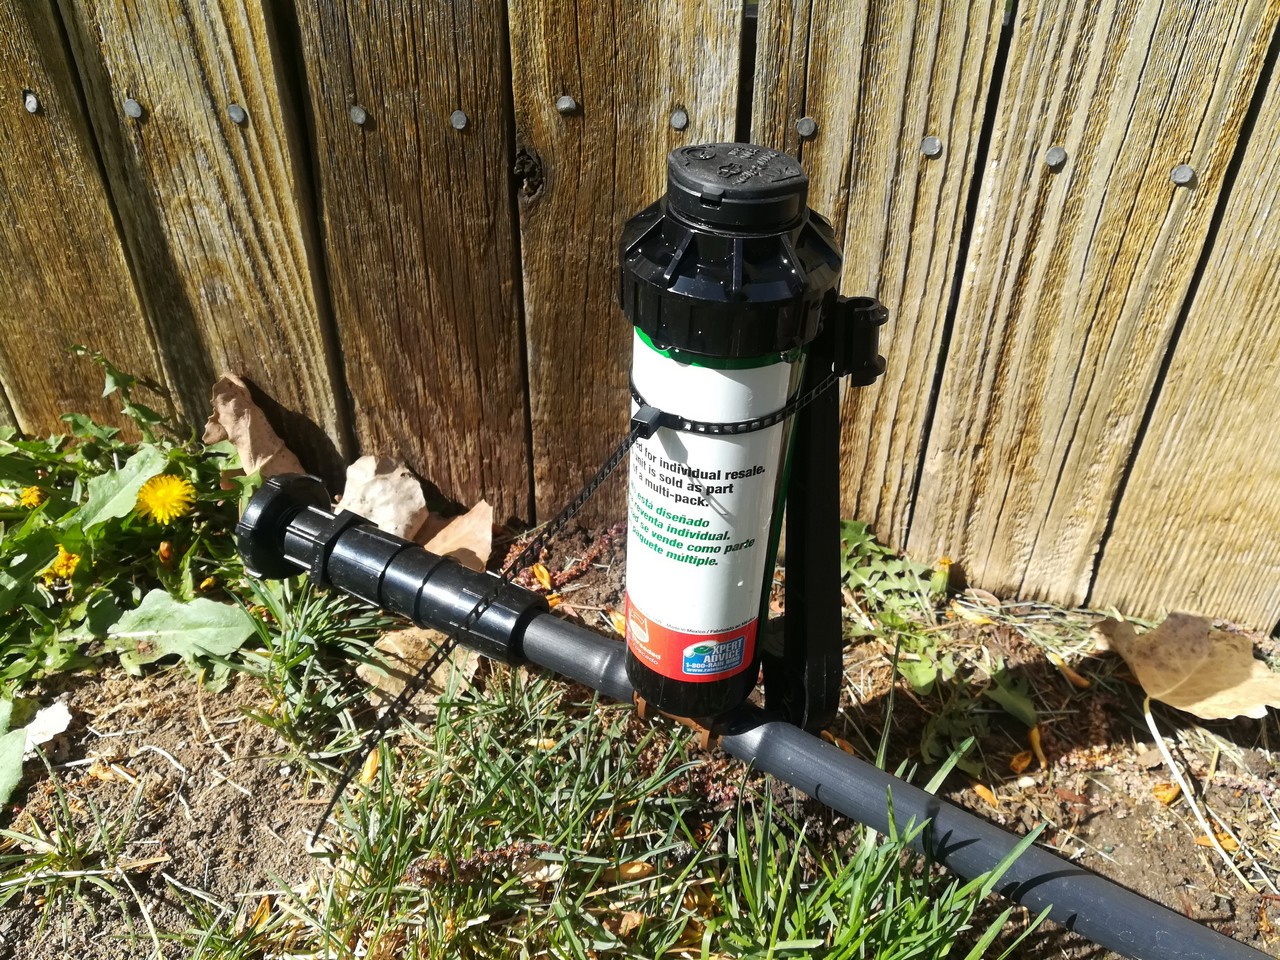
Lawn stakes and zip ties are supplied in the kit to temporarily position and test each sprinkler head location. It took me a little time to tweak each sprinkler head location.
There are (3) adjustments that you can make on each sprinkler head
- Nozzle size. There are (3) different nozzle sizes included in the kit (0.5, 1.0, and 1.5 gpm). Larger nozzle sizes will shoot out farther and cover a larger arc. If you loosen the front screw on the sprinkler head most of the way, you can just pop out the nozzle and put in a different size.
- Starting position for the pattern. By twisting the sprinkler head with your hand in a clockwise direction (until you here clicking) you can adjust where the left end stop of the sprinkling pattern is. It seems a bit counter intuitive at first, but trust me on this. If the left stop is not where you want it, you must turn the head to the right to adjust it. Sometimes you might have to turn the sprinkler head almost 360° to make a small adjustment.
- Pattern coverage arc. You can change the coverage area from a small wedge to a full 360° pattern by turning the screw at the back of the sprinkler head. Clockwise will make the pattern larger.
It takes some back and forth between the different adjustments to get everything setup.
Dig the Trench
|
|
|
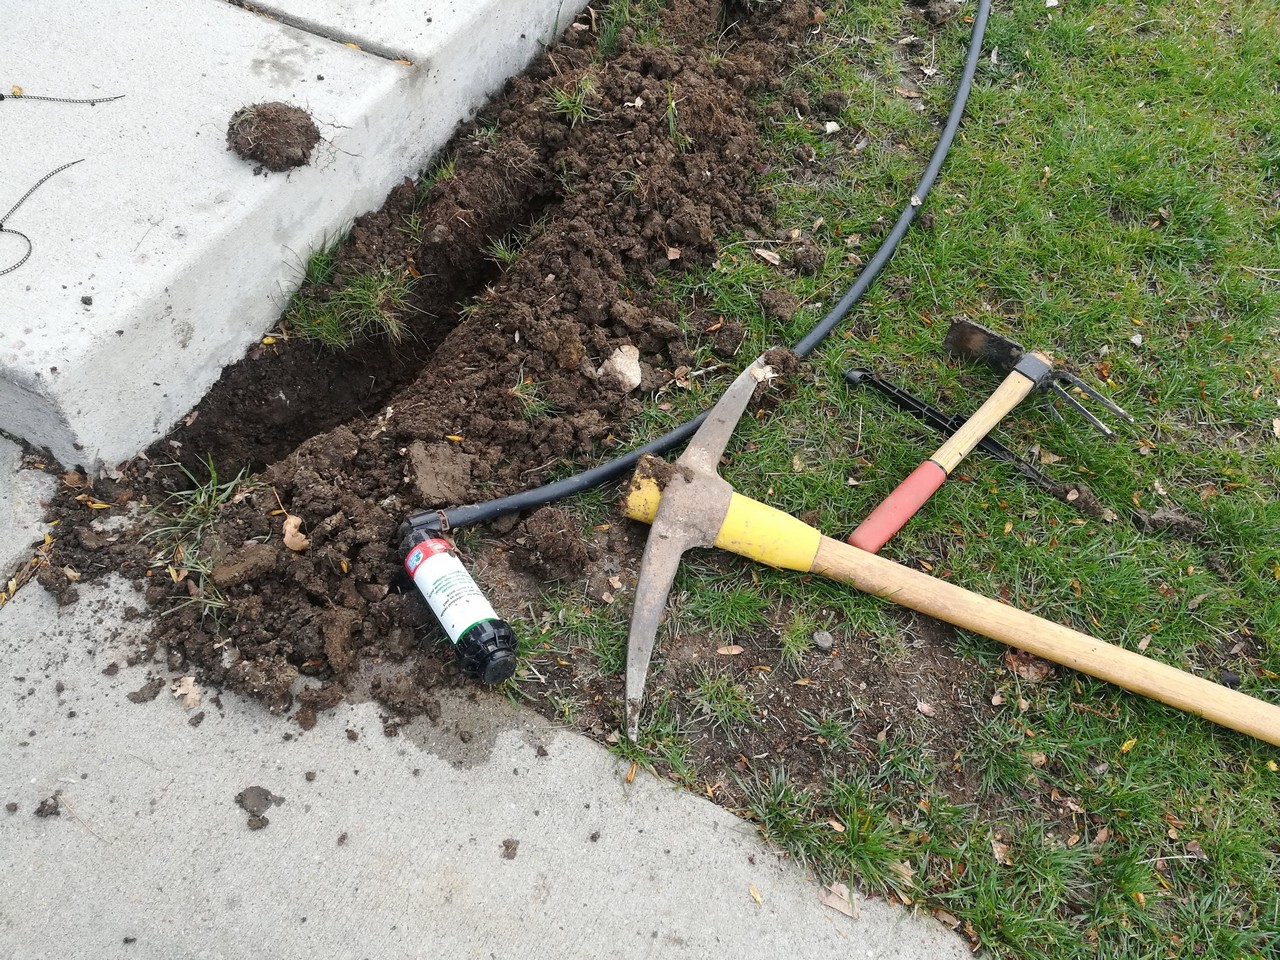
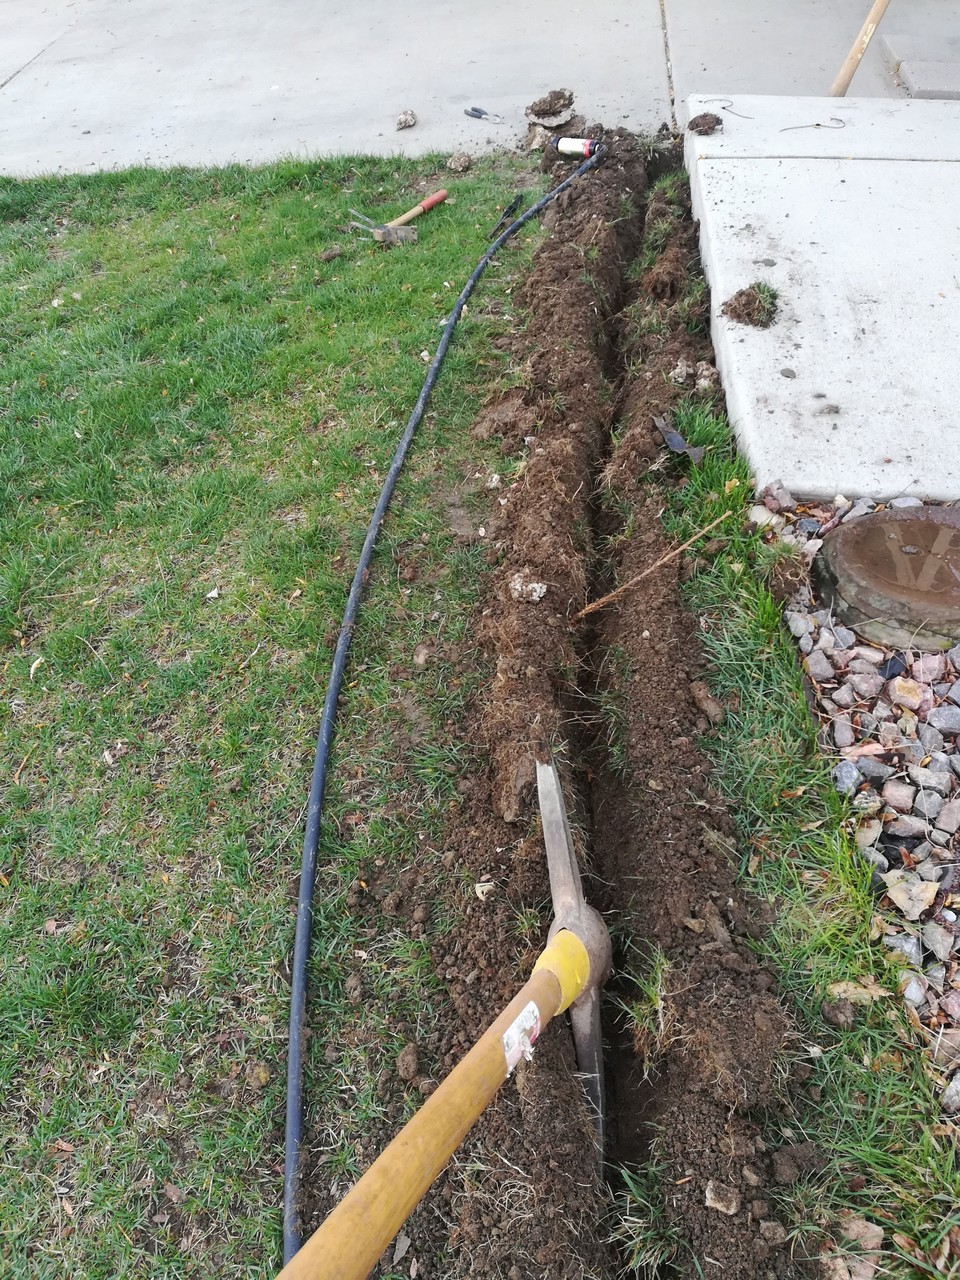
This is the fun part of the project… NOT! I dug my trench all by hand and it took the better part of an entire weekend to get the trench dug and the pipe buried. I installed about 175 ft. of pipe. If you have a larger yard, I would consider renting a trencher to get the job done.
The most useful tool for me was a pick axe. It did a good job of the basic trenching. I had to use a small hand gardening type shovel around the sprinkler heads too.
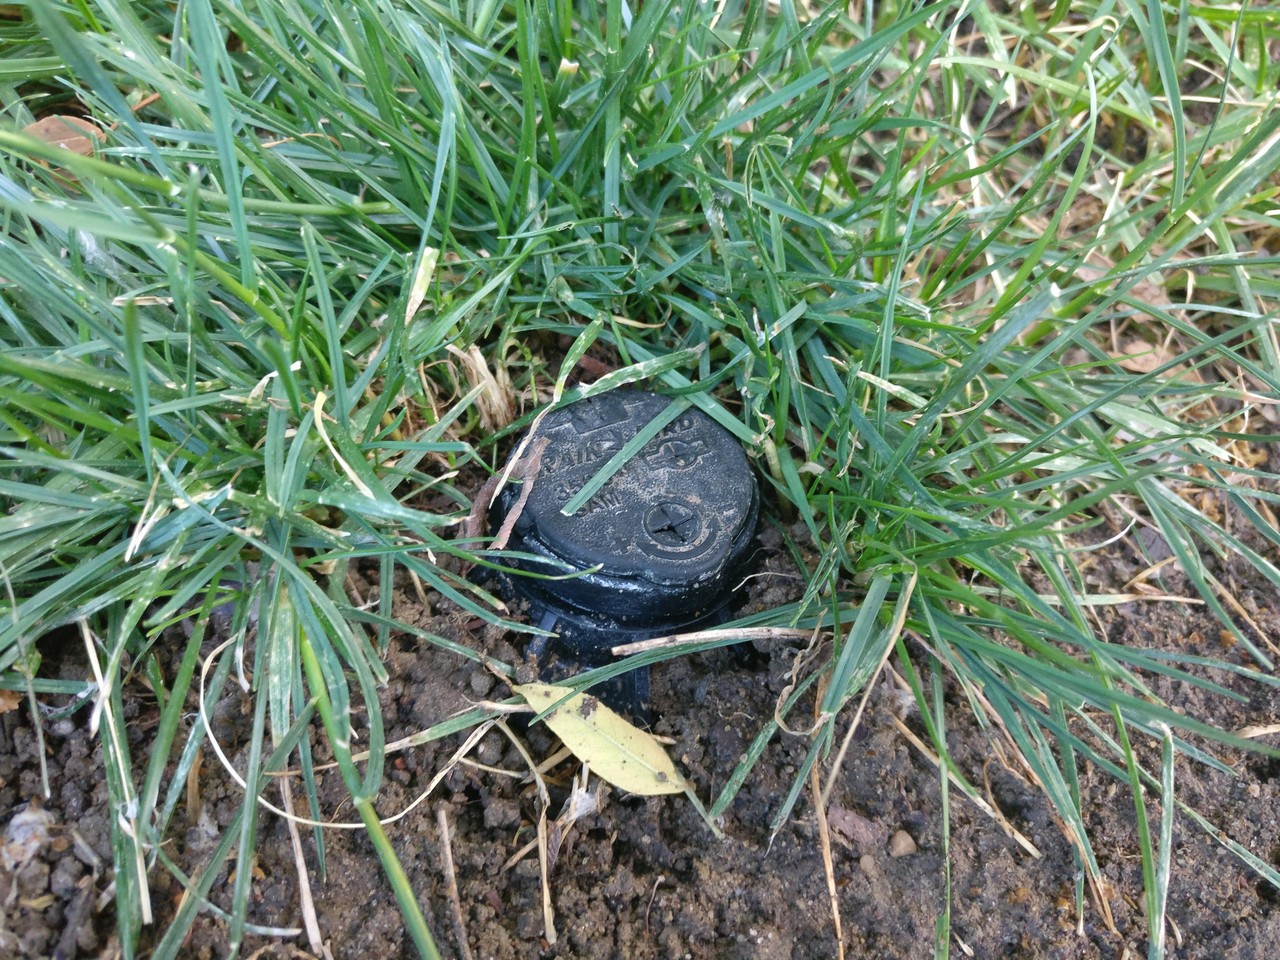
Be careful to set the height of the sprinkler heads so the top of the sprinkler head is even with ground level. You don’t want it sticking out where you might hit it with the lawn mower or something.
Put some stones around the end-of-line automatic drain locations. Hopefully, this will prevent the drains from getting plugged up and help the pipes drain a little easier.
I tried to put the pipe at least 6″ underground everywhere. I had a lot of roots to work around, so it was a bit challenging. I even tunneled under a couple of the really big roots. I don’t want to kill my shade trees!
Fill and pack the dirt back in around the pipe and sprinkler heads. Spread a little grass seed around to fix things up too. You have a sprinkler system now, so it should be sprouting up in no time. 🙂
Test and Tune the System
- Adjust sprinkler patterns.
- Change to higher or lower flow nozzles.
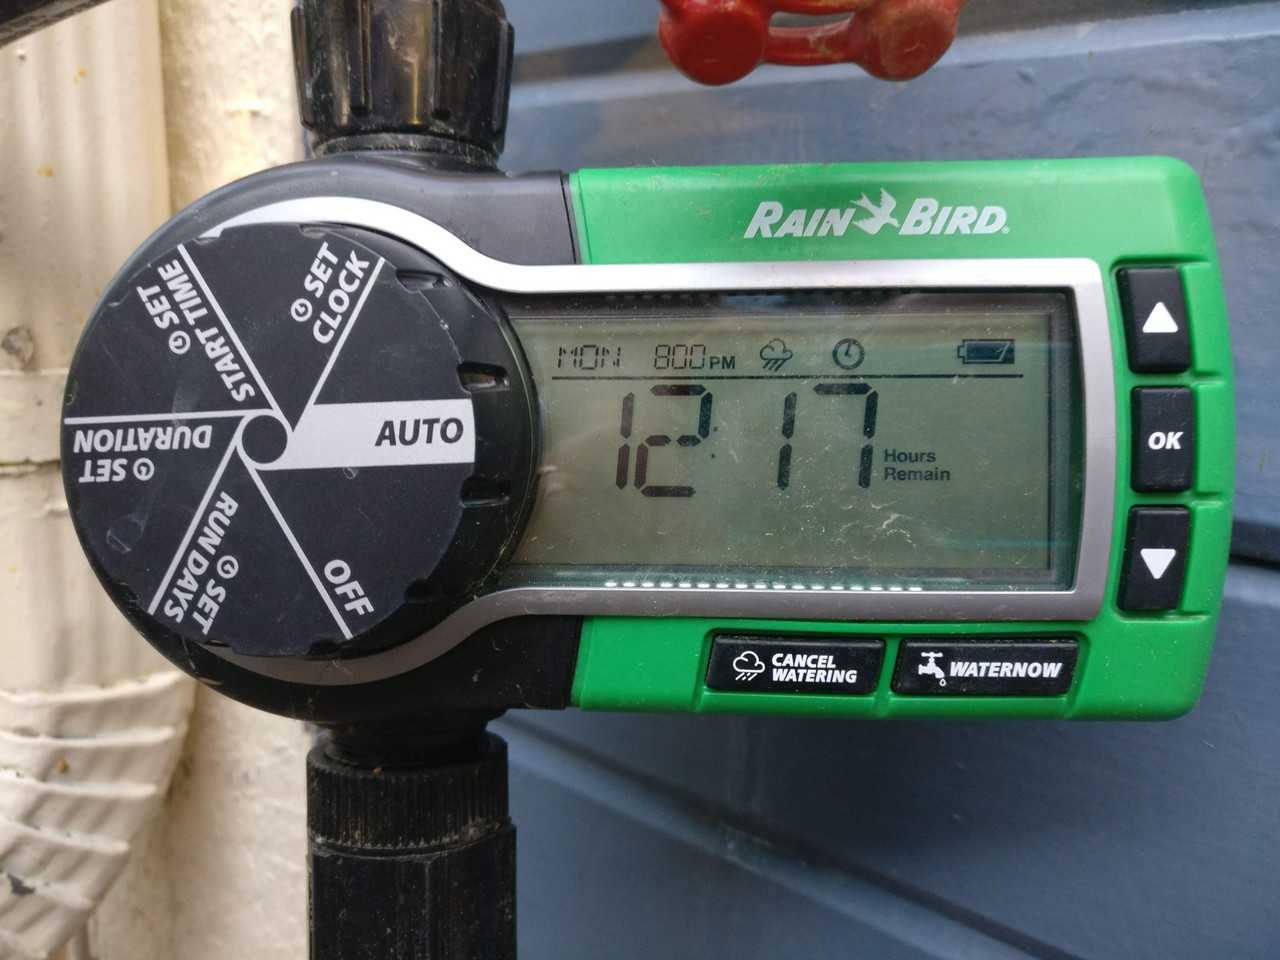
- Setup the automatic controller. It’s pretty straight forward. I like the rotary dial design of this controller. Some reviewers on Amazon have complained about issues with the controller, but mine has been working well for a few months now. If I had to replace this someday, I wouldn’t be too disappointed anyway. It was cheap, I’m not expecting this thing to last forever.
Have a Beer While You Watch Your New Sprinkler System
I couldn’t be happier with my bang-for-the-buck on this project! There isn’t much to photograph once the installation is complete… It’s mostly underground! Just make sure that you don’t have any leakers and the sprinkler heads are buried flush with your yard.
Trust me… It’s really satisfying when the sprinkler system automatically turns on in the morning! Till next time…
[…] a DIY sprinkler system for our yard. If you haven’t checked out that post then head over here. It gives a lot of good background information on the original installation and layout of the […]