
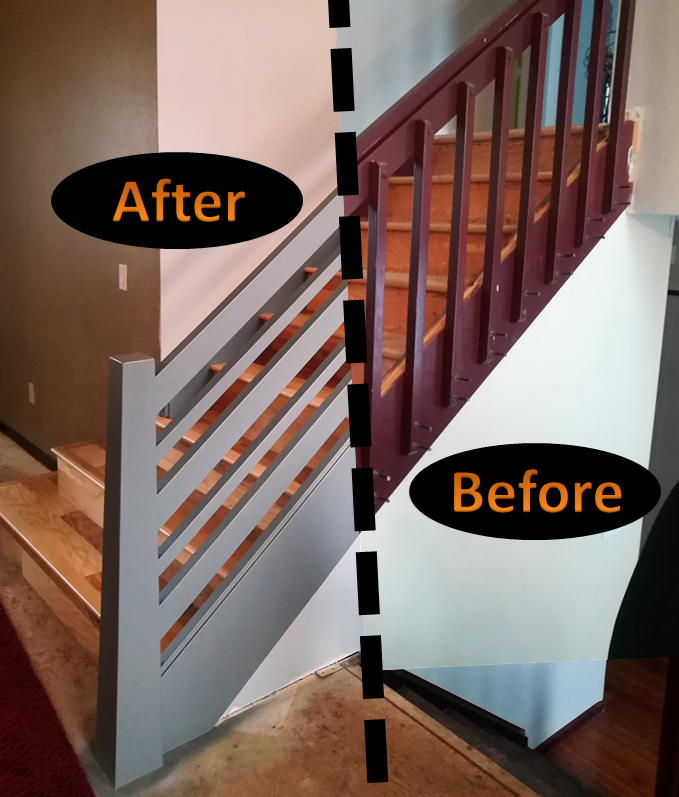
I recently replaced the main stair railing in our house with a new modern style railing that totally changes the look of our stairway. This is how I did it…
Materials
I used all Poplar lumber for this build. Poplar is a great choice for a nice straight hardwood that is really durable and looks great when painted. You can also find it at any big box store.
- Qty (4) 1x6x8 ft. Poplar boards
- Qty (6) 1x4x10 ft. Poplar boards
- Qty (4) 1x2x10 ft. Poplar boards
- Qty (1) bottle of Titebond II Wood Glue
- Primer – Zinsser BIN Primer
- Paint – HGTV HOME by Sherwin-Williams Ovation Satin Latex
- Misc – sand paper, screws, 18 gauge pin nails
Project Cost: ~$250
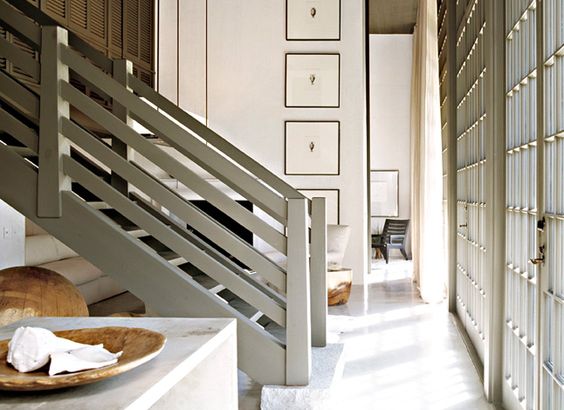
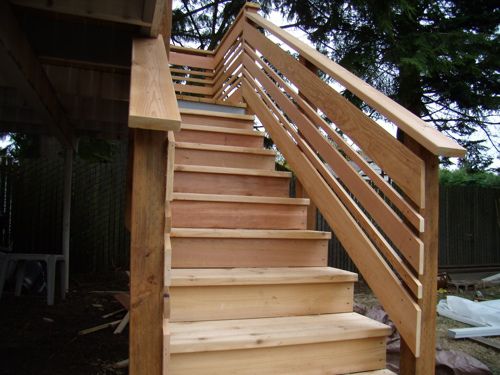
Pinterest Inspiration
I was looking for something with a simple design, but something that still had some style. I’ve been drawn to the horizontal railing and fence styles that have a nice modern look. They just seem to have a more relaxed feeling that leads your eye along the path instead of having that divided look that railing spindles tend to have. I found a few ideas on Pinterest that seemed to be what I was looking for…
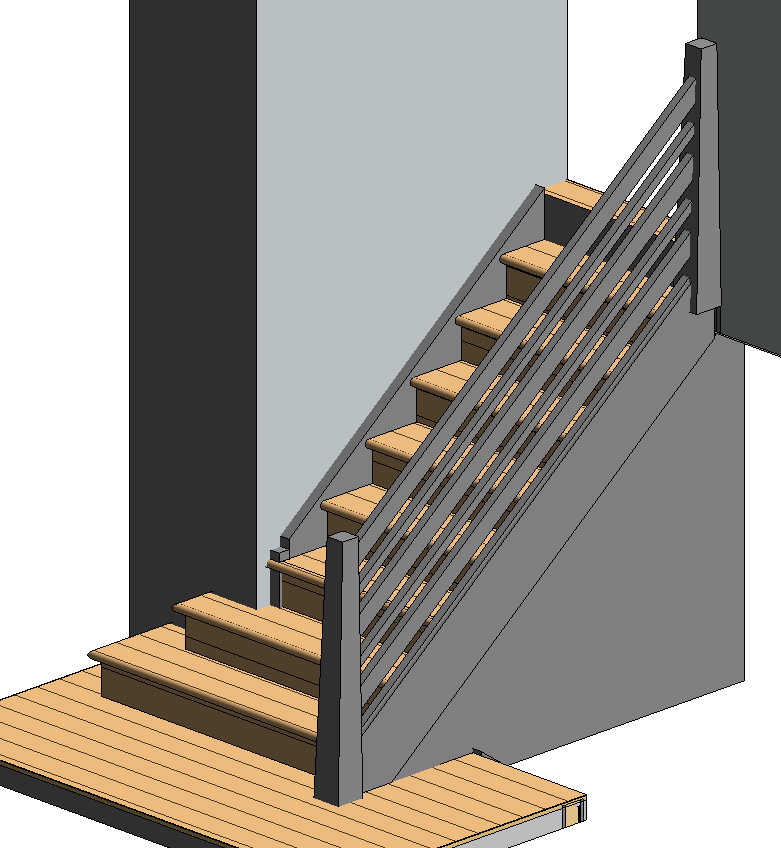
My Plan
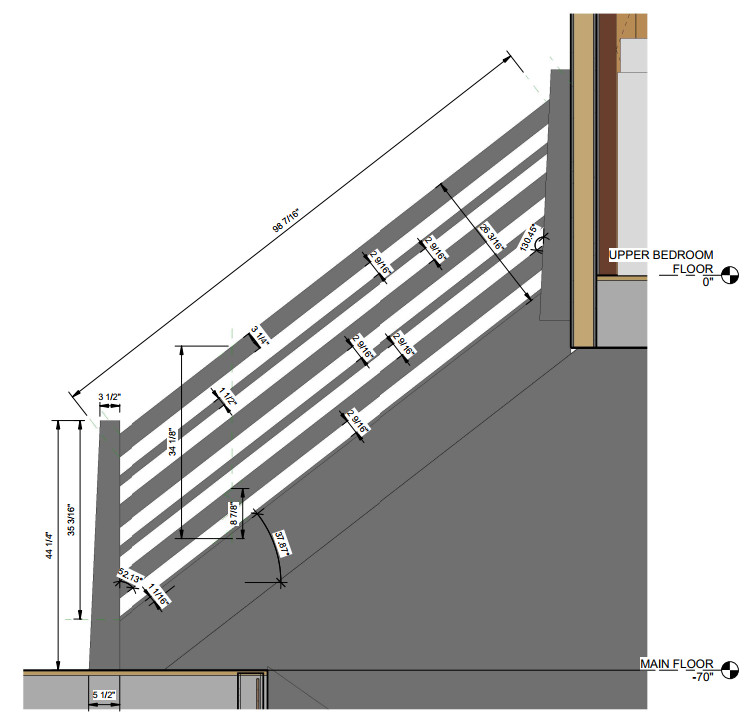
Based on those Pinterest ideas, I went to work in Autodesk Revit and whipped up some design plans.
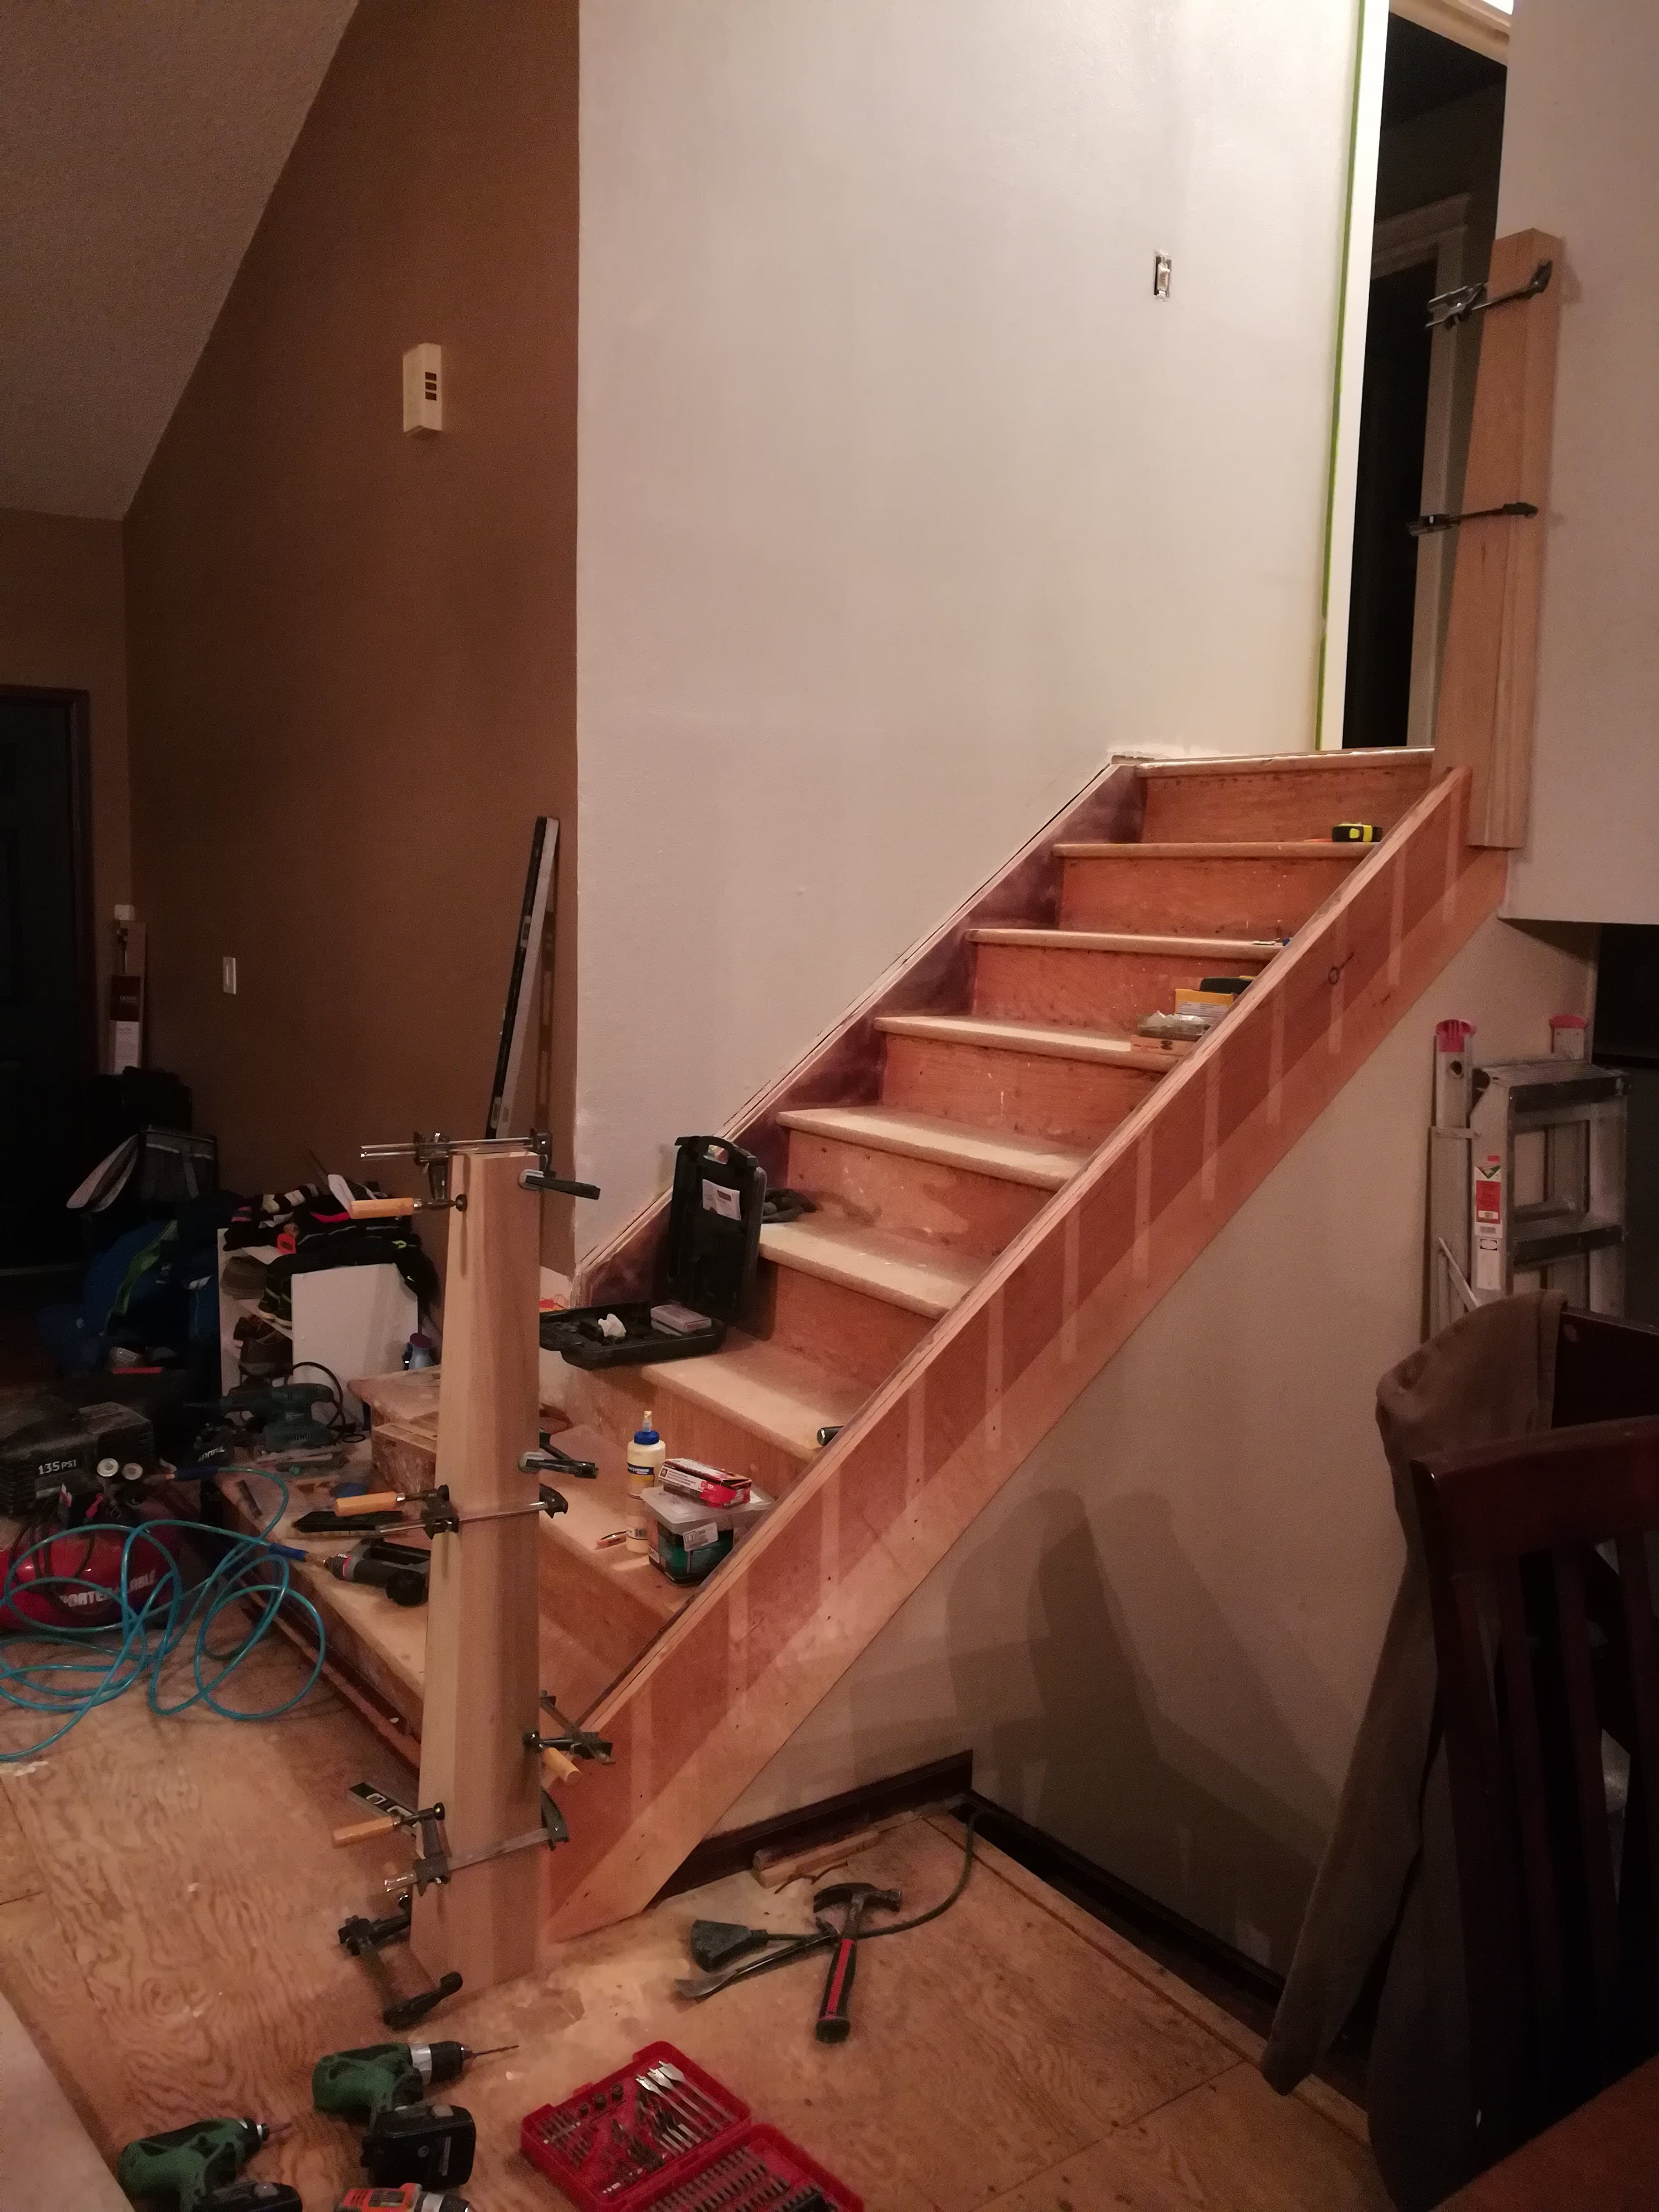
Demo
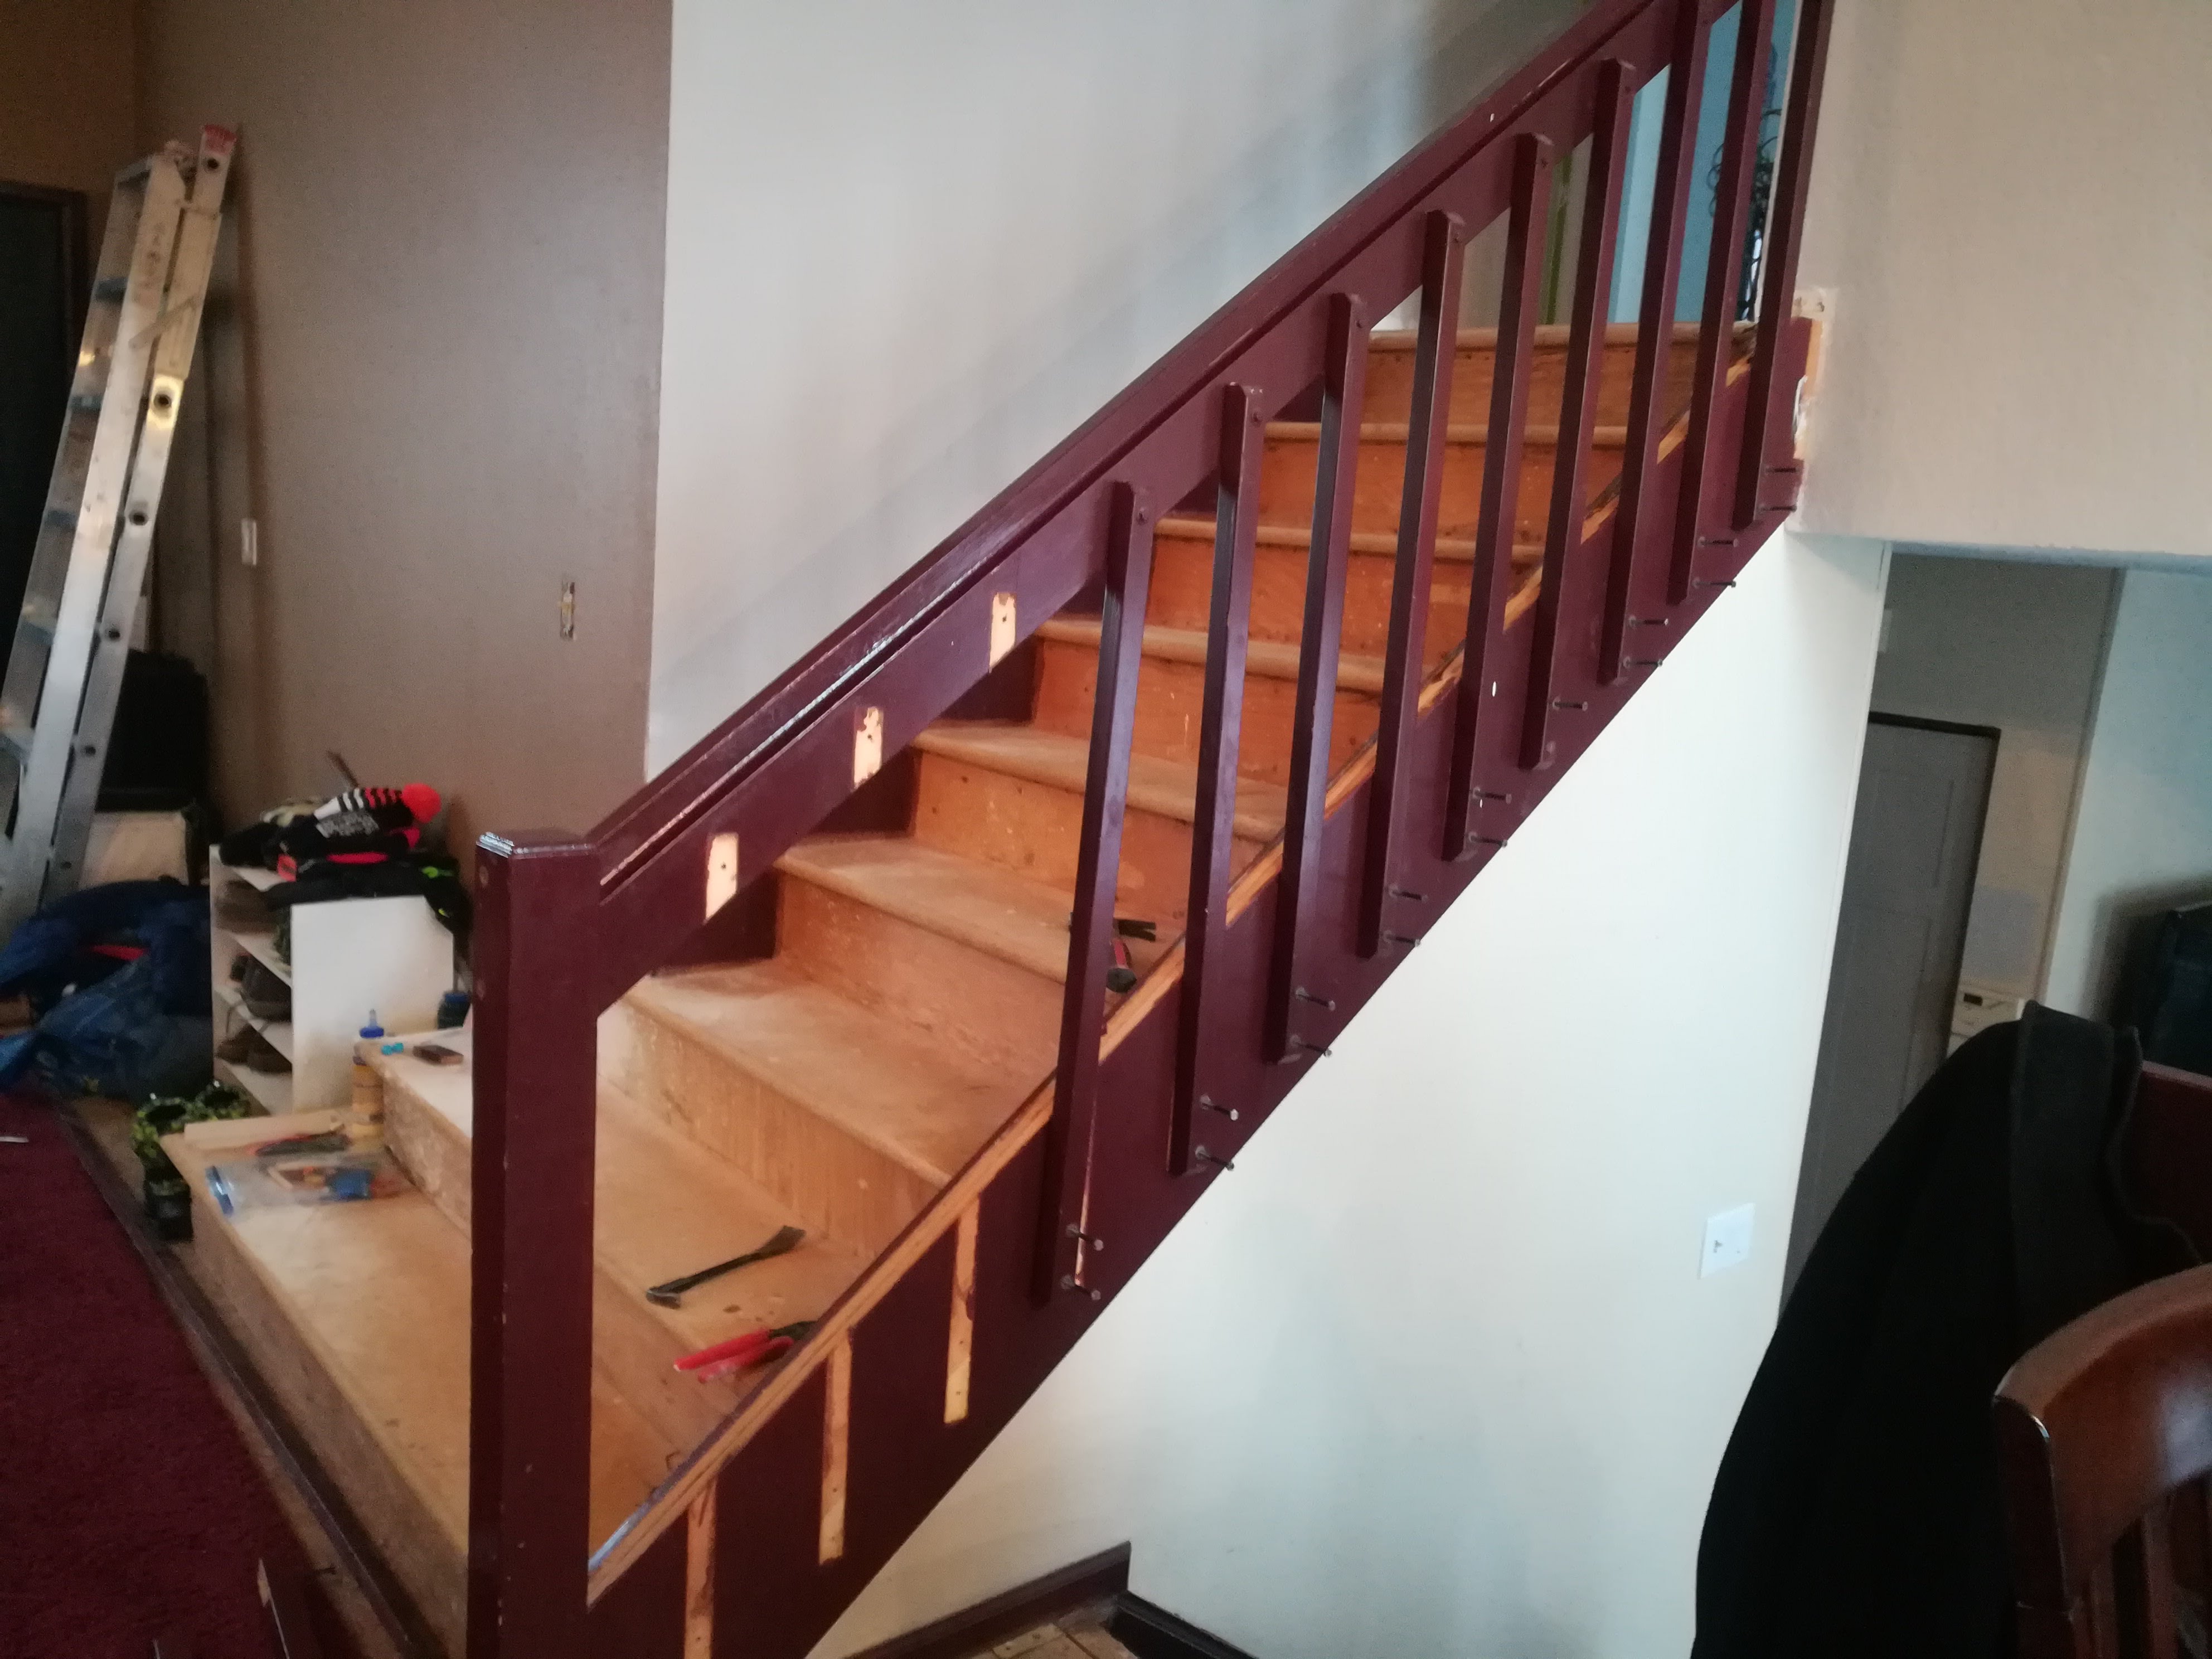
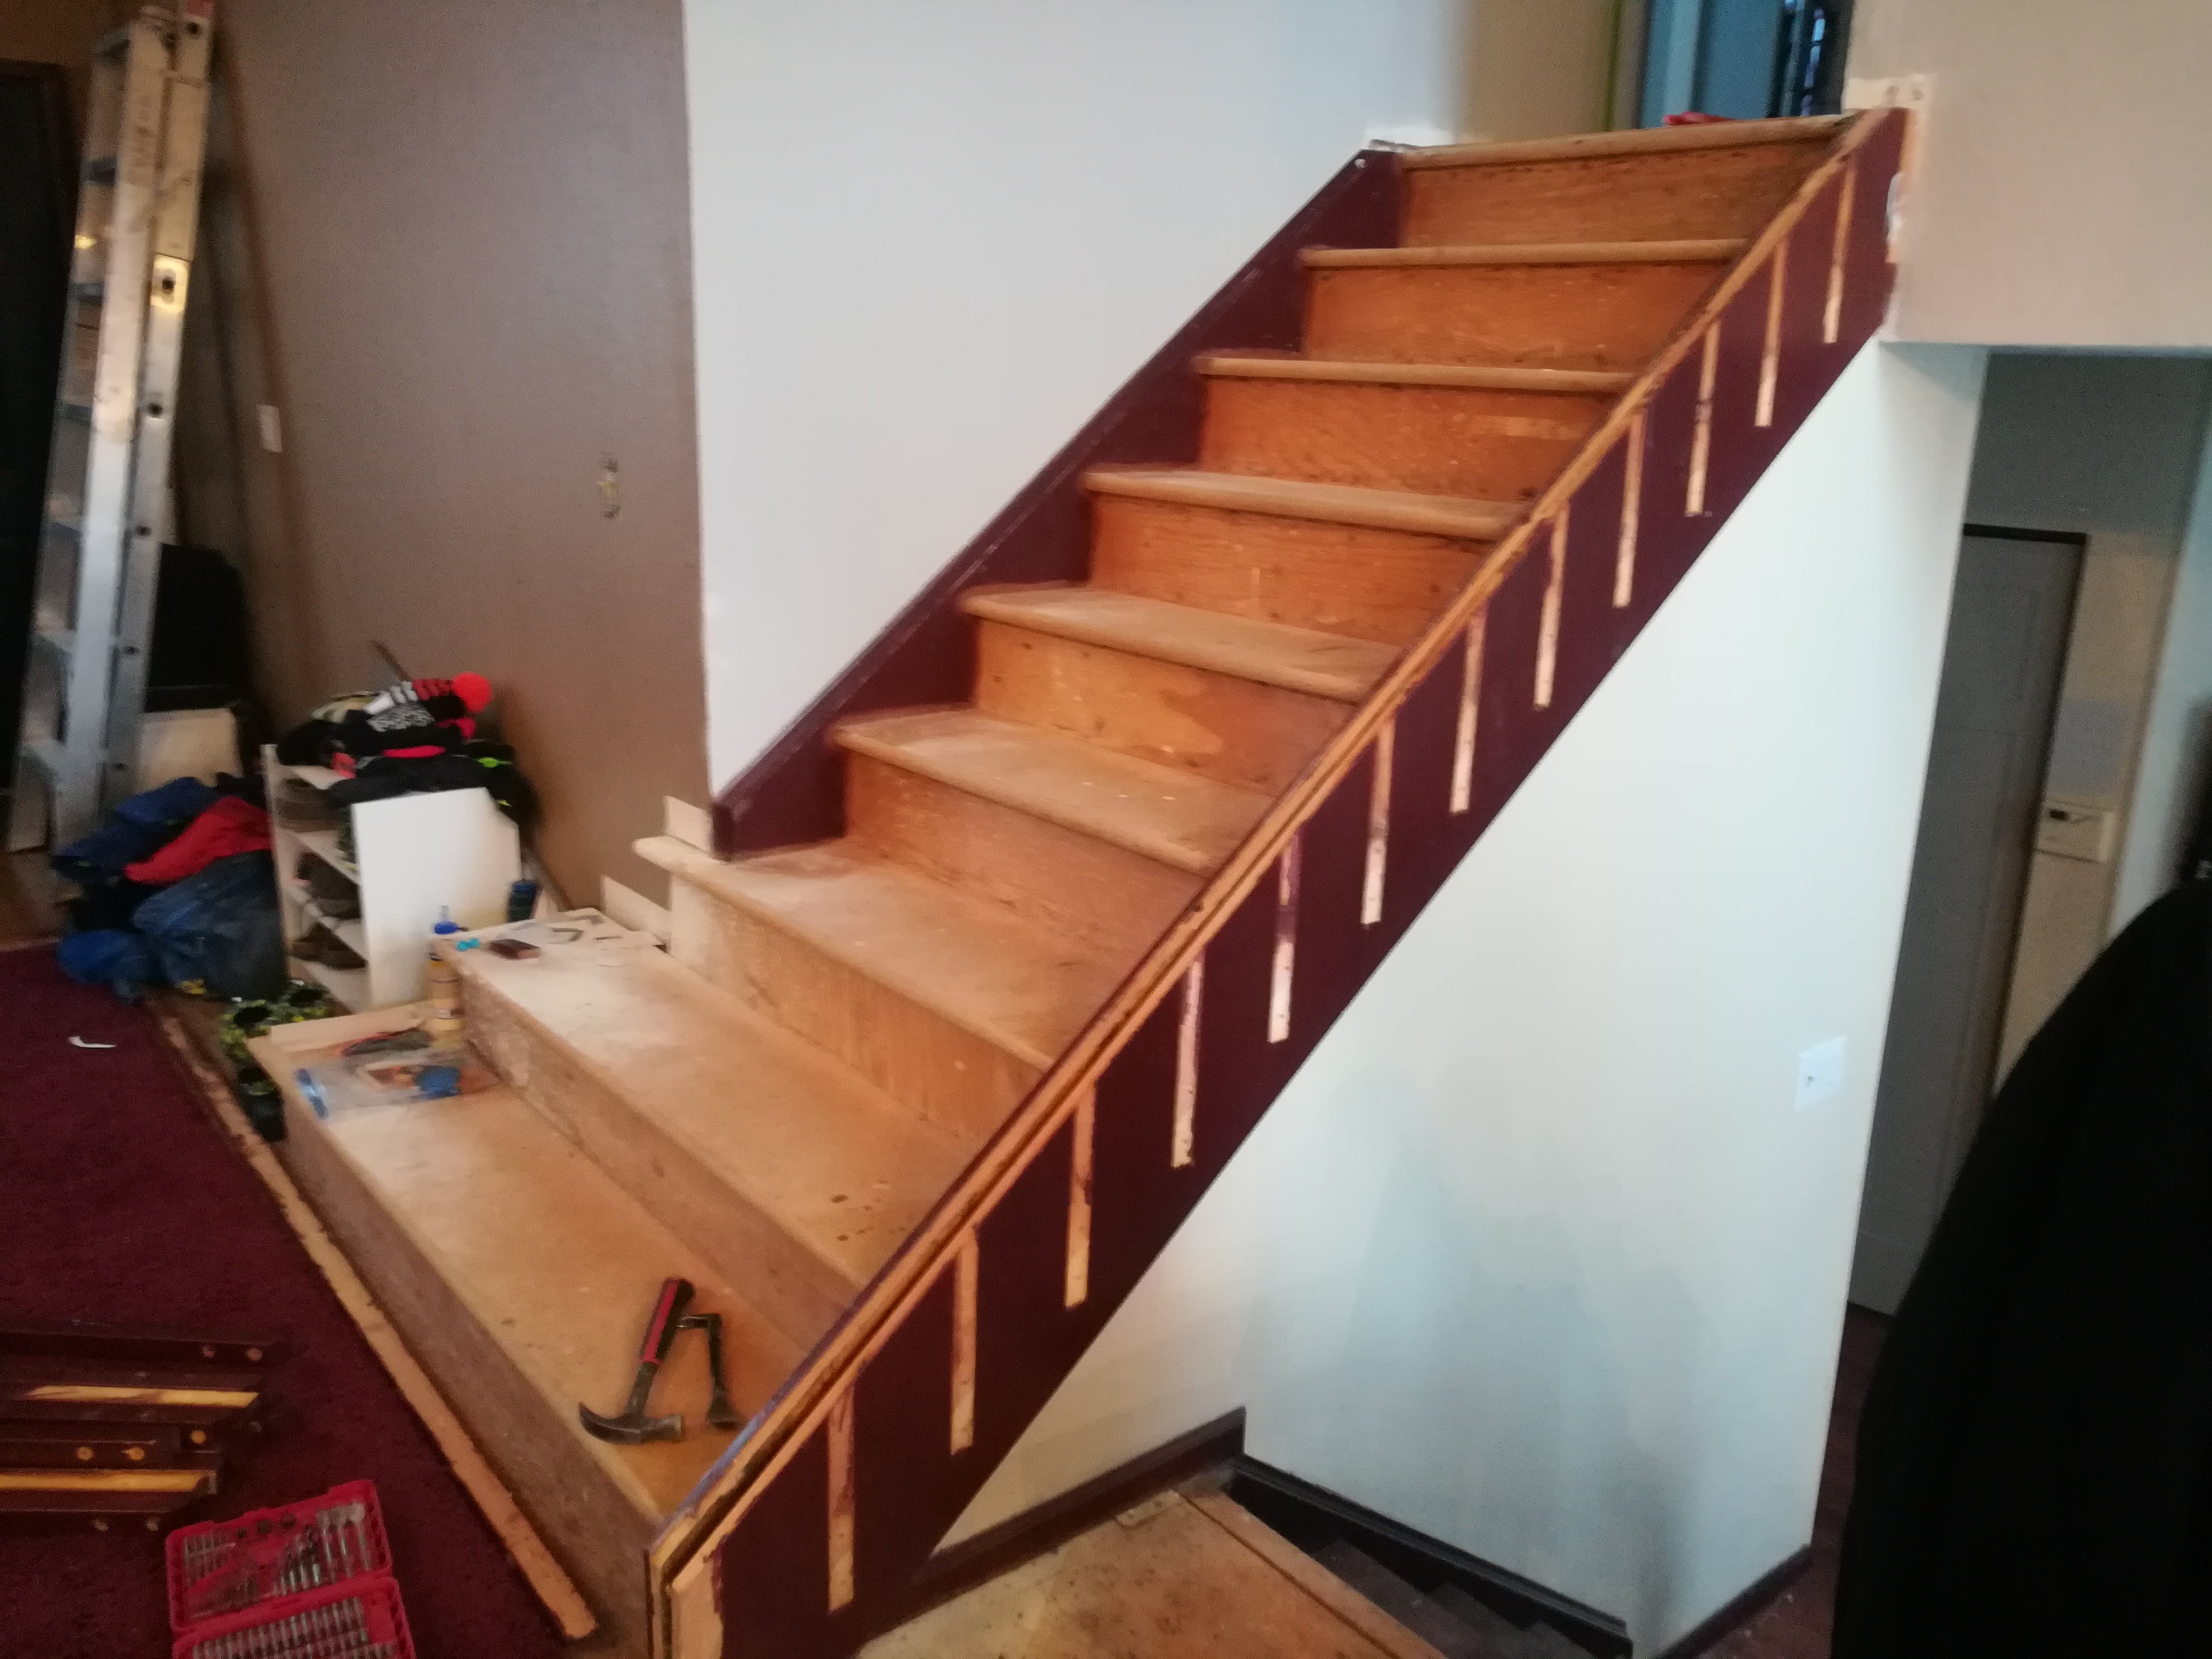
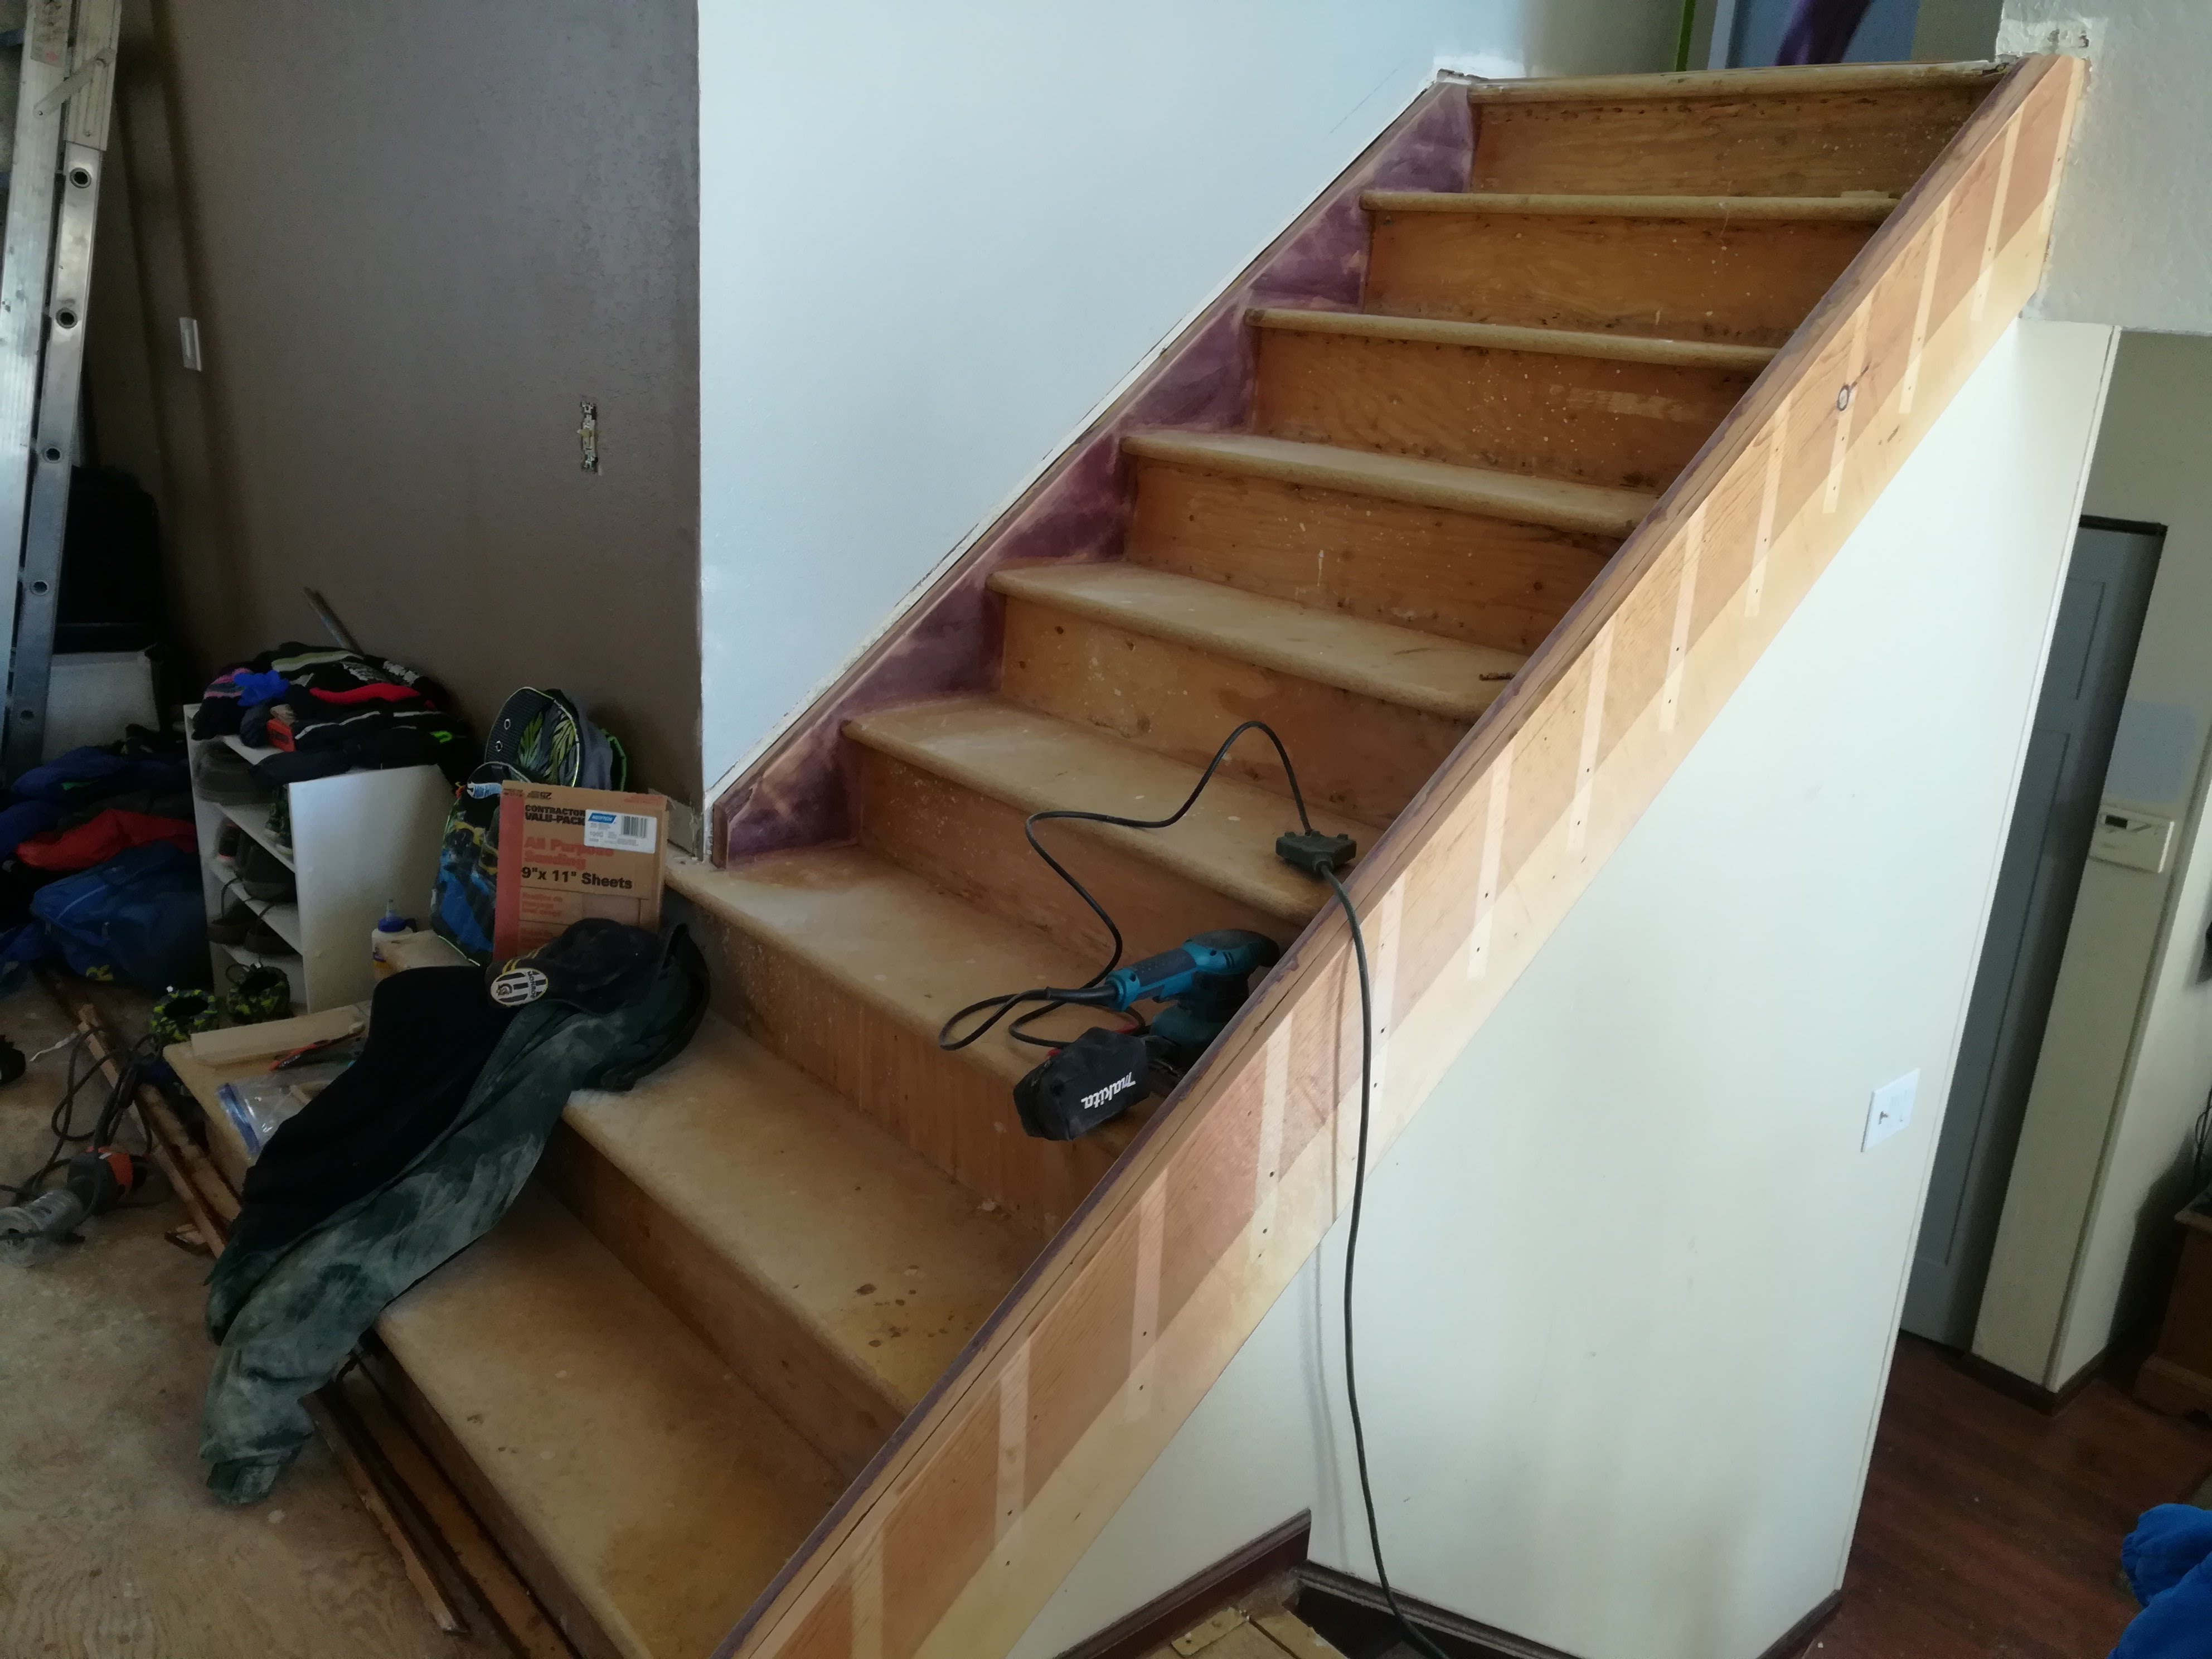
The first step is my son, Reece’s, favorite of every project. Demo. Getting rid of that old eyesore was an easy task. It looks better already.
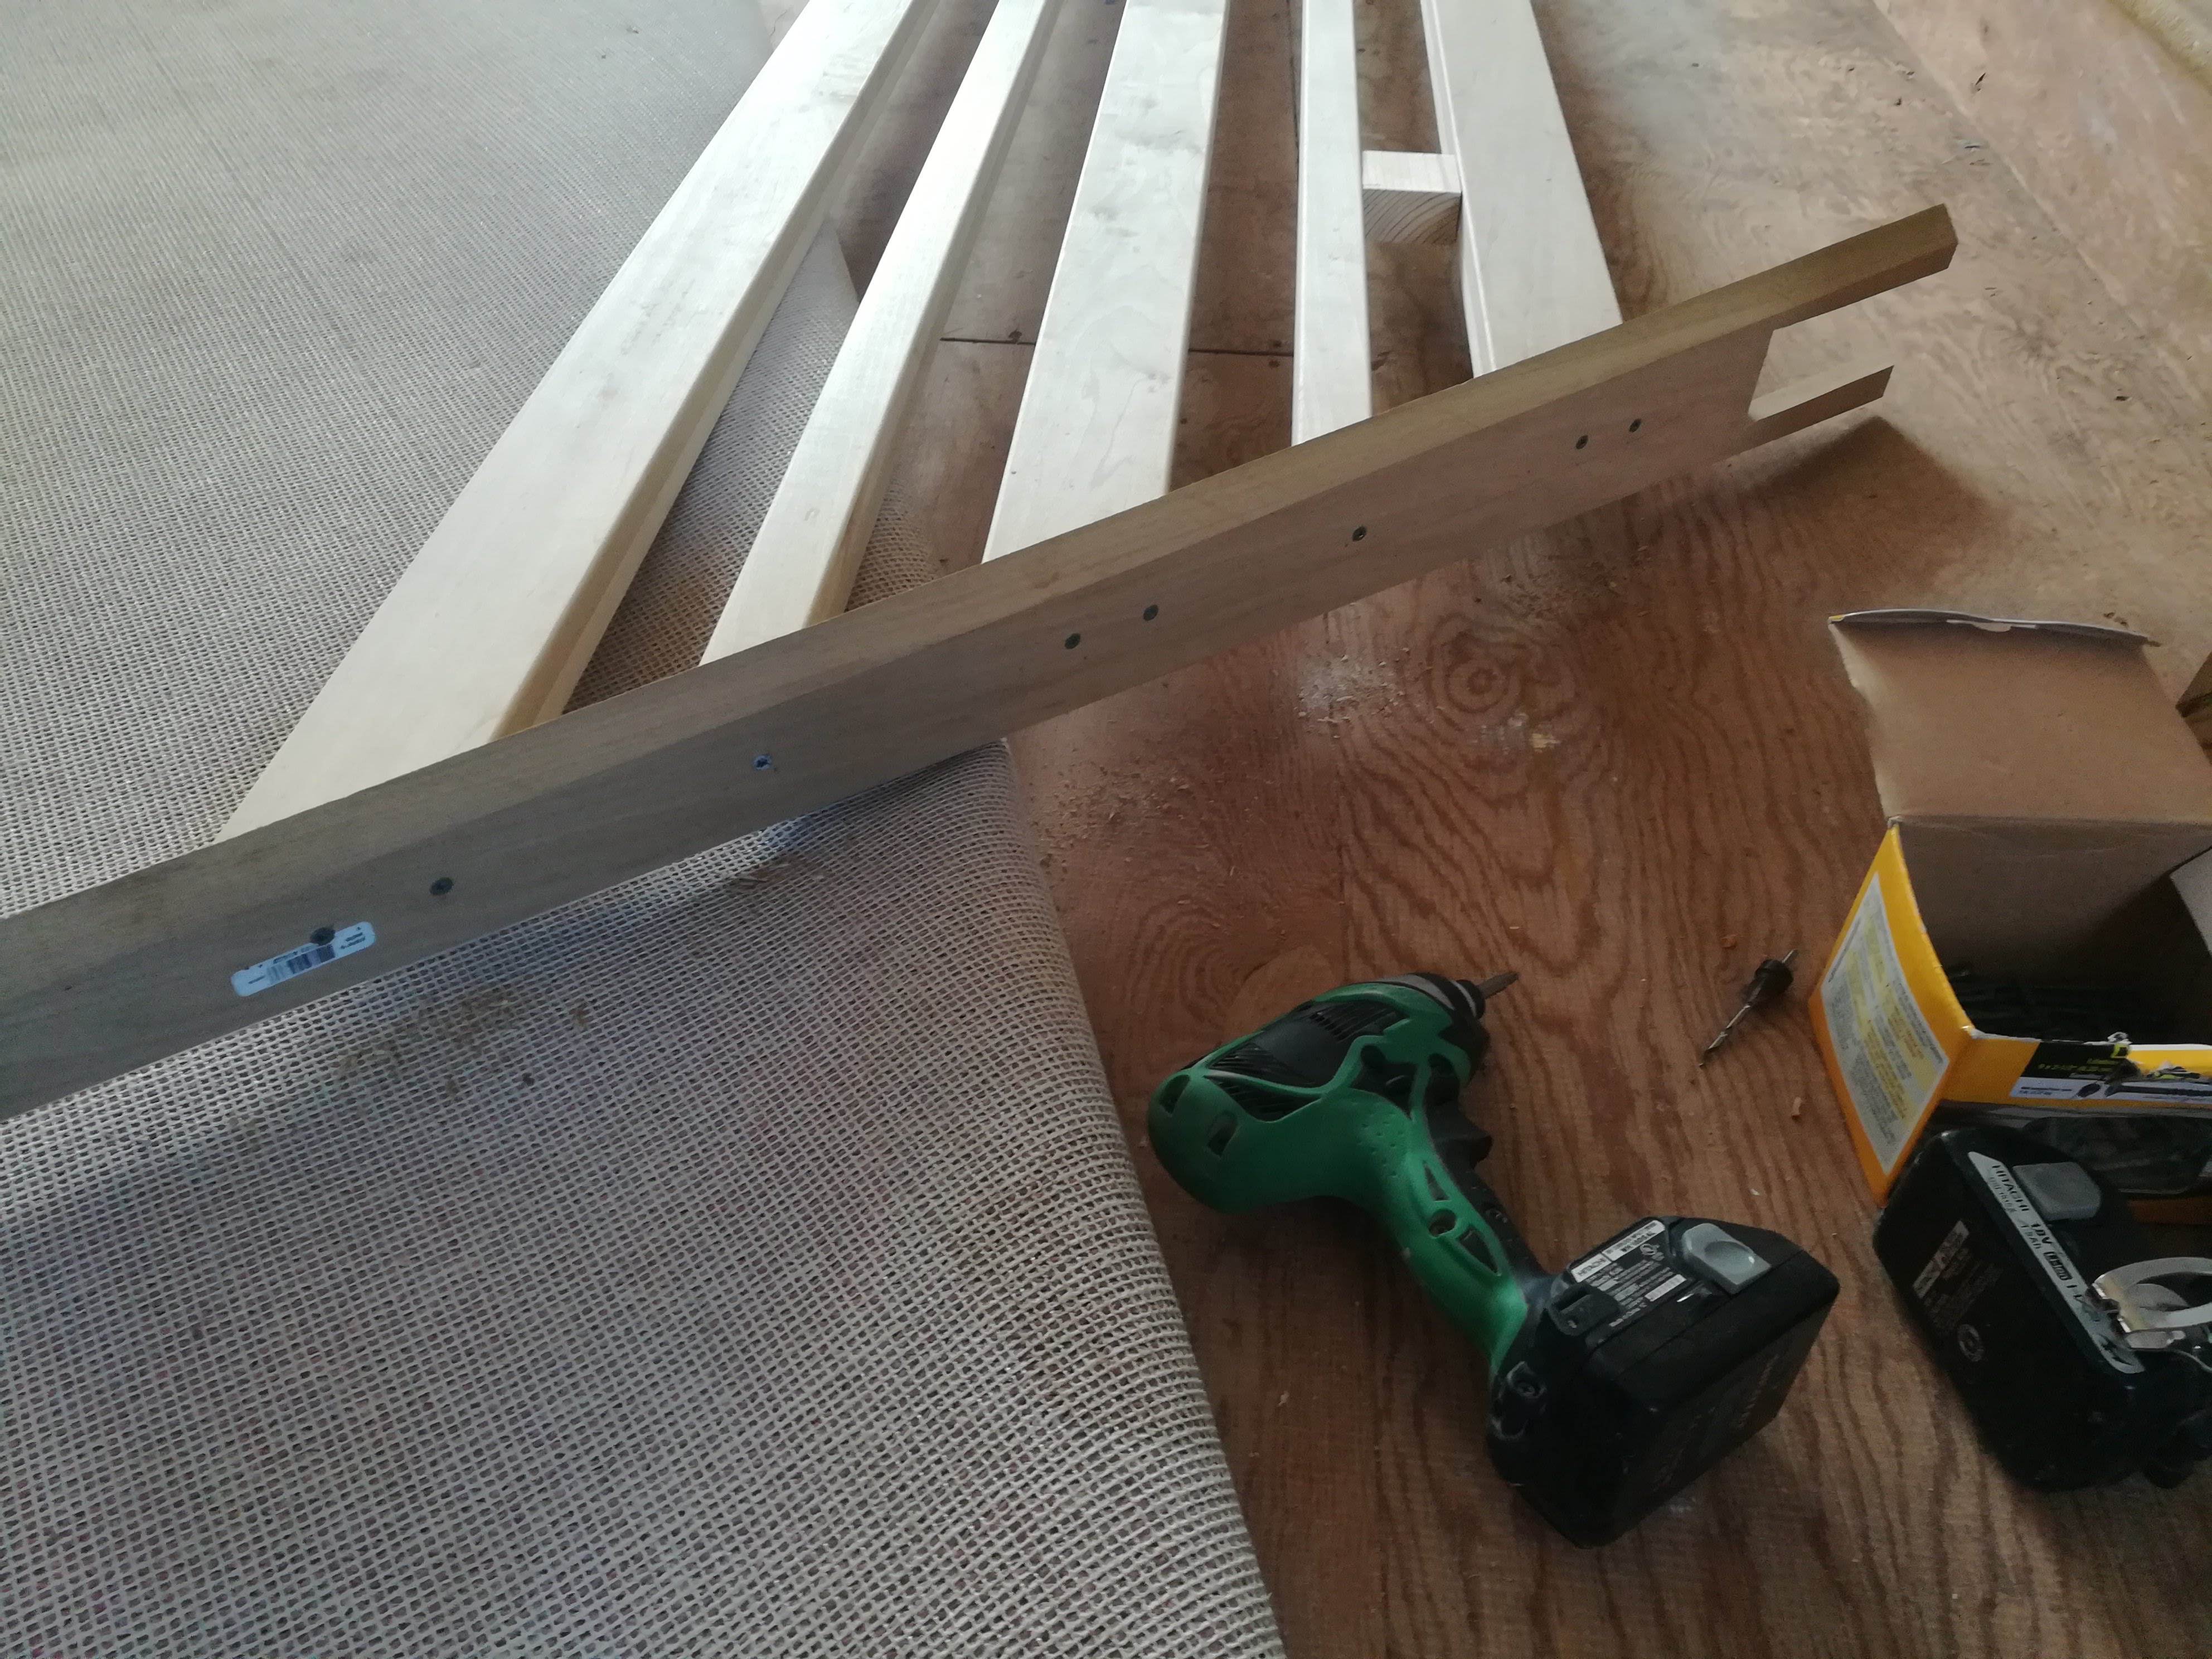
Prepping The Rails
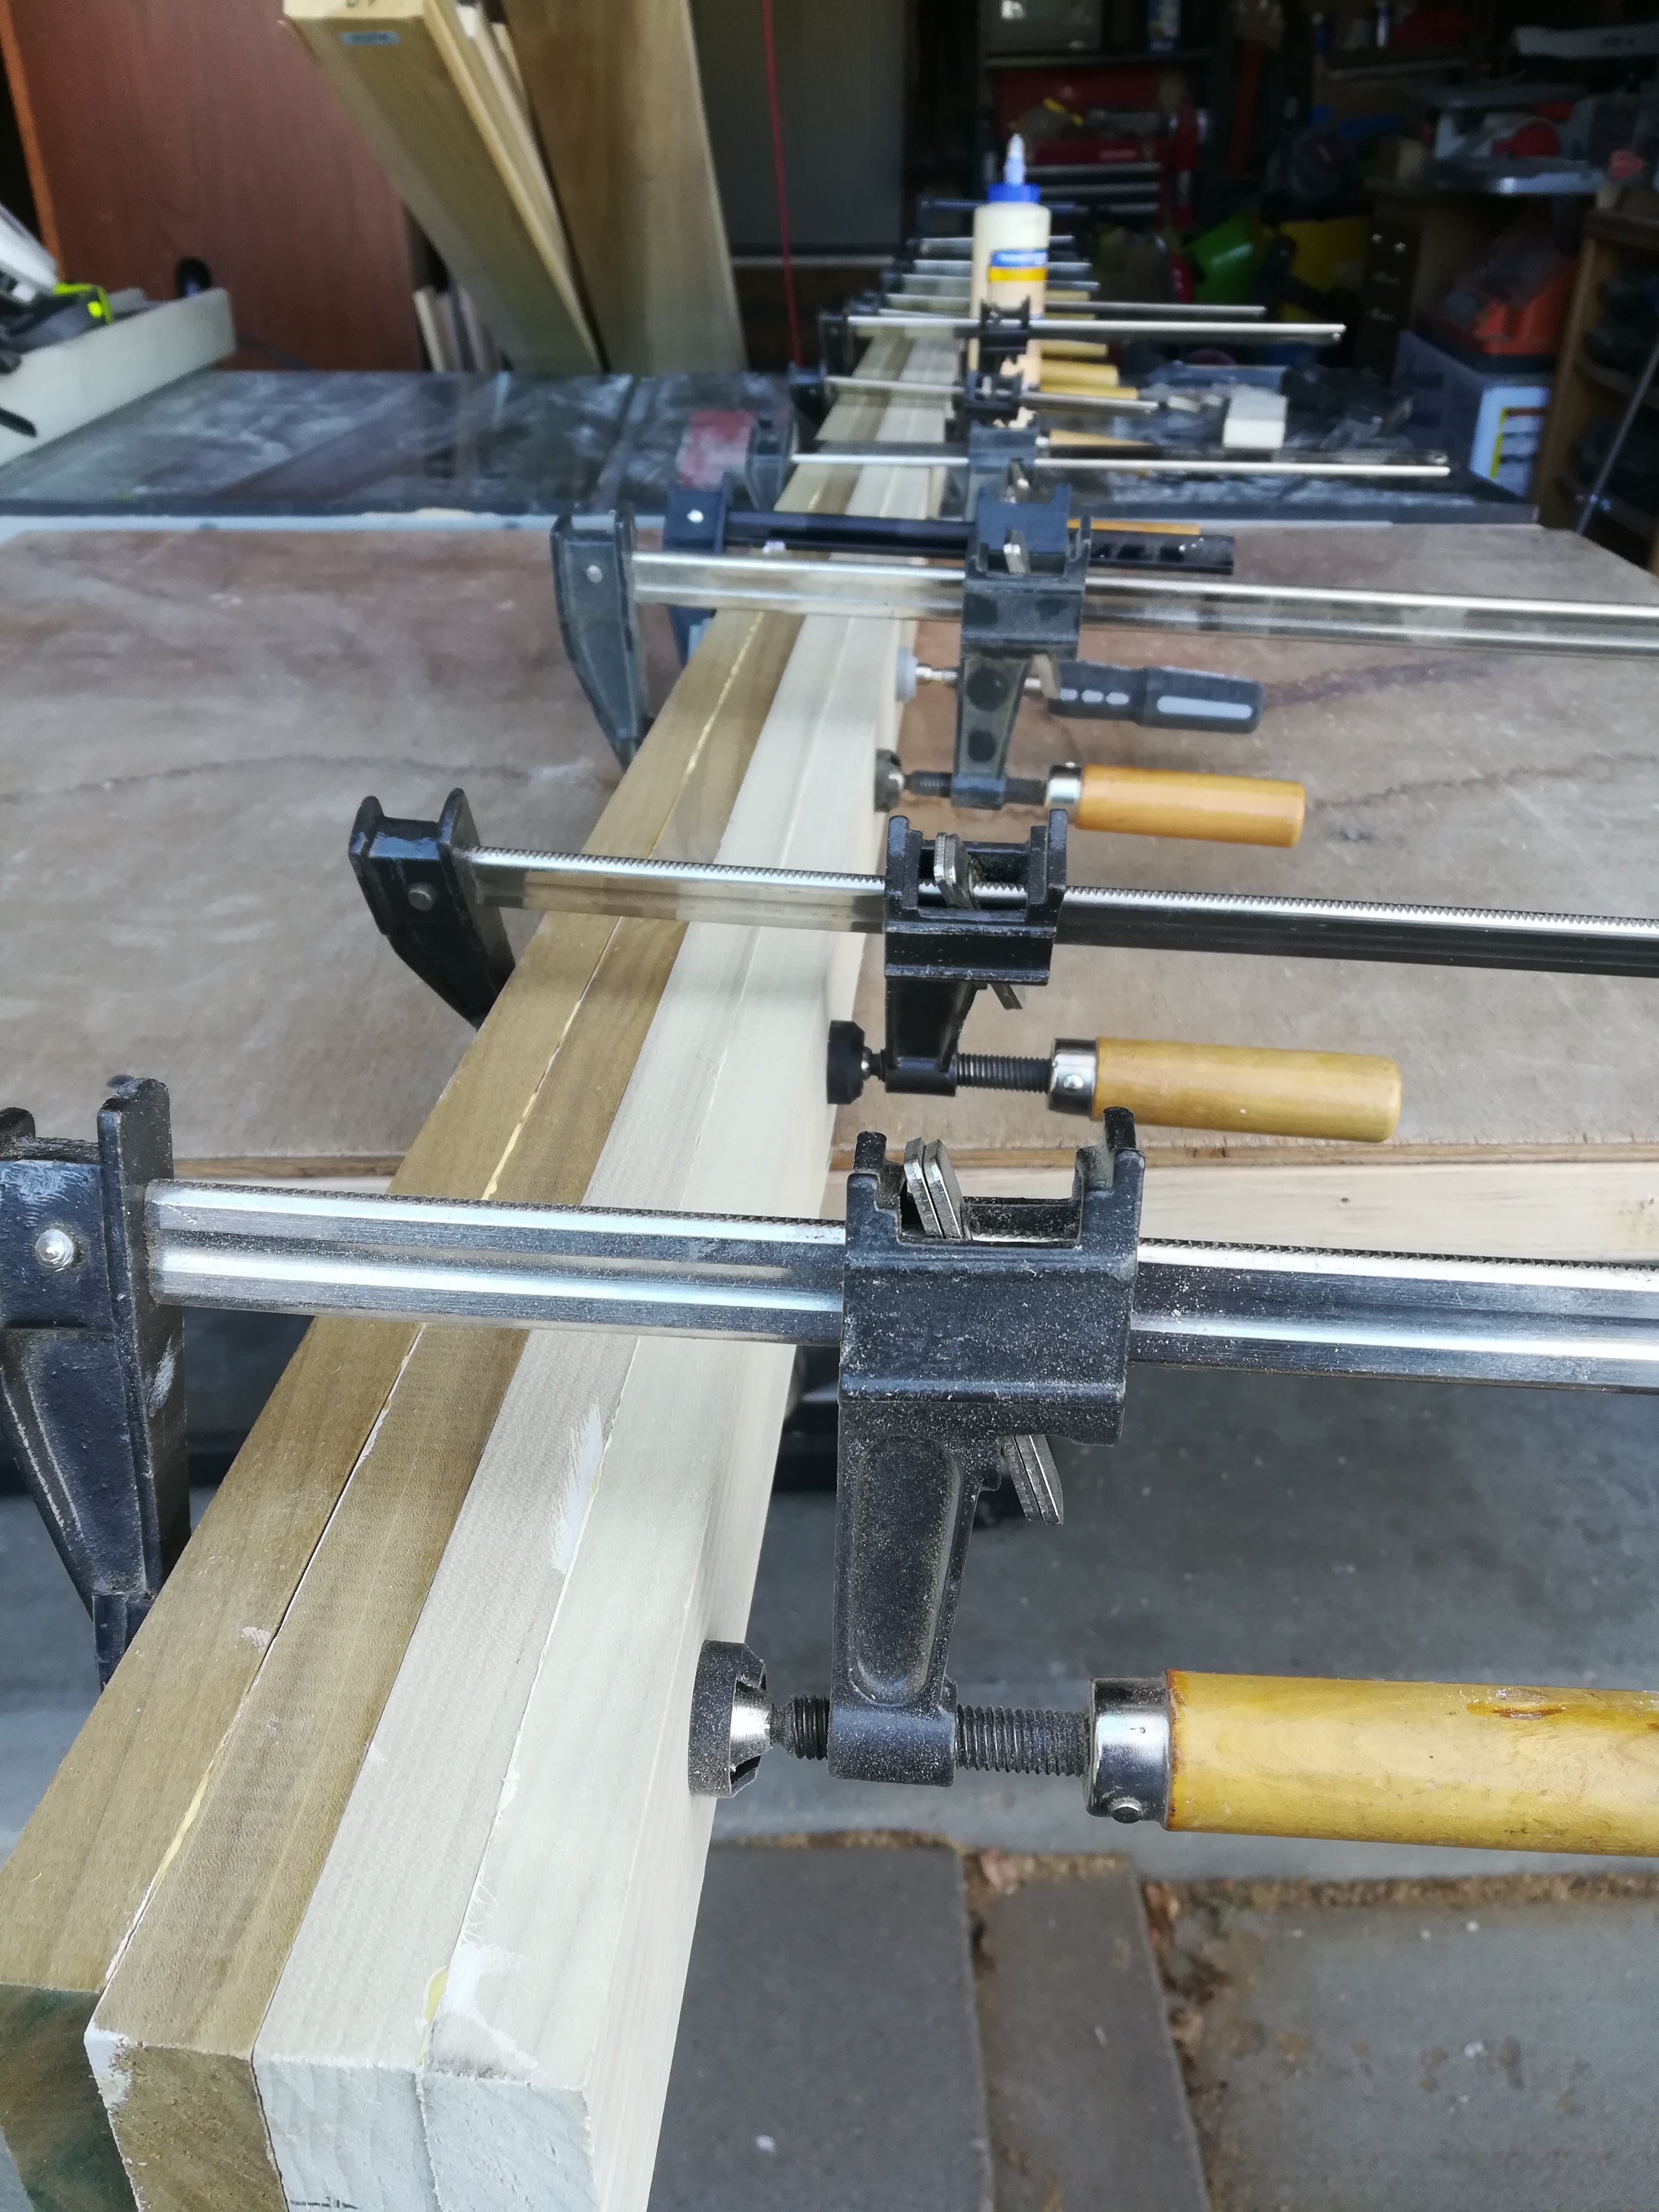
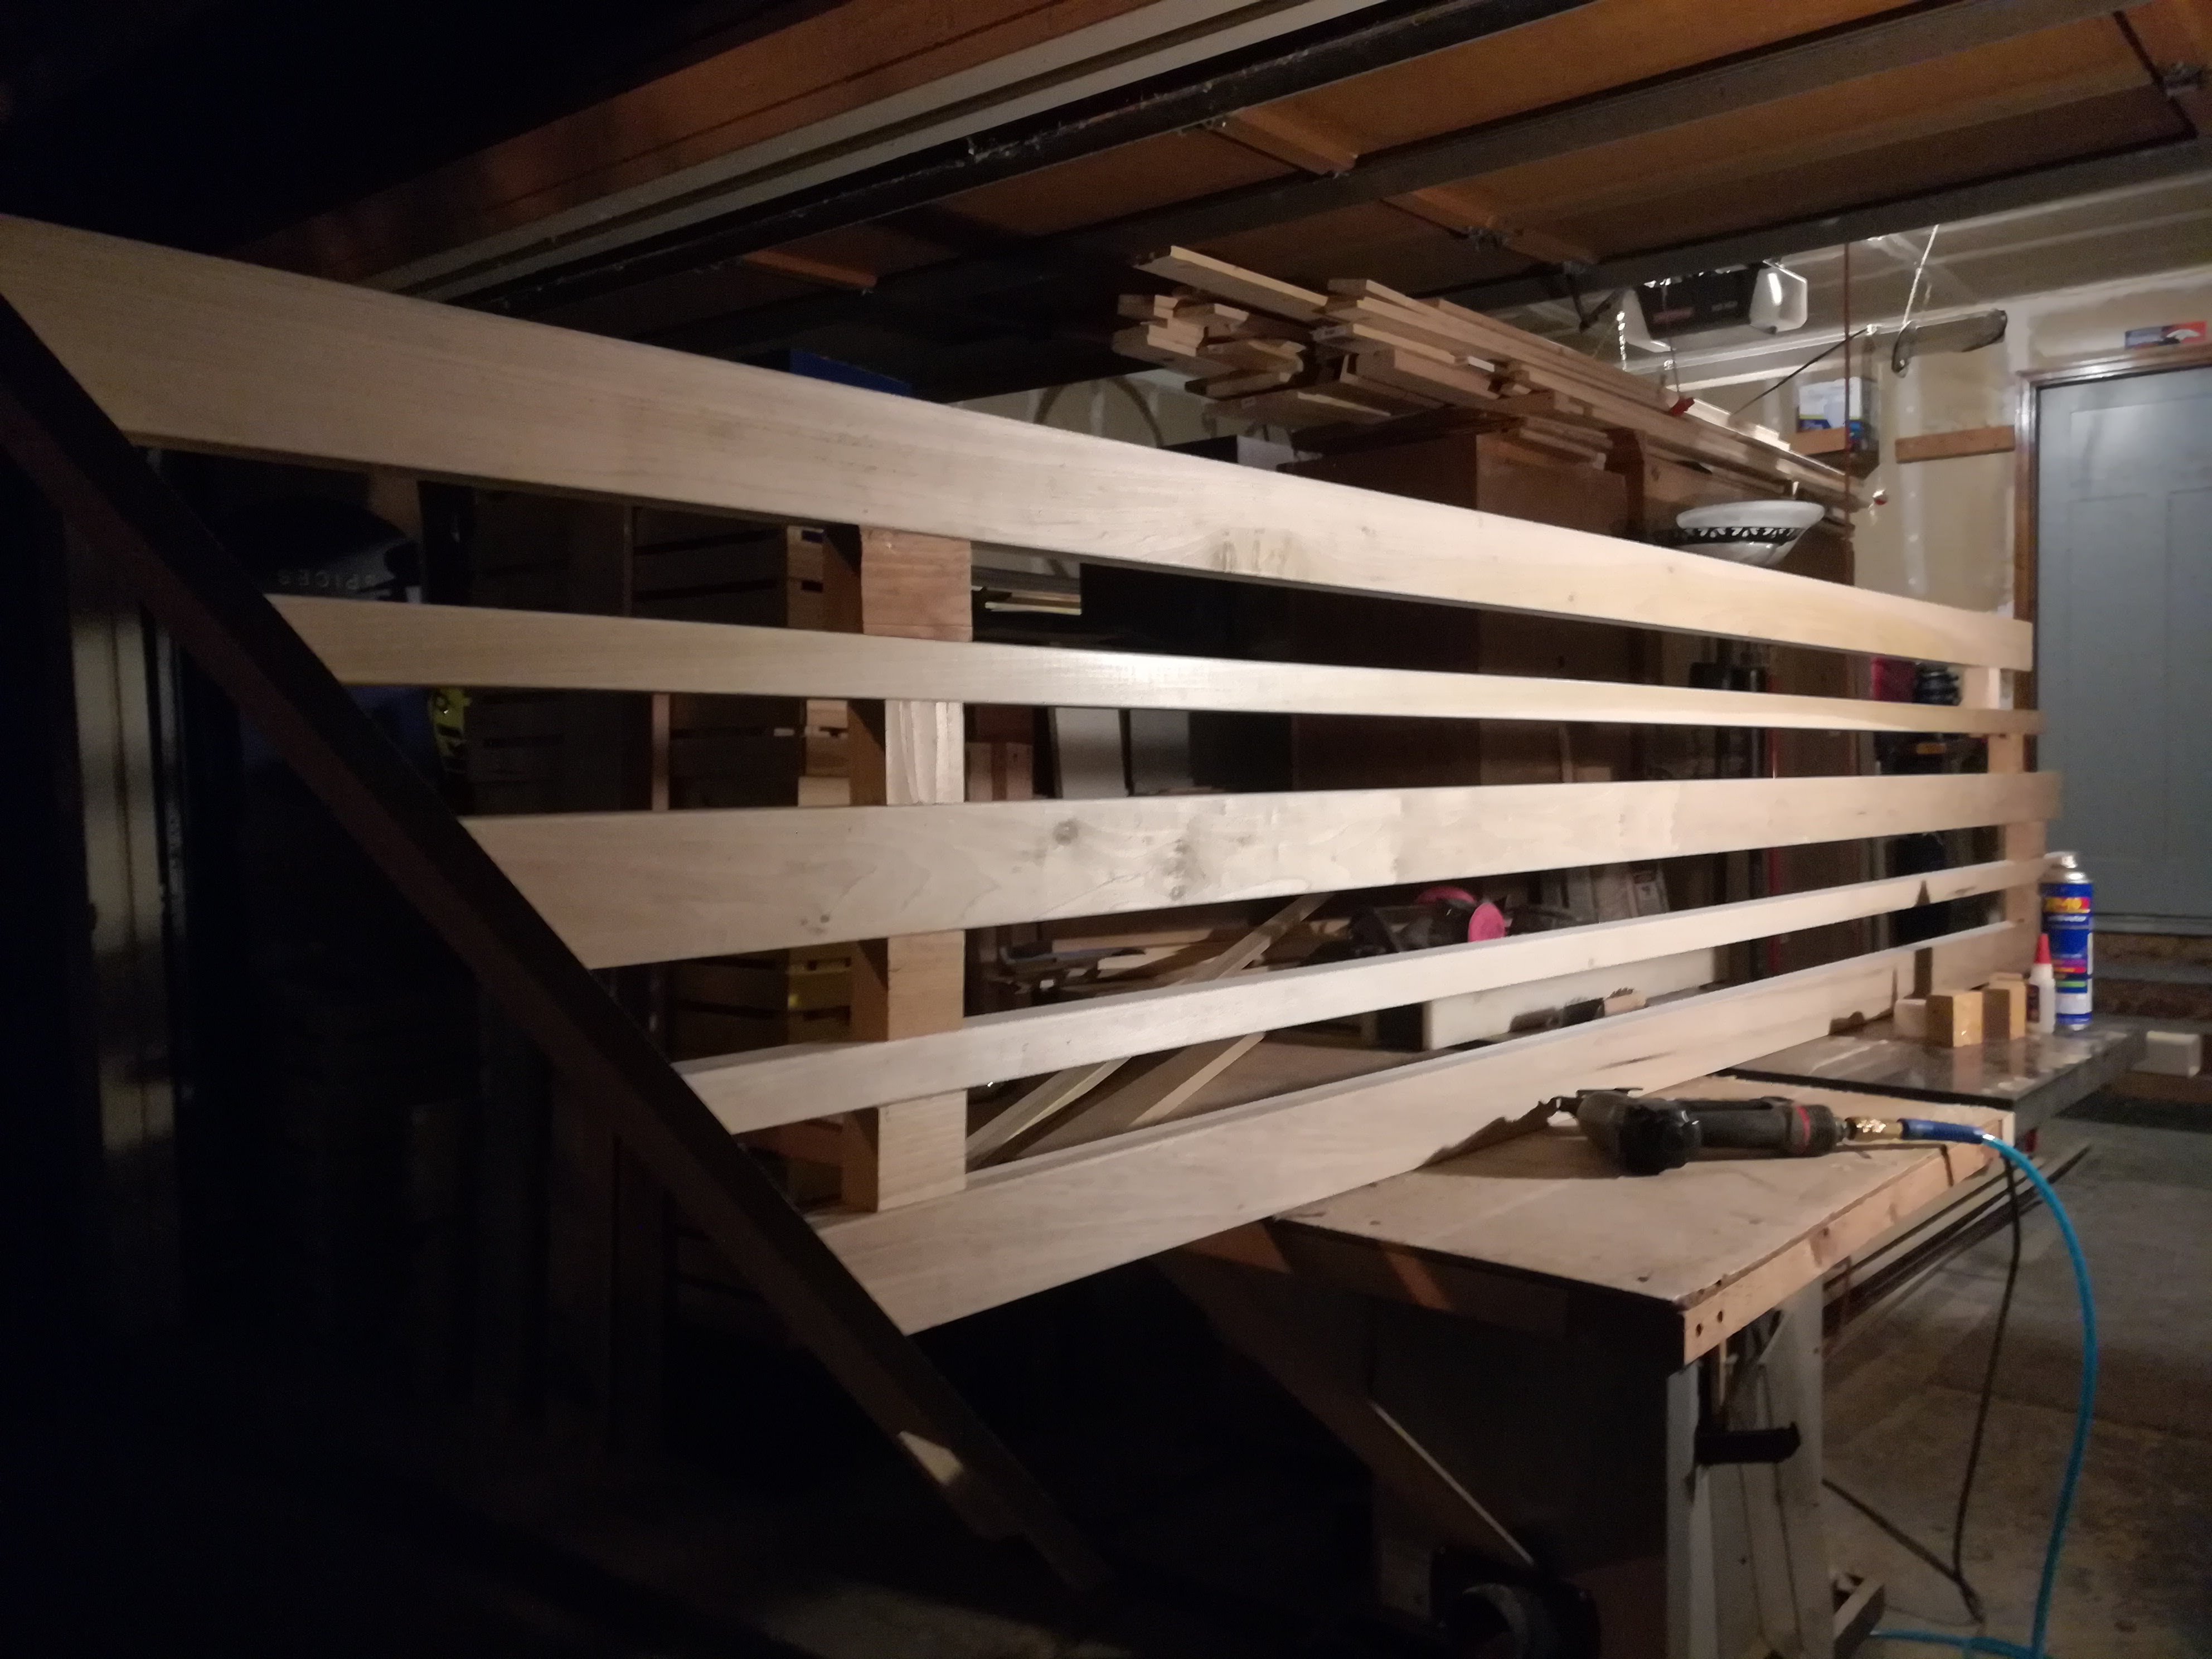
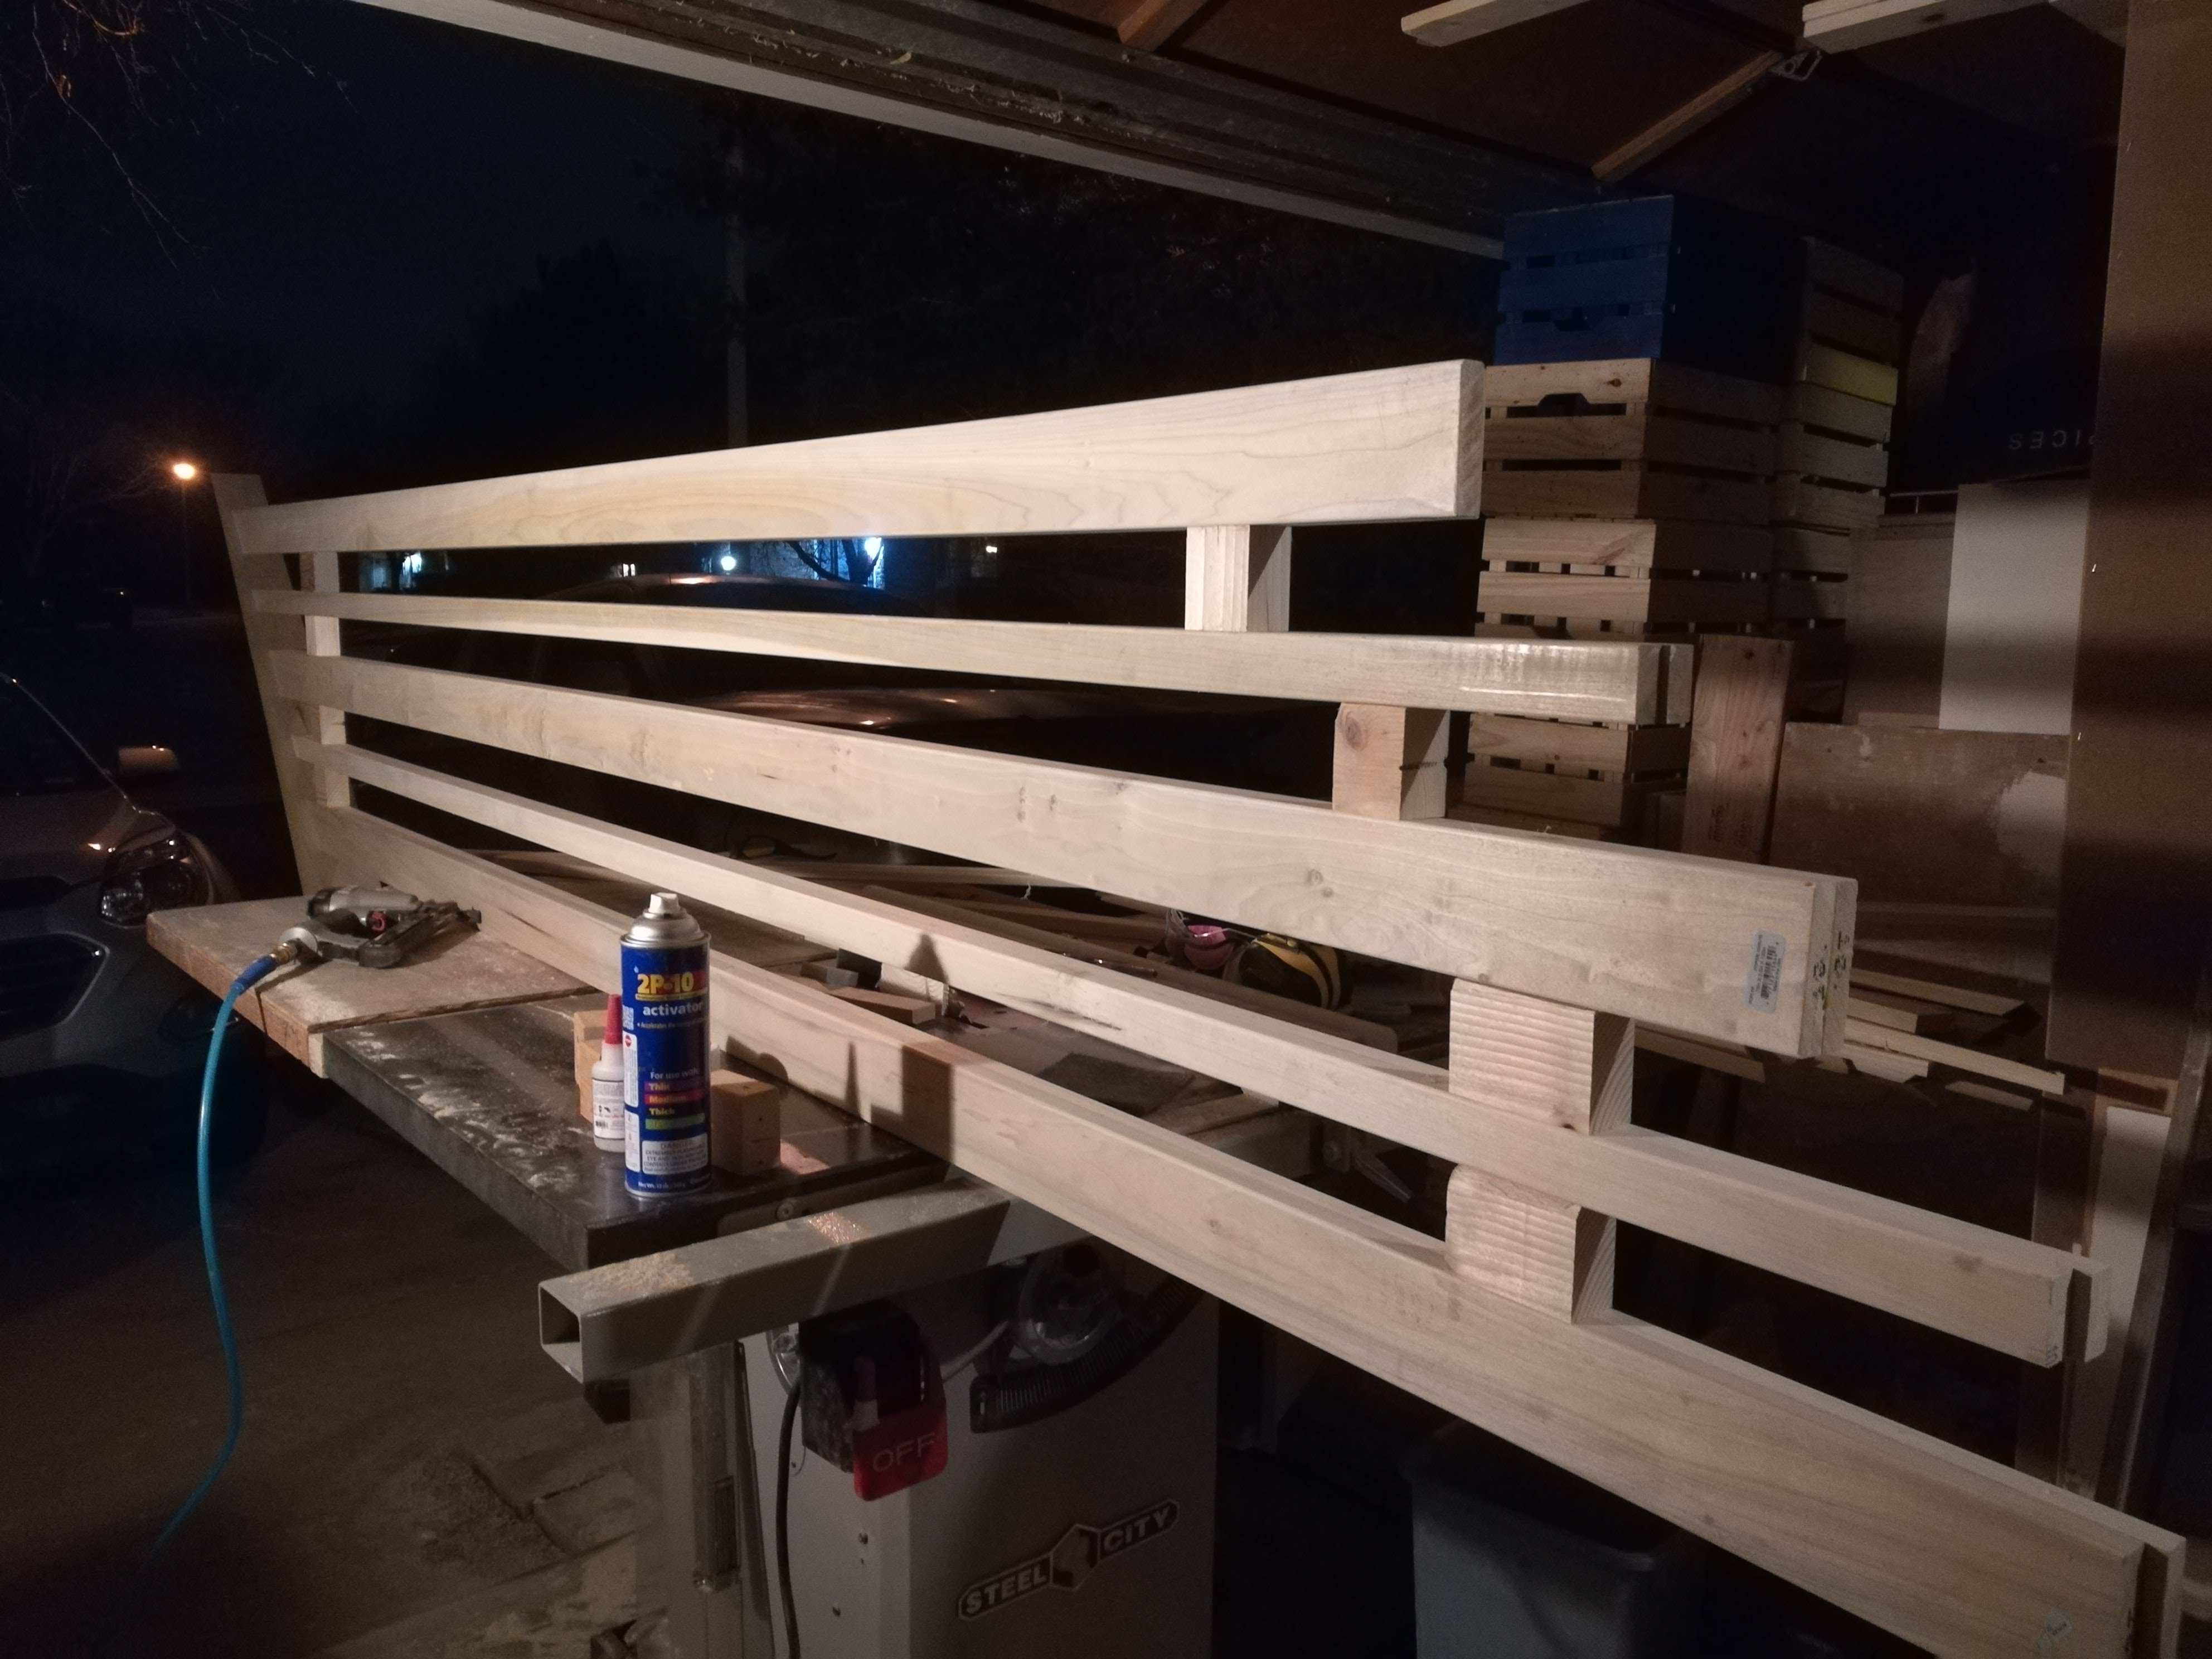
I started the build by laminating (2) boards together for each horizontal railing piece. I generously spread some glue on one board and sandwiched the other board on top. I pulled out every clamp that I own and squeezed the two boards together. I made sure that the boards were as flat and straight as possible when I tightened up the clamps. All of the boards ended up really straight, so that little extra time seemed to pay off.
I just repeated this process a few more times over the next couple of days to get the 5 railing pieces laminated. Laminating two boards together gave me a thickness of 1 1/2″ that I could then plane down to about 1 3/8″ for the finished railing width.
I took these laminated pieces to the table saw and planer to get them to their finished dimensions. I used an 1/8″ round-over bit in the router to ease over all the edges of these pieces and then set them aside while I started working on the top and bottom newel posts.
Newel Post Fabrication
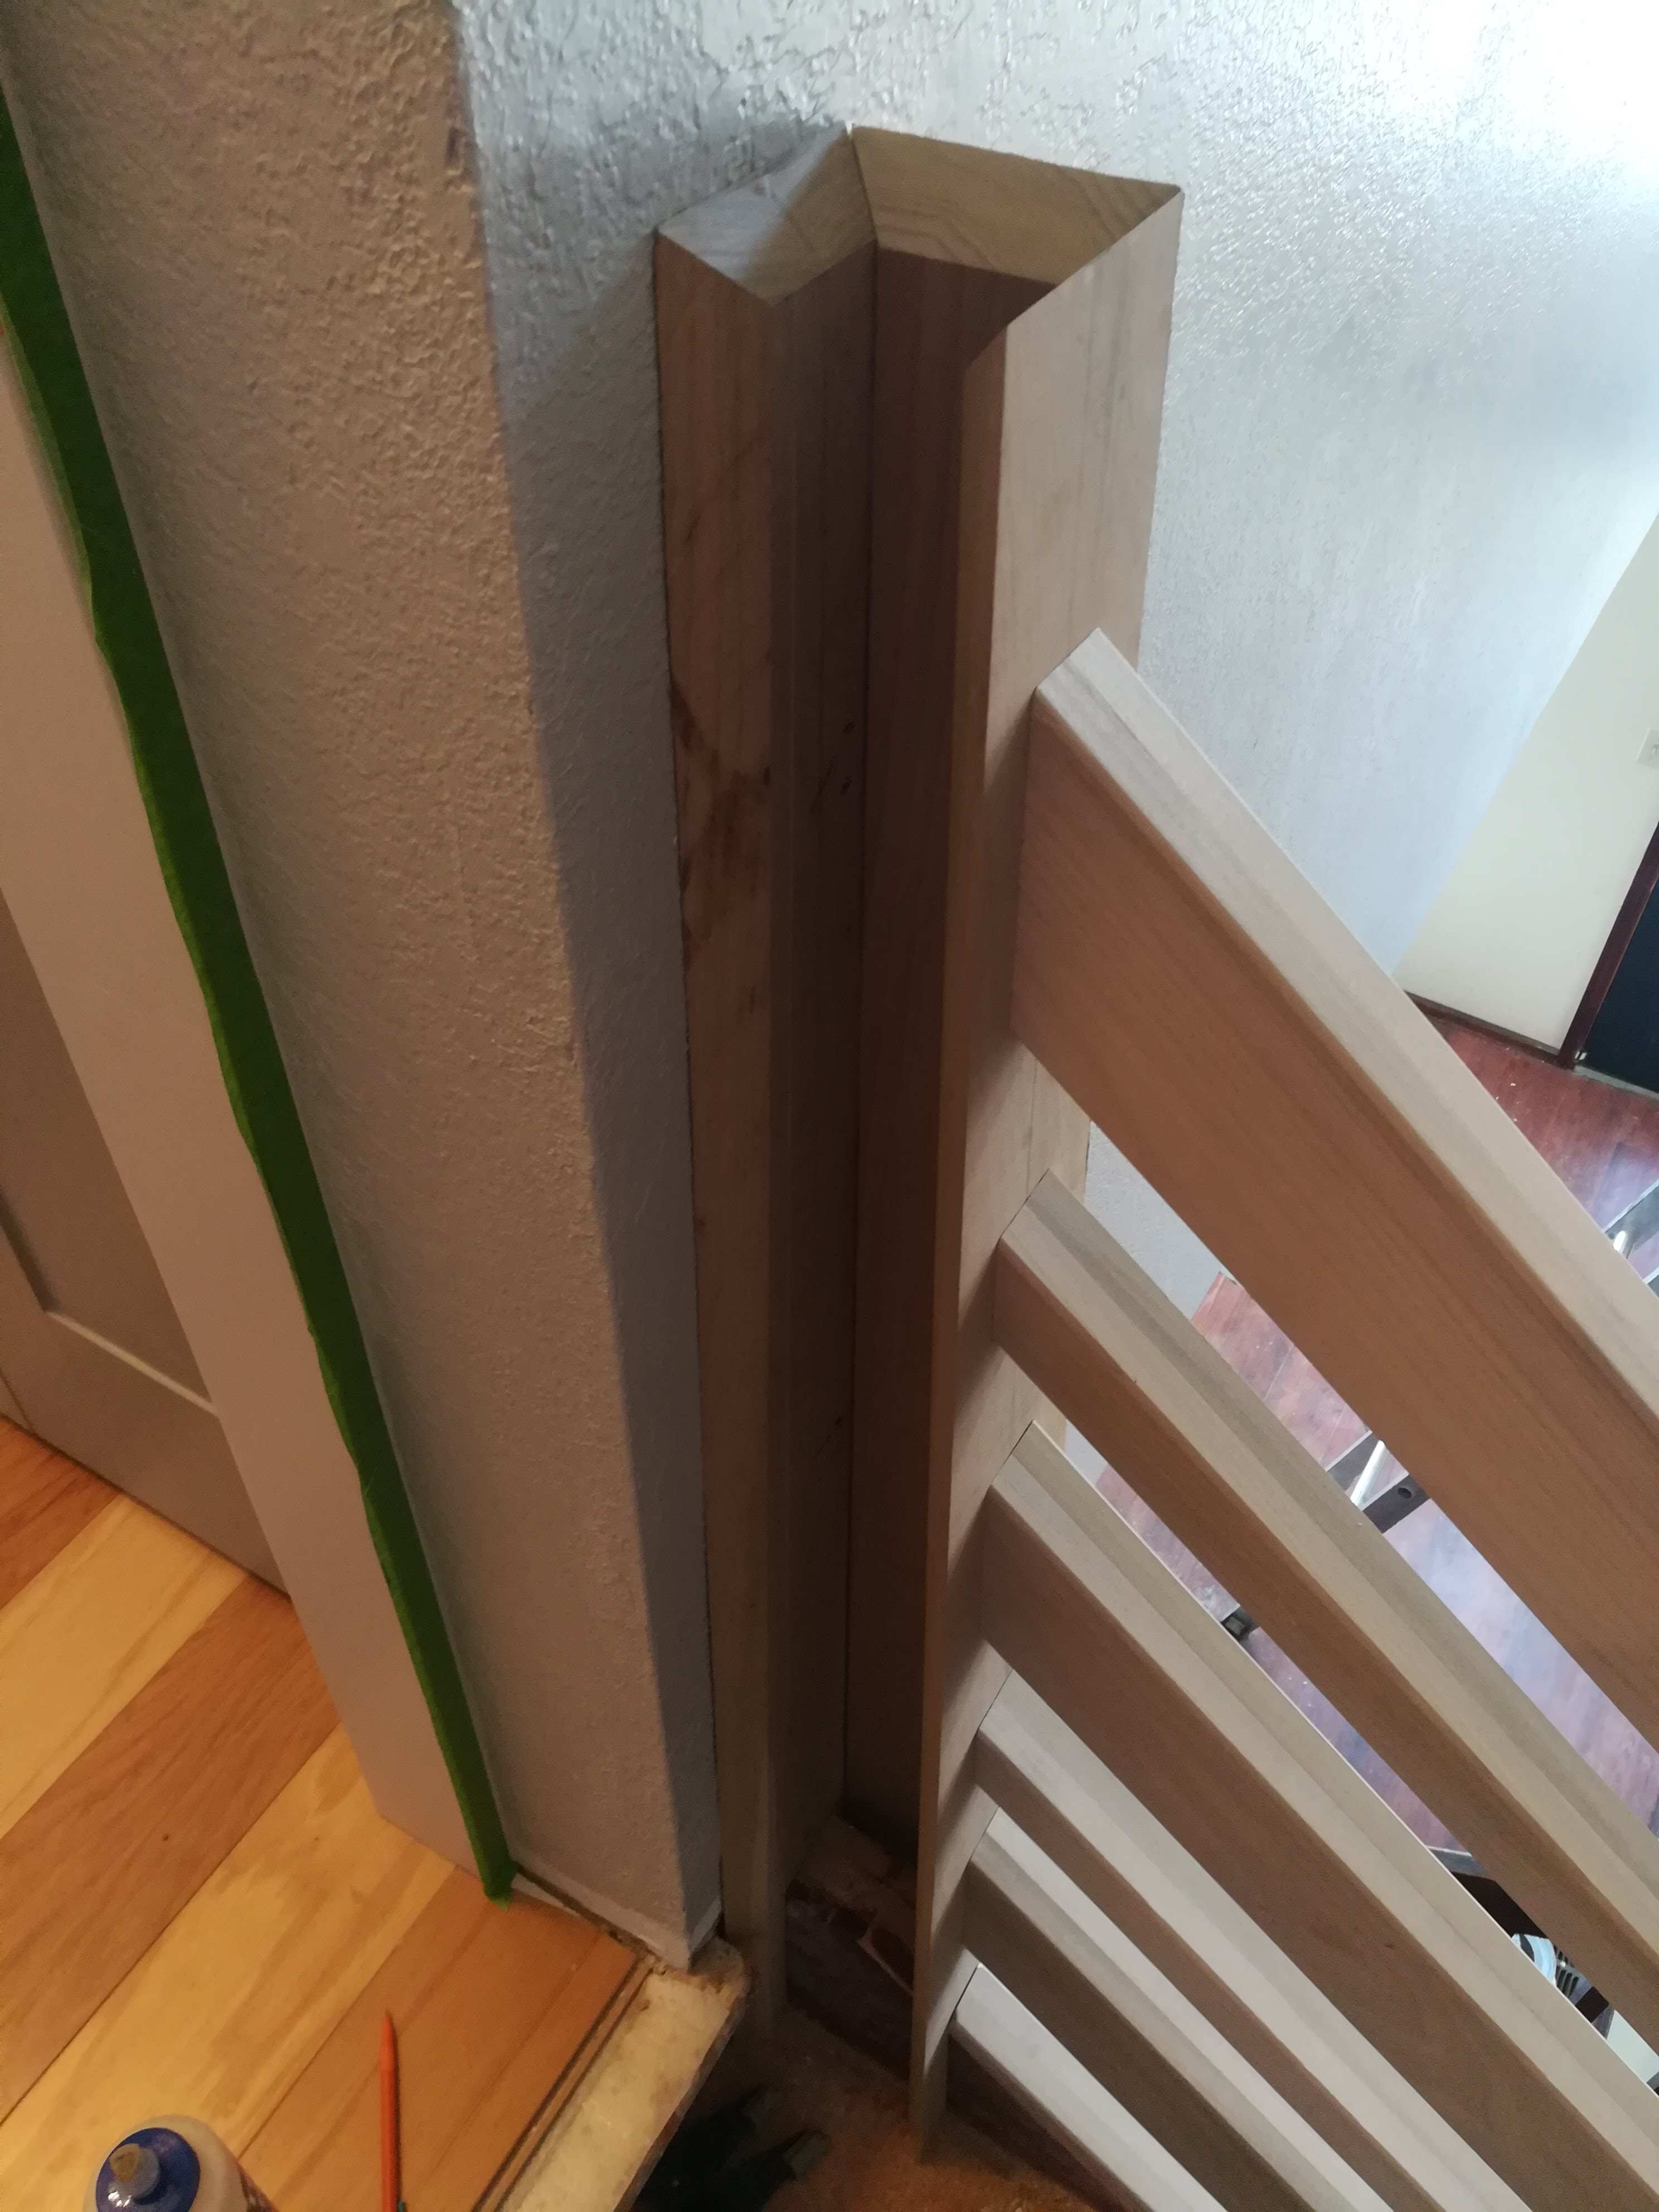
I chose a slightly tapered design for the two newel posts. They are 5 1/4″ at the bottom and taper to 3 1/2″ at the top. The back side (against the stairs) of both posts is vertical, not angled. This design choice was the most challenging from a construction standpoint
I built up each post using 4 separate sides that are mitered together at the corners. I chose this method for a couple of reasons. First, I could attach all the rail pieces using screws from the “inside” to hide all the fasteners. Second, I didn’t know where to source any solid Poplar anywhere near these dimensions.
I laid out the markings carefully on each board to detail the tapers and miters. I tilted my tablesaw blade to 45 degrees. Then I cut a scrap piece of MDF to about 8″ wide with the miter on one side. I used this “jig” to temporarily glue each board to as I ran it through the table saw at the correct angle. It was just a matter of lining up the jig with my markings and applying a few dabs of wood super glue (2P10) to hold it in place while I pushed it through the saw to make each cut.
It took some time to get all 8 boards cut (4 sides for 2 posts), but the results were really good. The miters came out really nice and all but disappear in the finished build.
Installing the Newel Posts
I started with the top post, because this one had to be cut to fit around the stair stringer board at the side of the stairs.
After measuring, marking, and cutting the back board of the top post, I made sure it was plumb and attached it to the stud in the wall with 3 1/2″ screws.
Then, I temporarily attached the two sides of the top post with a few brad nails. This allowed me to measure and mark the front board for the post. I didn’t glue the post together yet, because I wanted to get the rails attached first and make sure that all the miter joints were tight before gluing everything up.
Next, I attached the back of the bottom newel post to the bottom of the stairs. I cut a board to fit the base of the post and glued and screwed it to the floor. During final assembly, I glued and nailed the post sides to this base piece also. This makes the post solid as a rock.
Again, I temporarily attached the two sides of the post. This makes sure that everything lines up when I cut the railing pieces to fit.
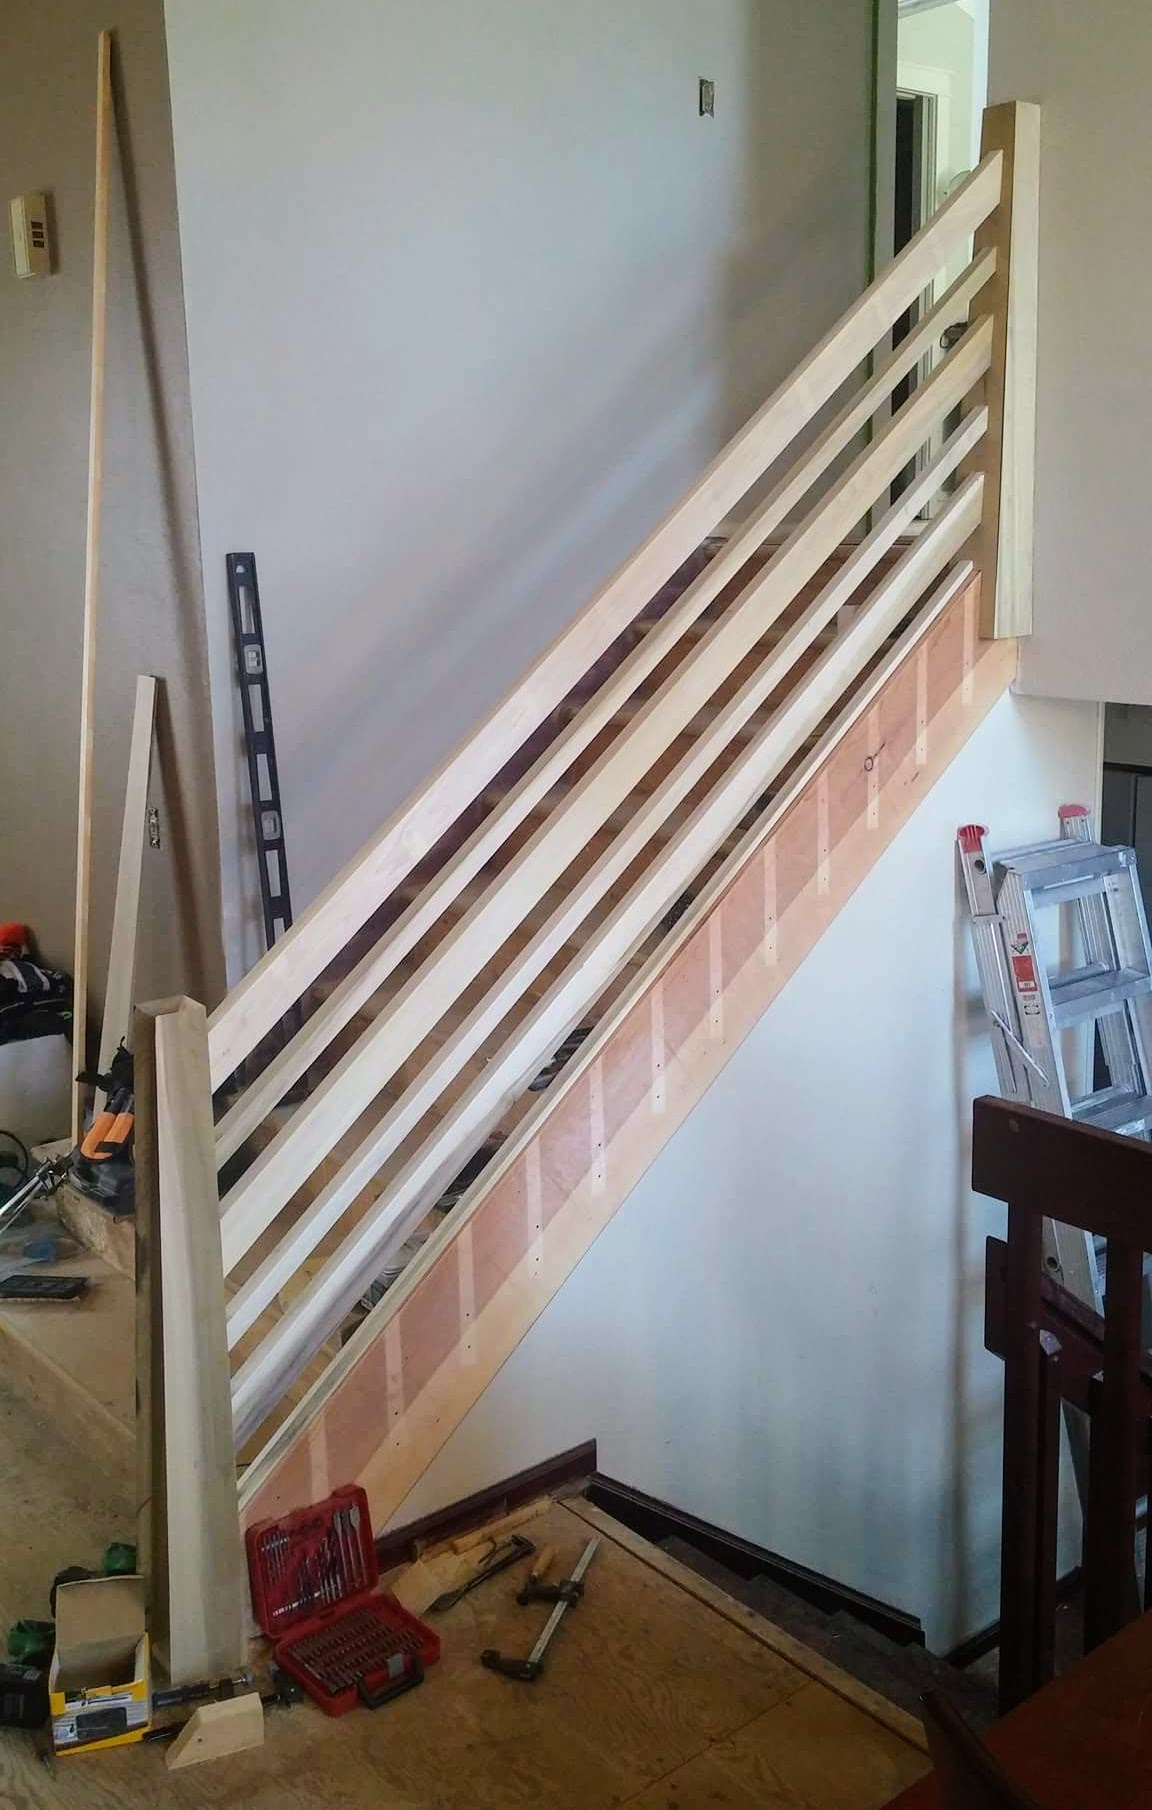
Attaching the Rails
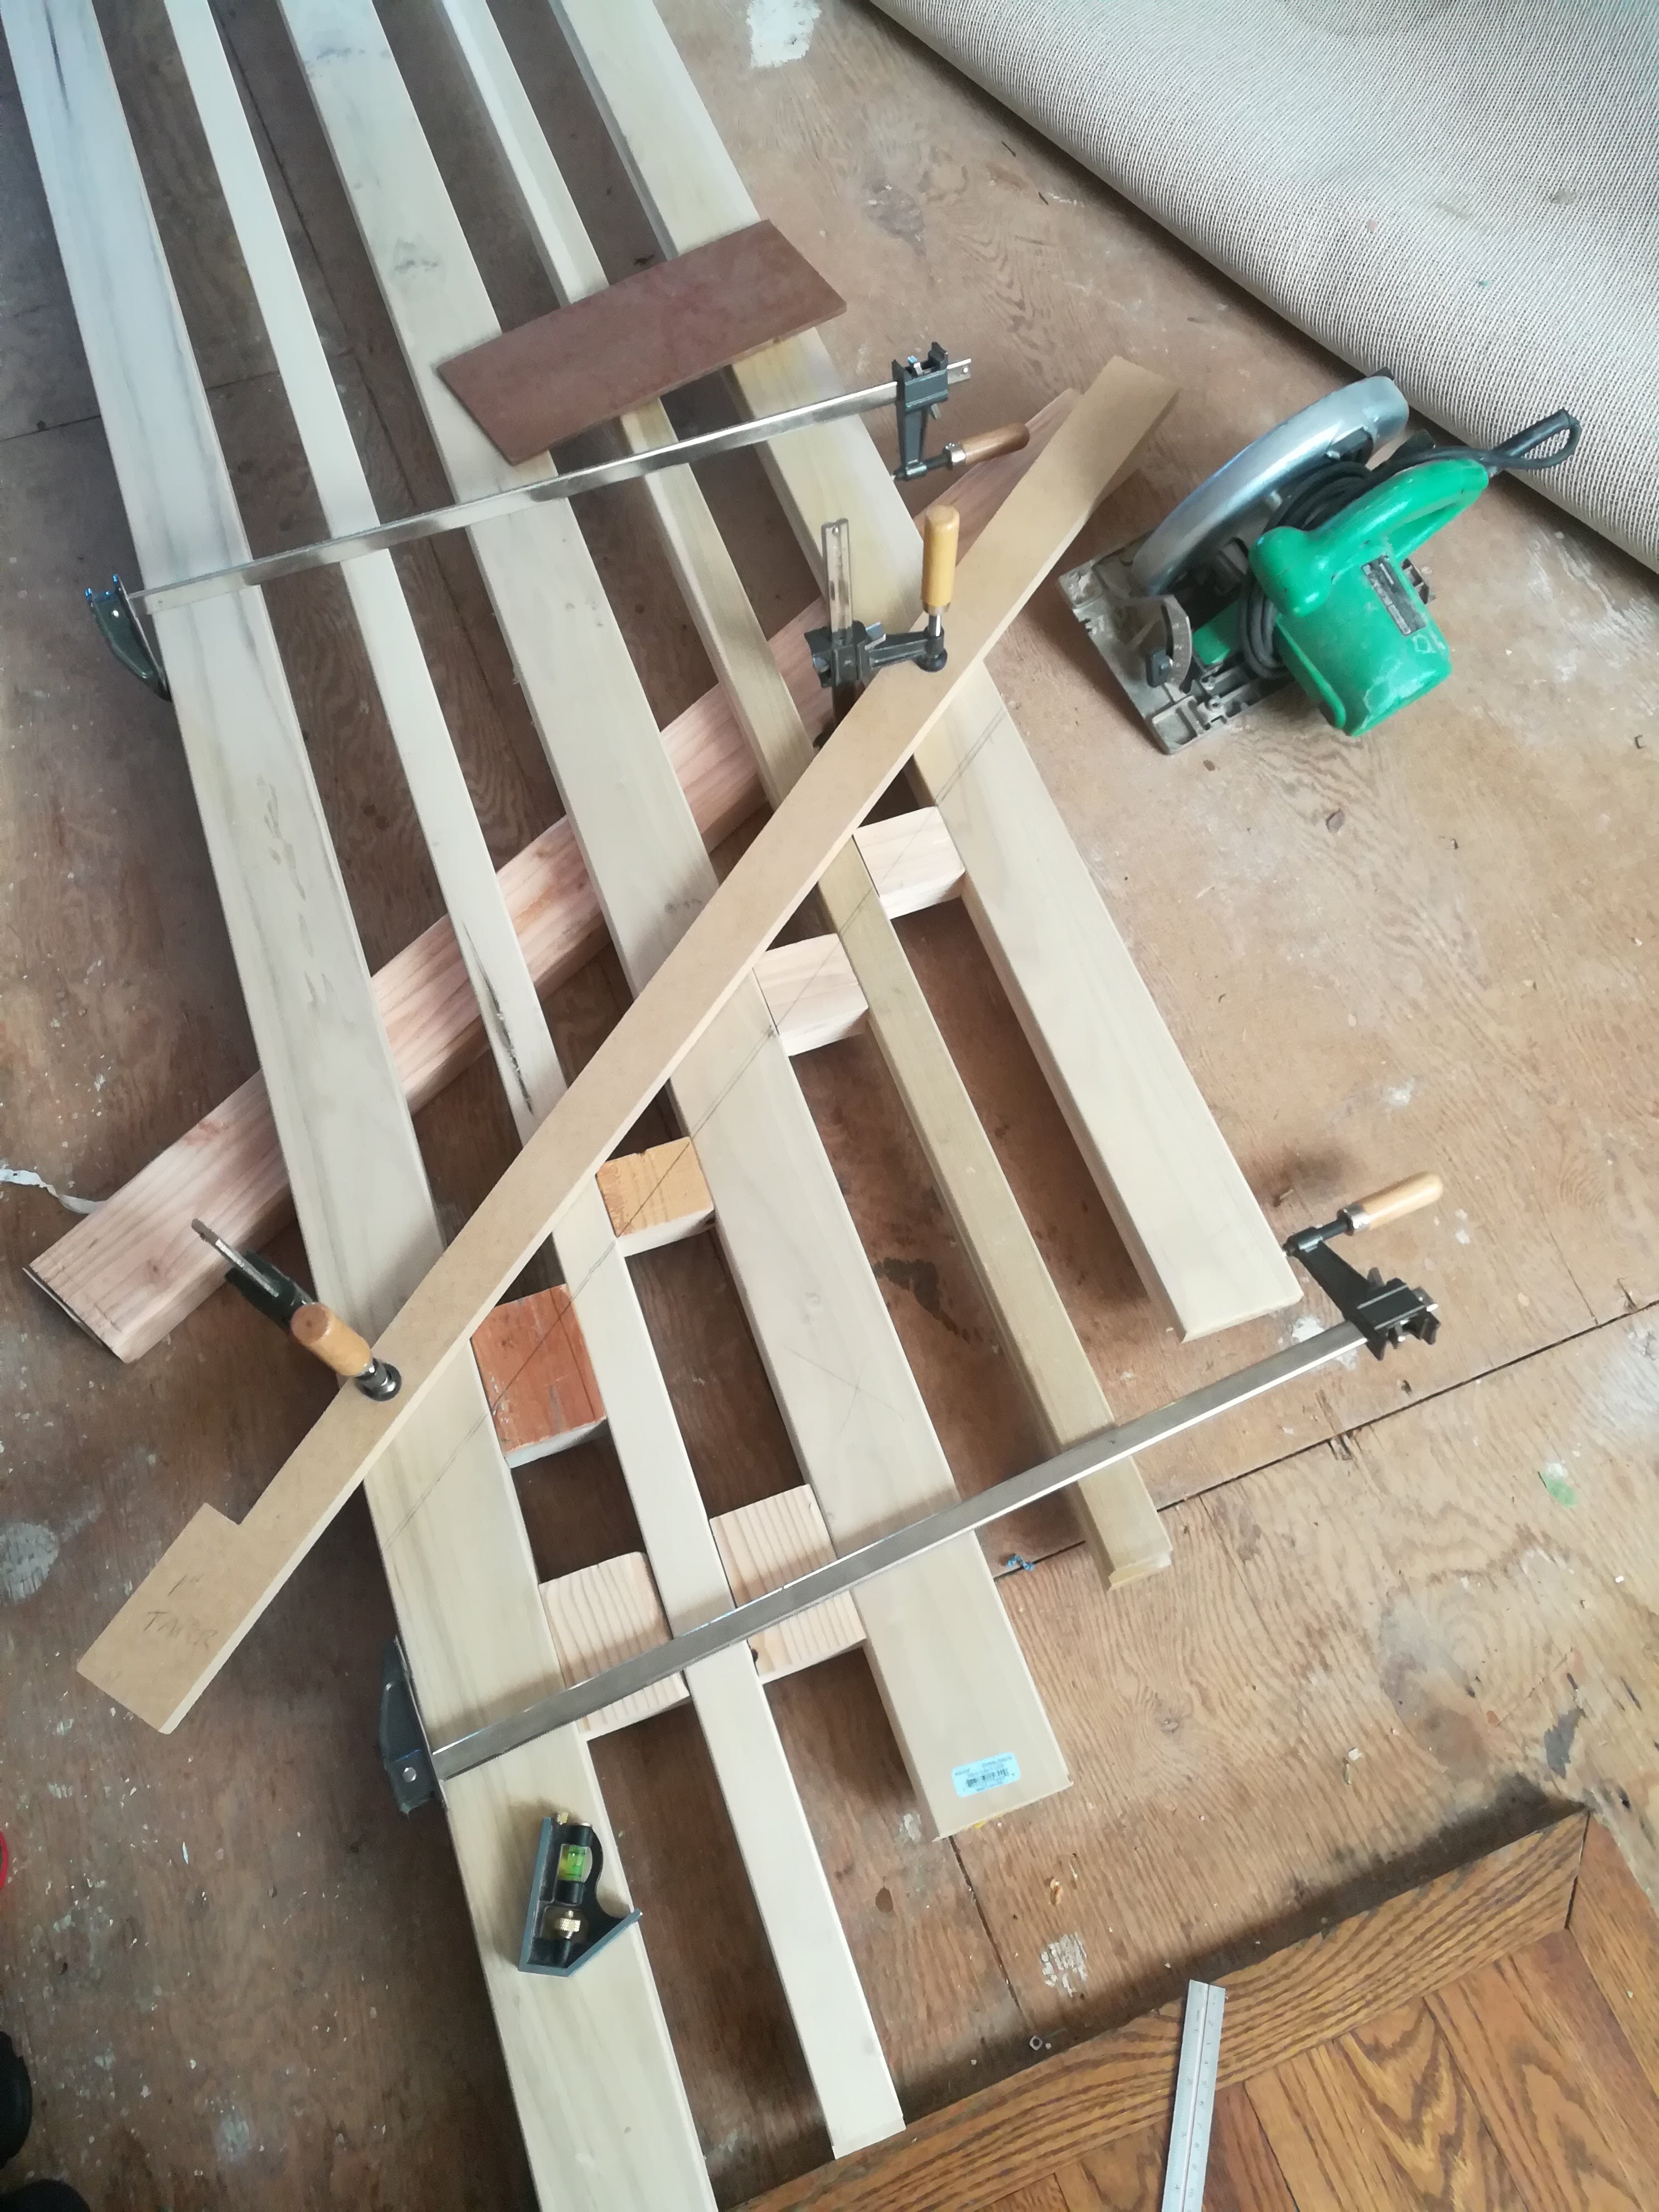
After the two newel posts were mostly installed, I turned my attention to attaching the rail pieces. First, I cut some 2×4 spacers down to 2 9/16″ for spacers between the rails during assembly.
Next, I measured the angle for the cut on the top of the rails. I cut a test 2×4 to check the angle and make any slight adjustments. Then, I cut the end of each rail to that angle.
I moved to the workshop for assembly. Starting at the bottom, I screwed each rail in from the back side of the front board on the top post. I used my 2×4 spacers to keep everything evenly spaced as I went. Each spacer was temporarily glued in place with a couple of dabs of 2P10.
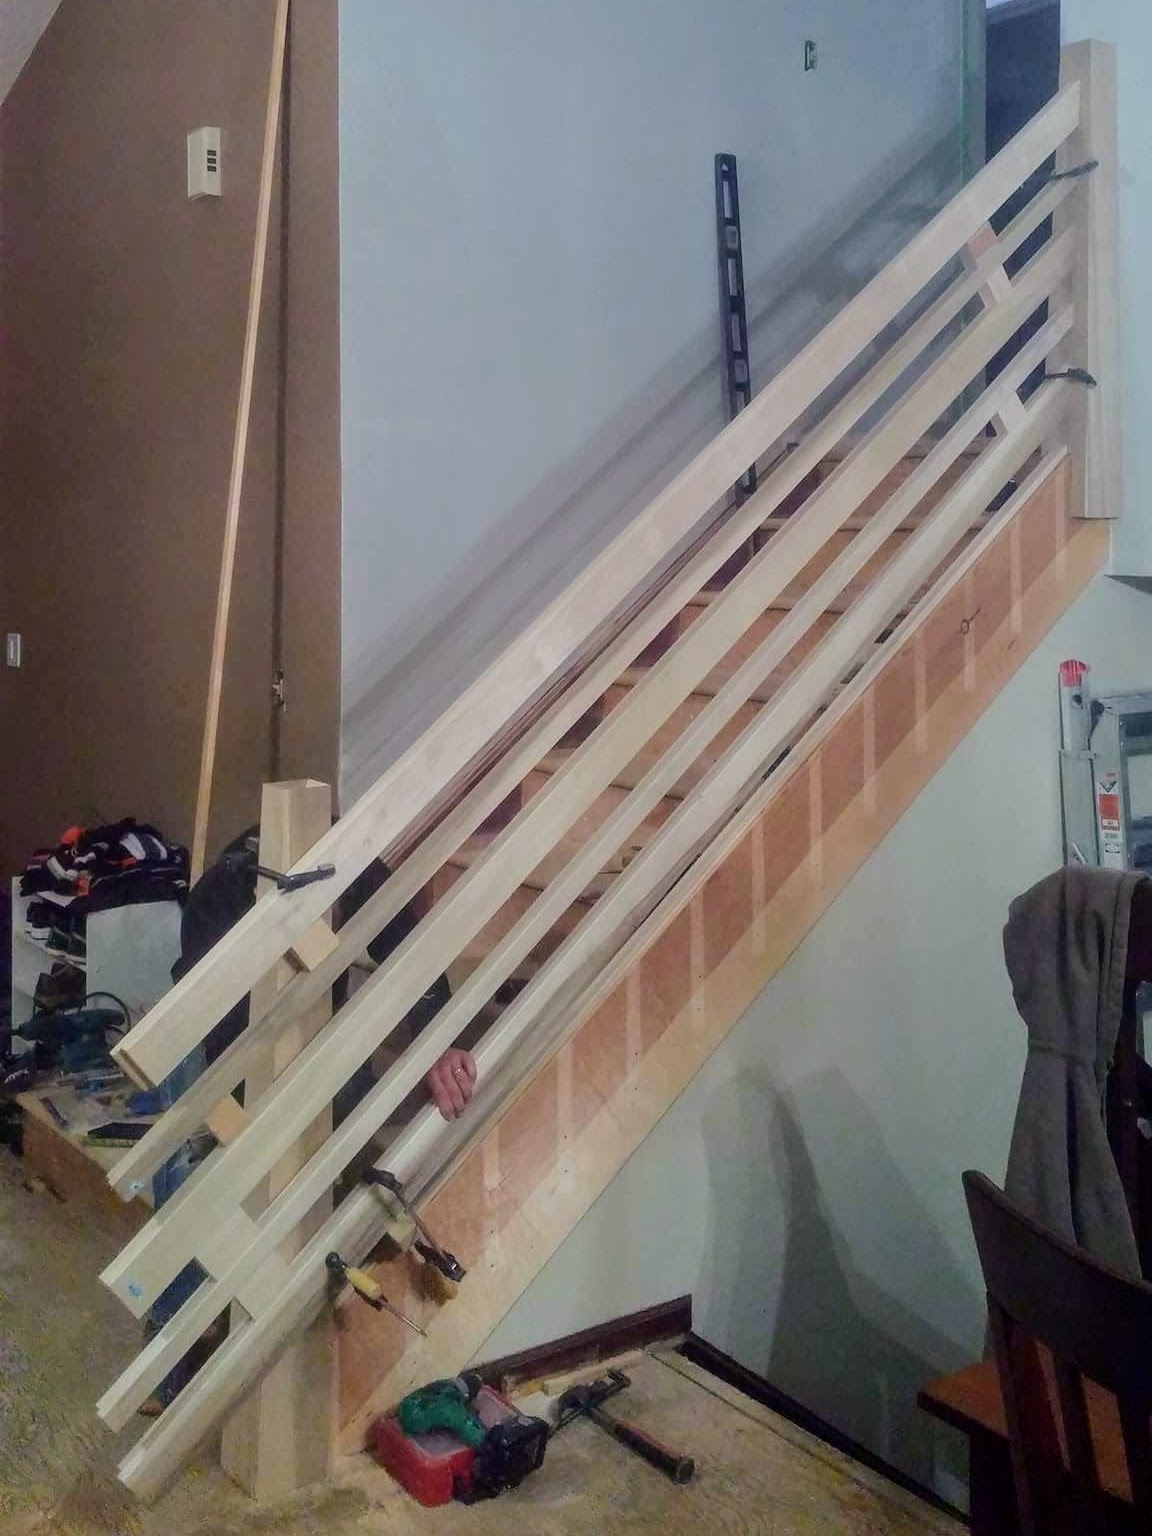
After all the rails were attached to the top post piece, Leslie and I brought the entire assembly in to put it in place. I clamped the bottom of the rails to the lower newel post and marked the back side of the rails with a pencil where they needed to be cut.
I moved the entire rail assembly back down to the floor, clamped on a straight edge, and cut the rail ends to length with my circular saw. It took a couple of test fits and a bit more trimming with the circular saw to get everything fitted just right.
When everything looked good, I put the rail in place and screwed in all the rails from the back side of the bottom post.
Final Assembly
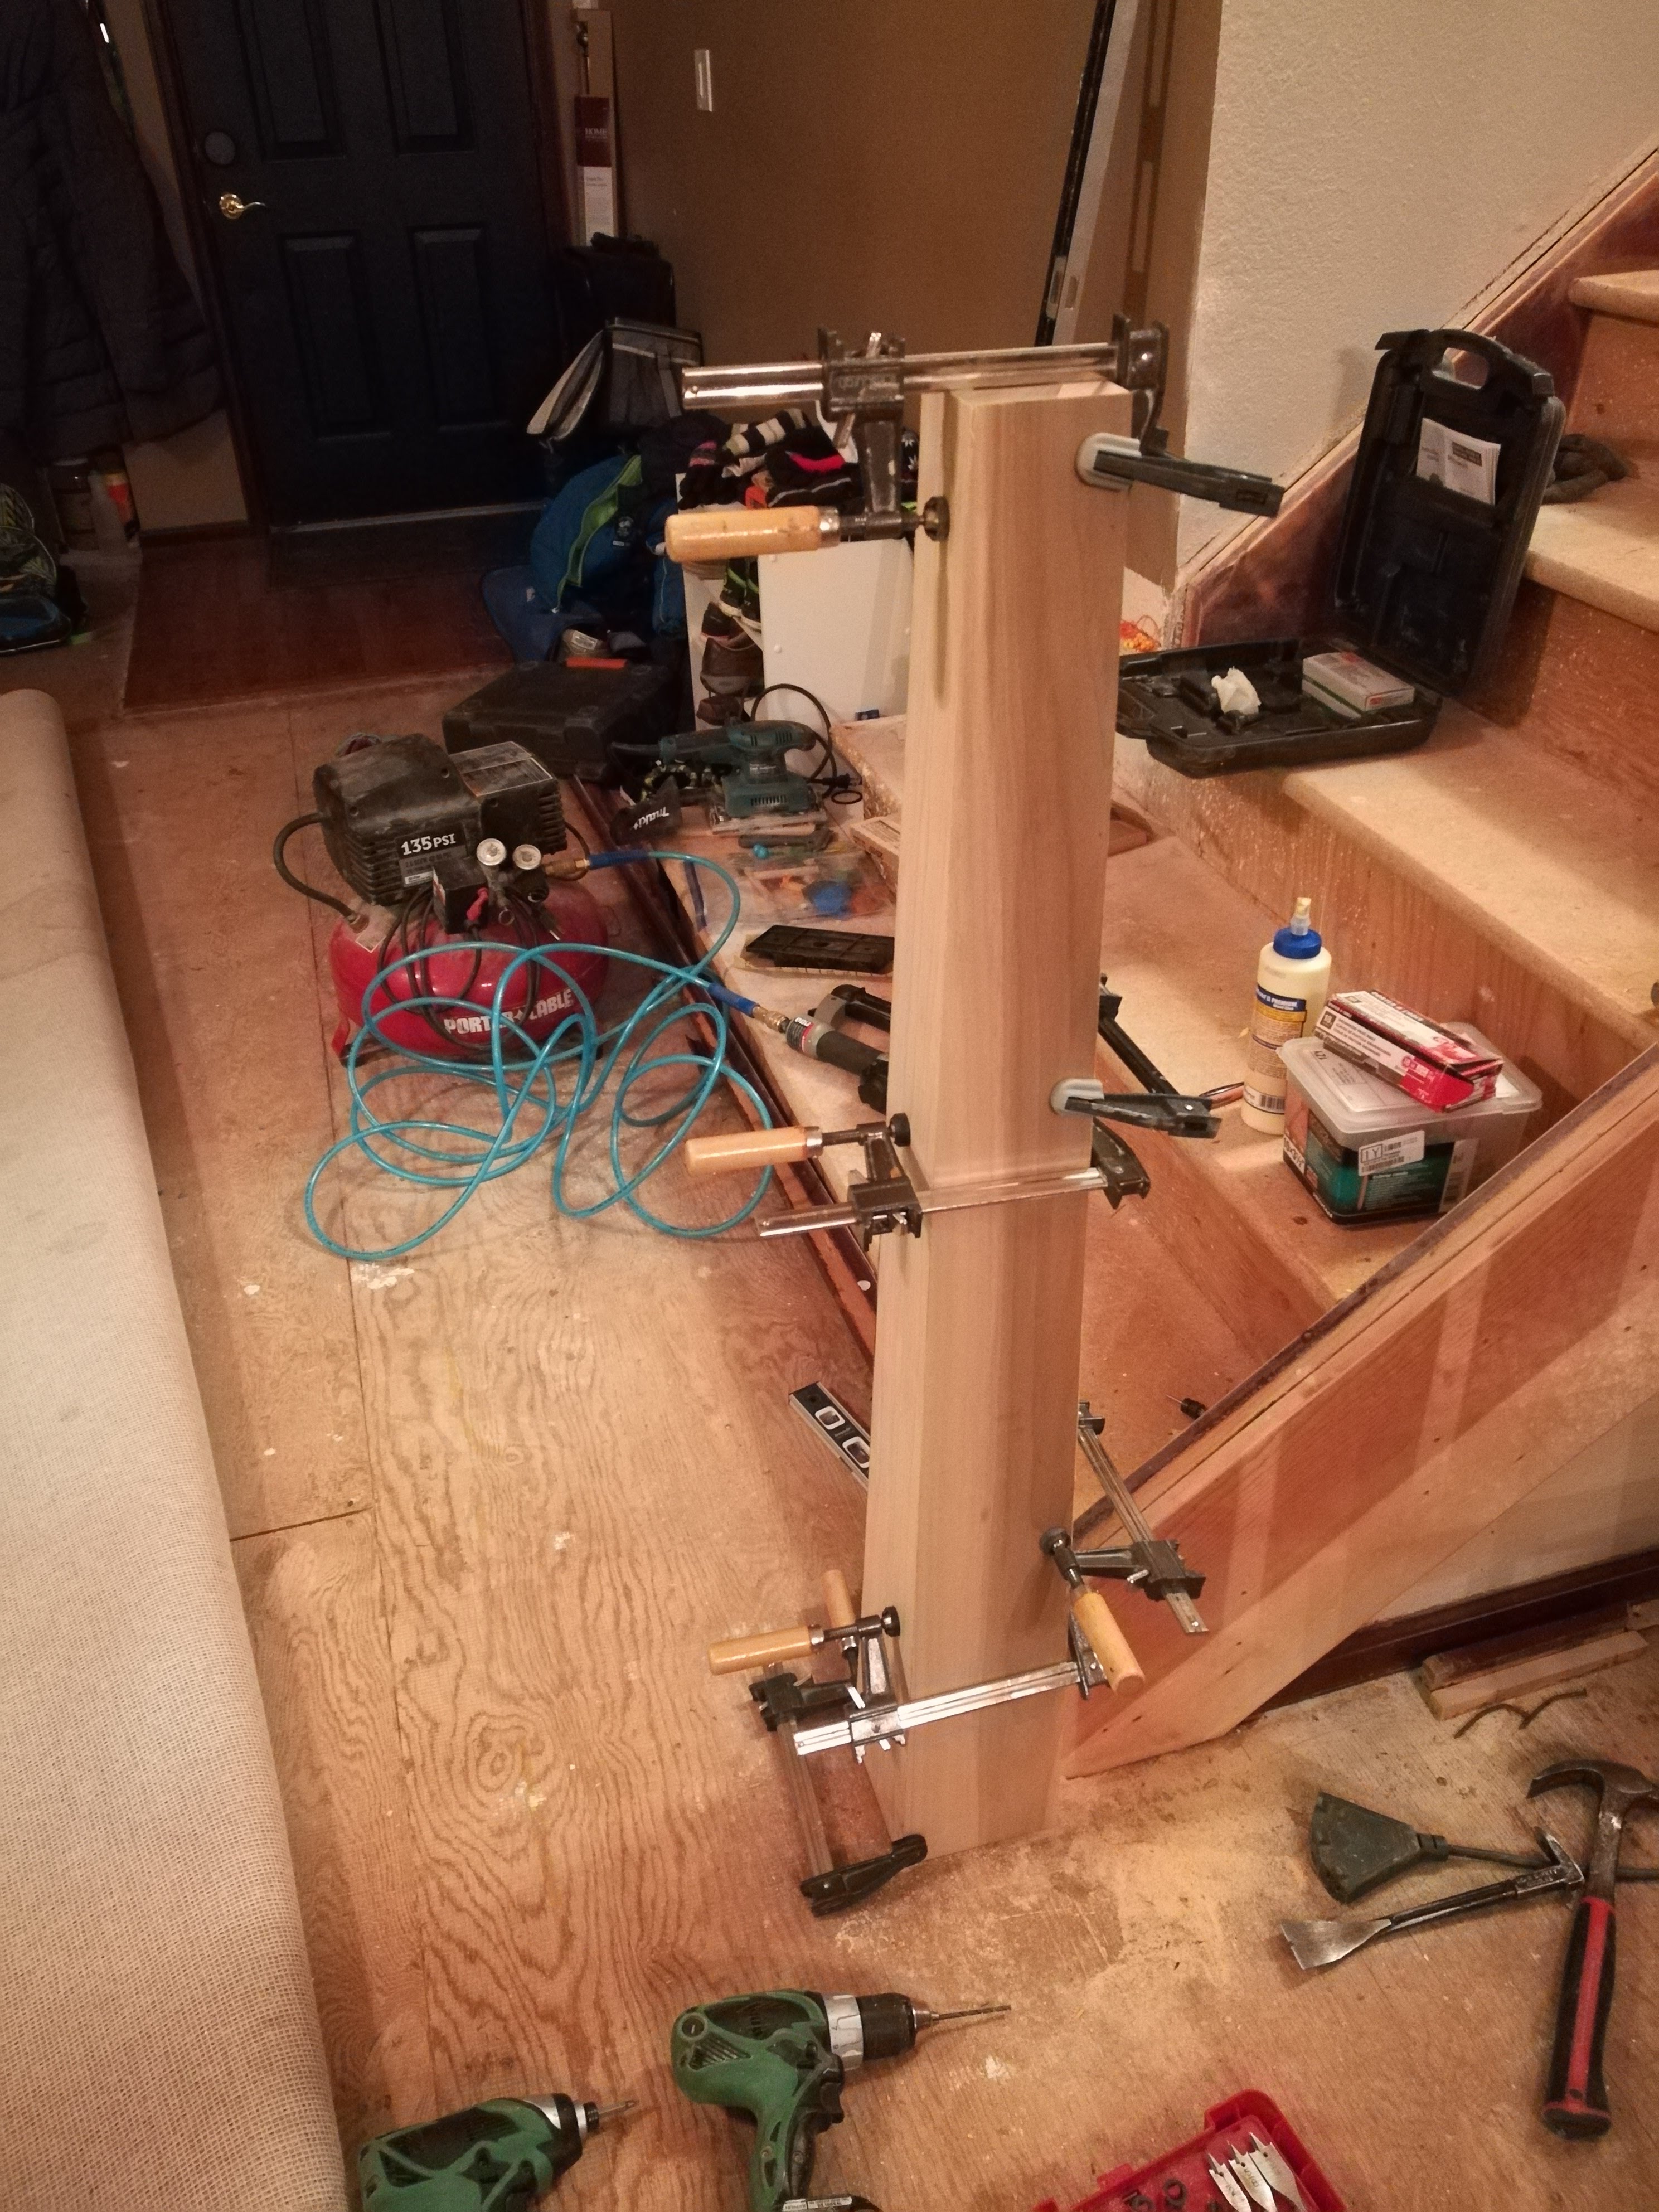
Final assembly began by gluing all four sides of the two posts together. I used some brad nails and clamps to hold it all tightly together while the glue dried.
I measured carefully, cut, and glued in place the top piece for each post. The top of the post sides were beveled during the initial cutting to match up and eliminate any seams.
Similarly, I had to cut and install a small filler piece for the bottom outside of the top newel post.
Painting
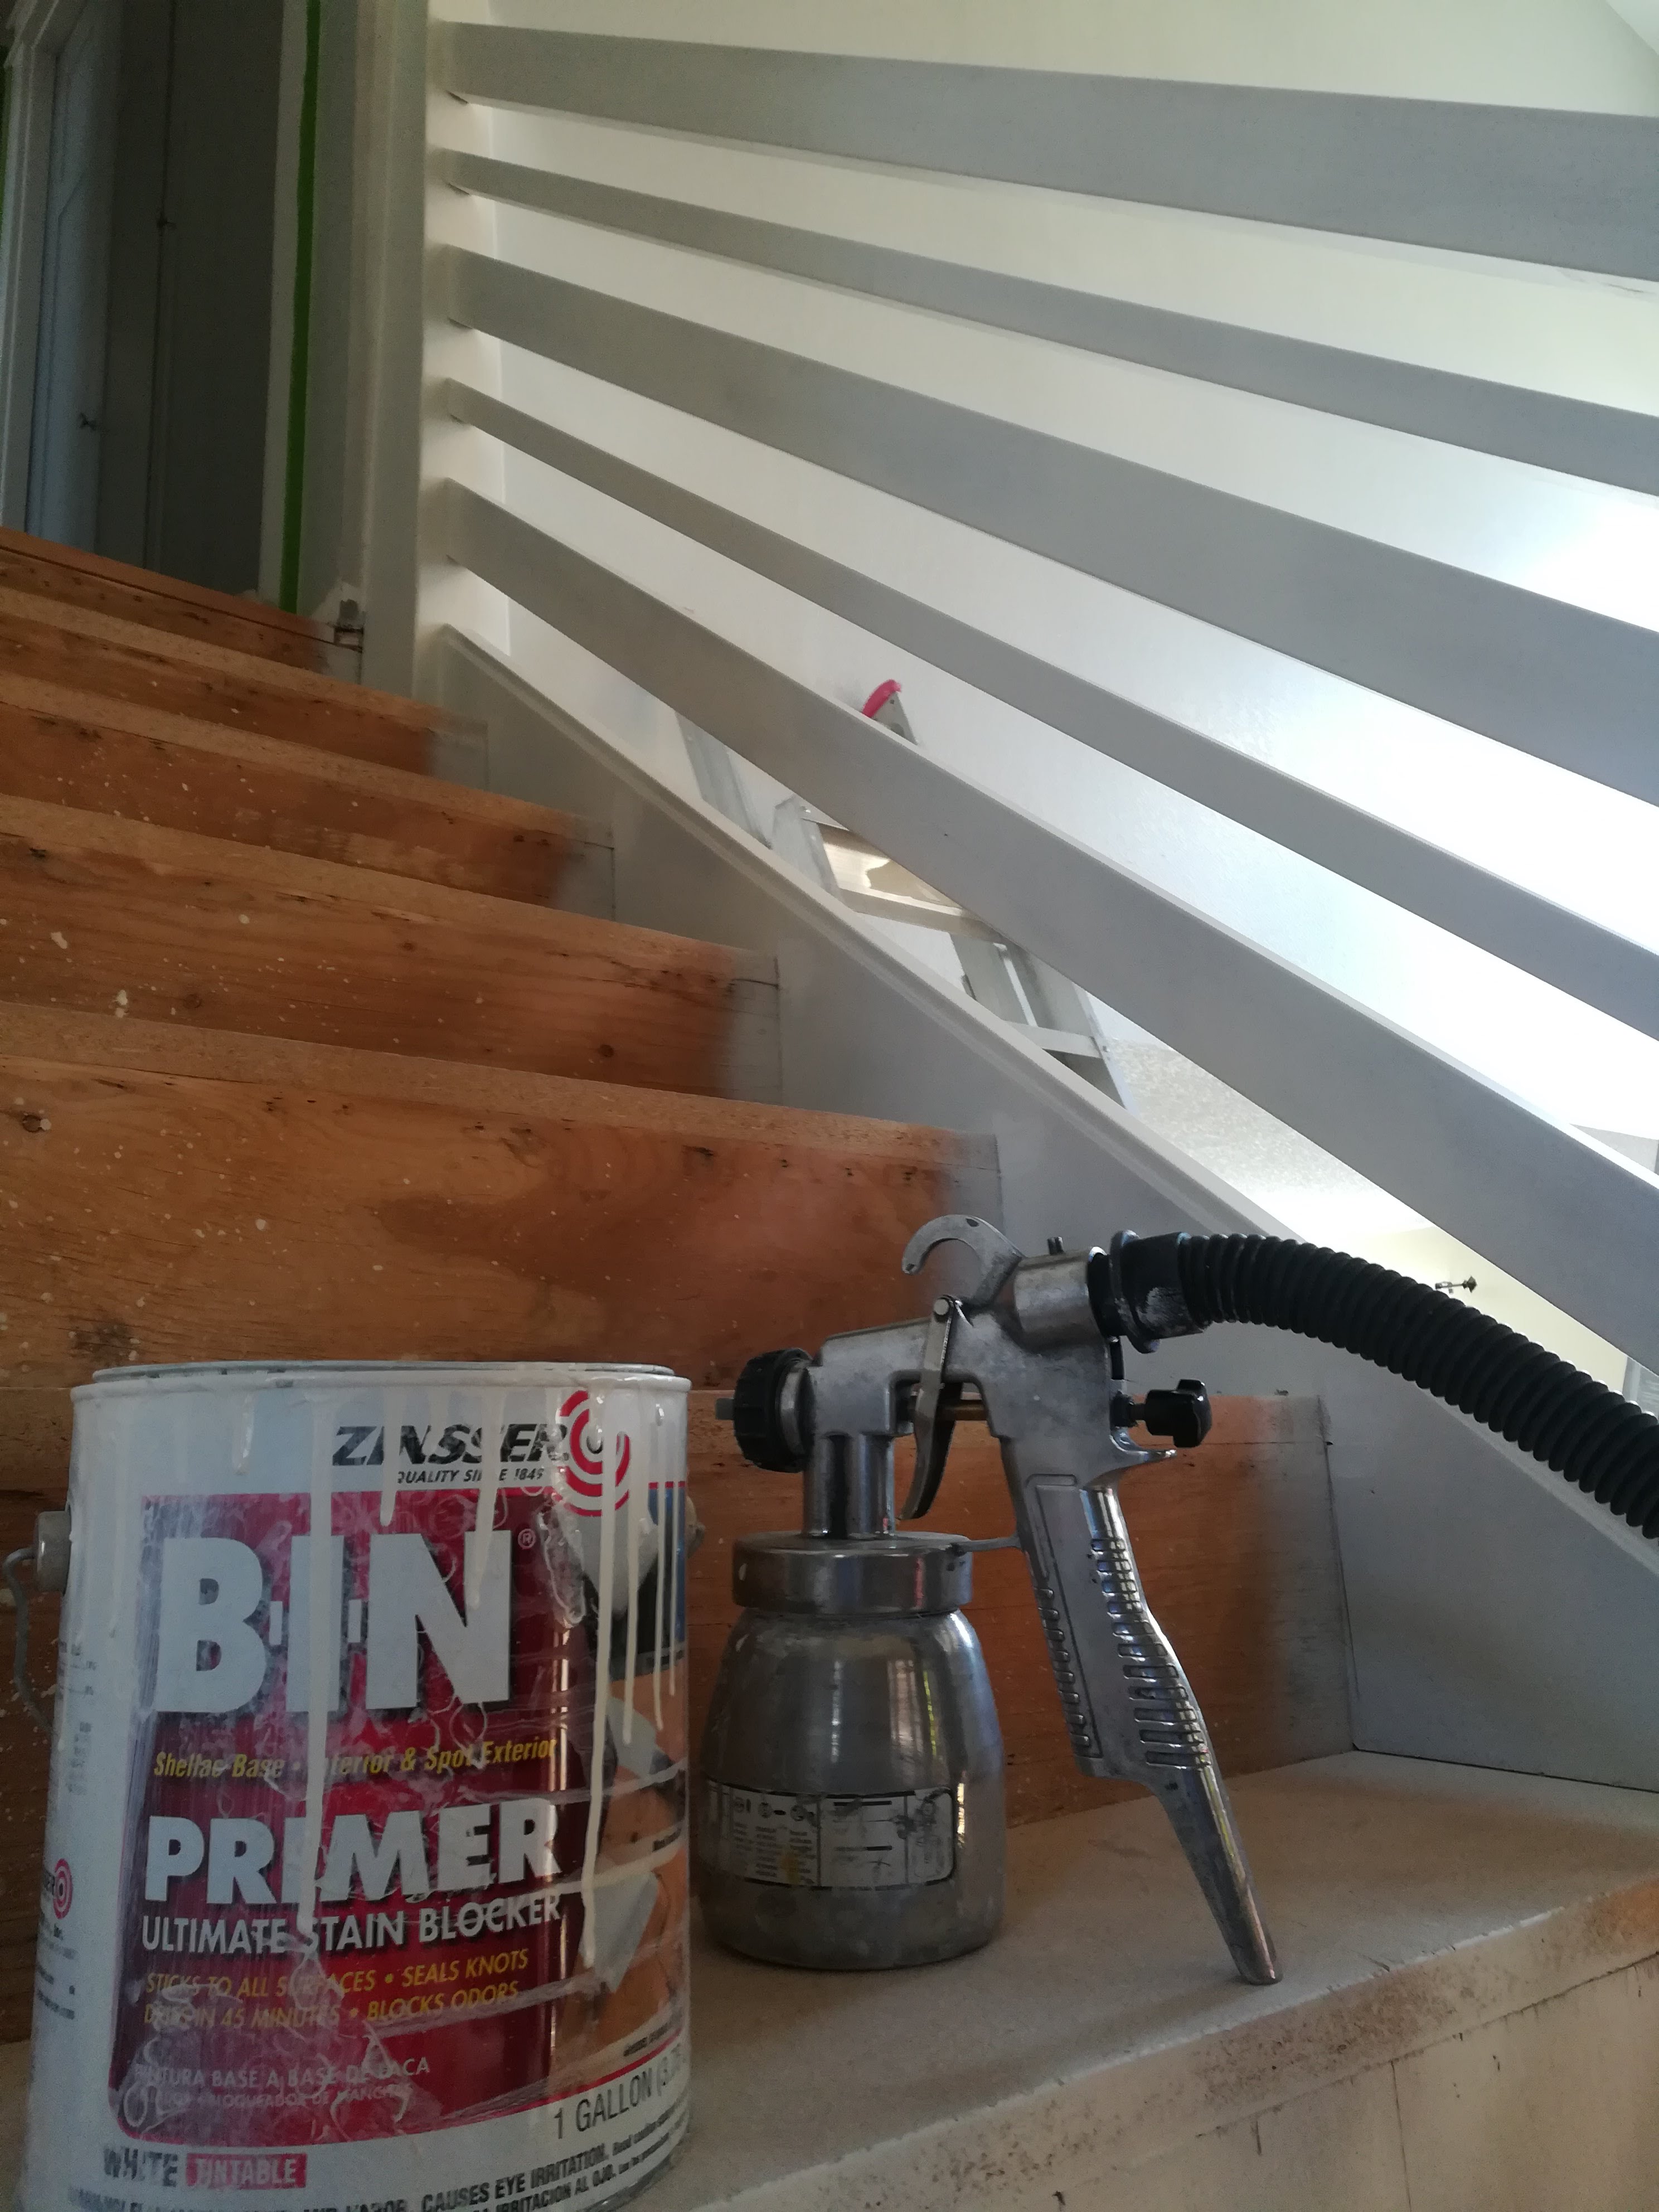
Before painting, I filled and sanded any imperfections and nail holes. I also caulked all the seams where the railing attaches to the posts and the posts attach to the stairs and wall. These preparations are the key to a beautiful painted finish.
I broke out my trusty HVLP sprayer to prime and paint. I love the speed and smoothness of a sprayed finish. You do have to protect the areas around the project to prevent overspray from getting all over, but I wasn’t overly concerned. One of the reasons I did this project now is that the stairs and surrounding area still were unfinished, so a little overspray was not a major issue.
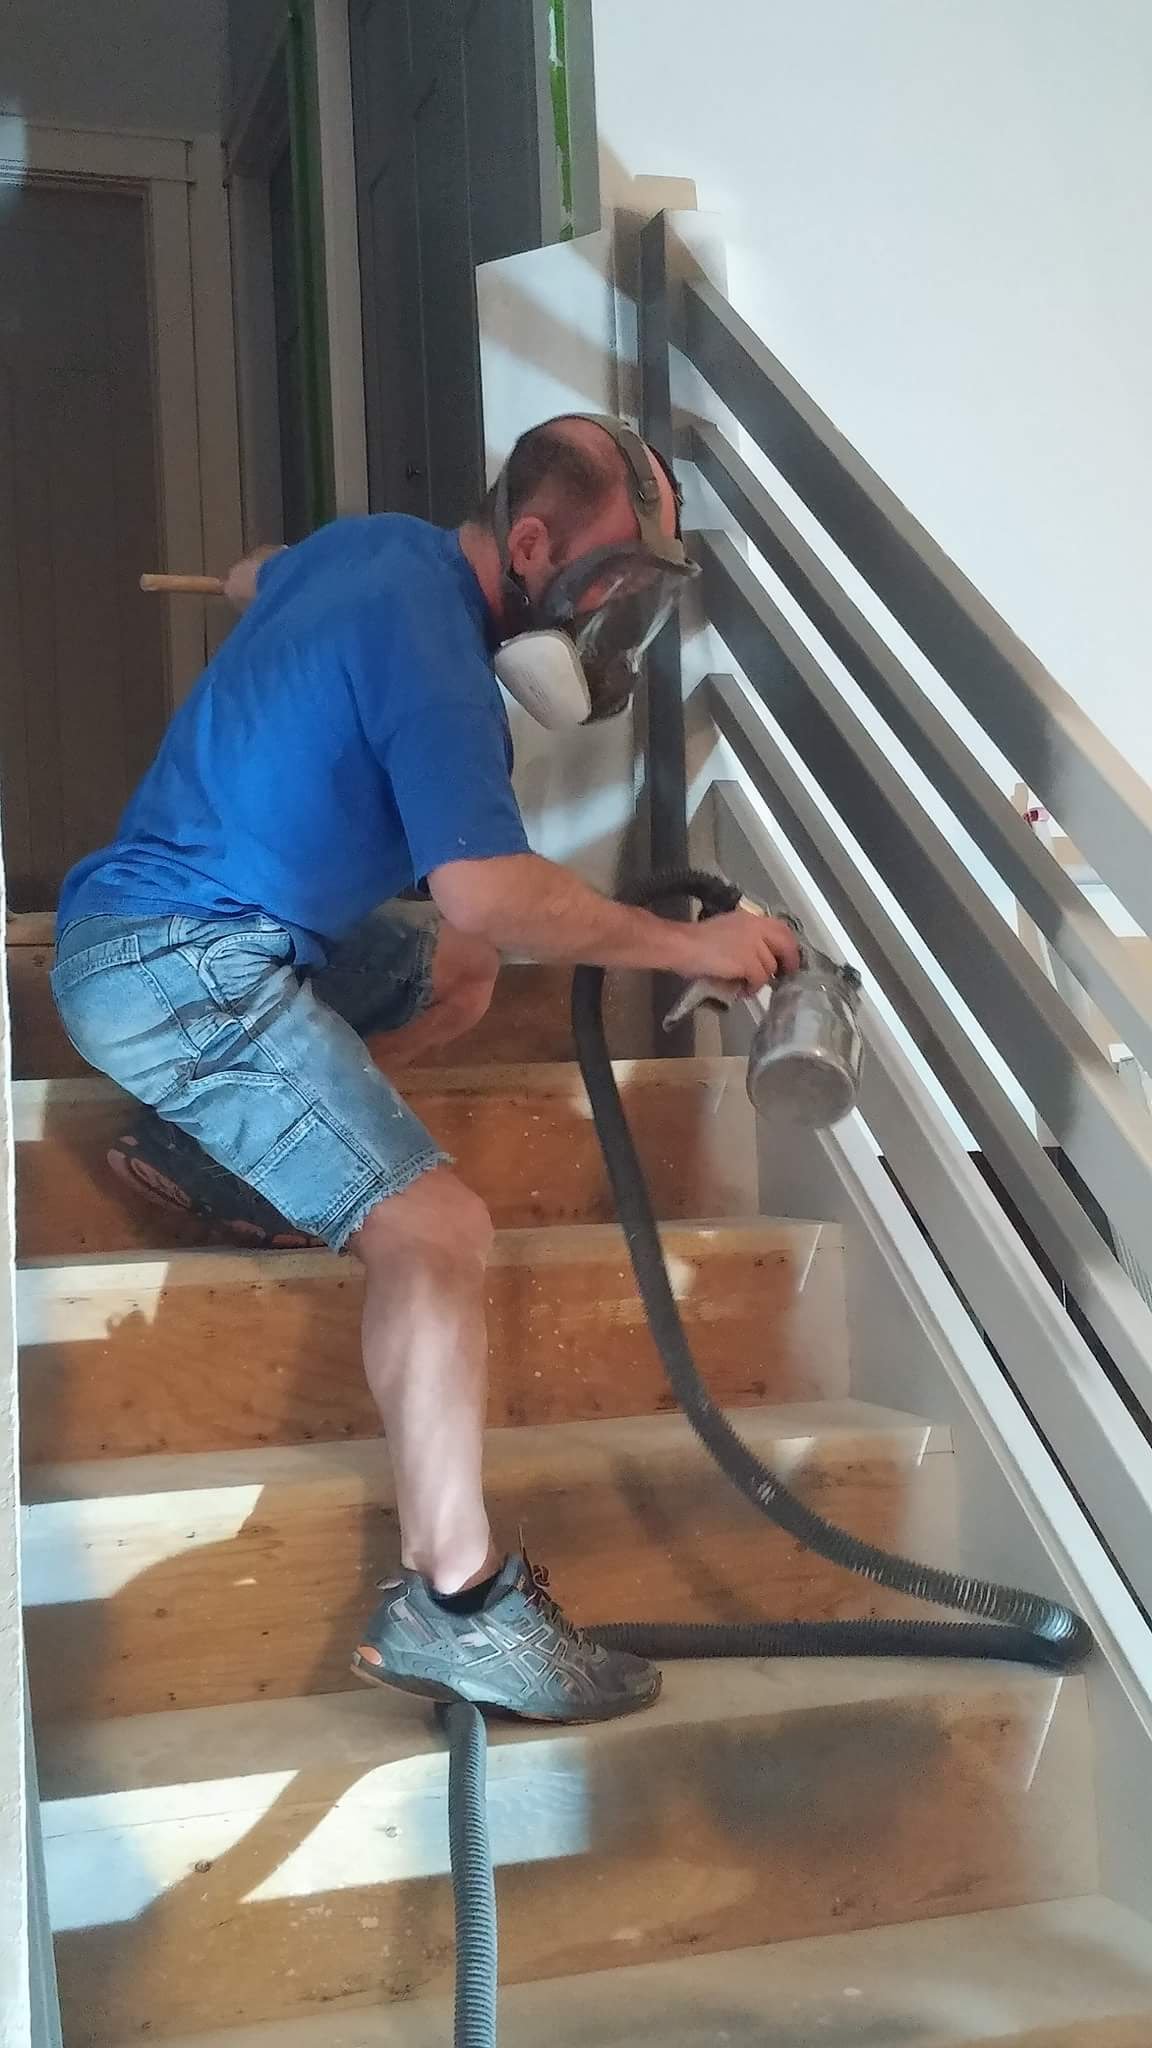
I put on two coats of Zinsser BIN Primer and followed that up with three coats of HGTV HOME by Sherwin-Williams Ovation Satin Latex in Sherwin Williams 7019 Gauntlet Gray color. A light sanding between each coat helped to knock down any high spots or raised grain fibers.
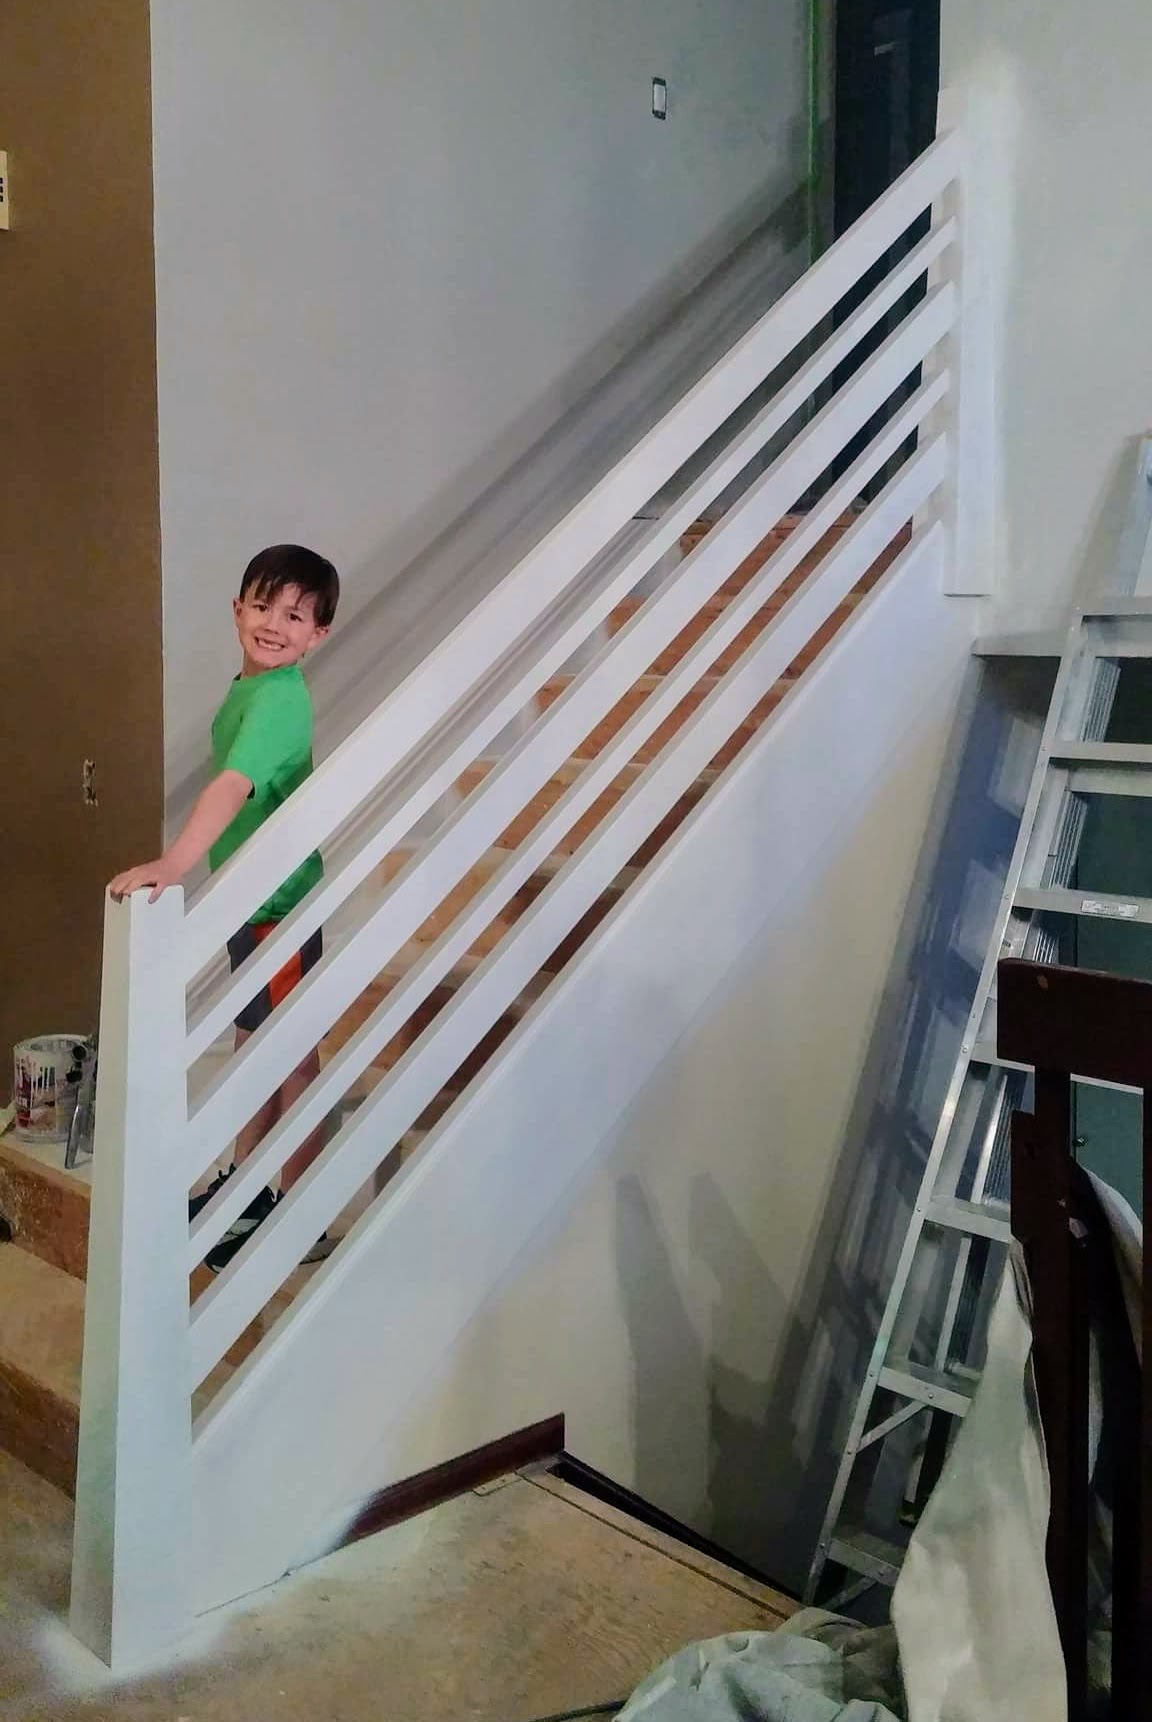
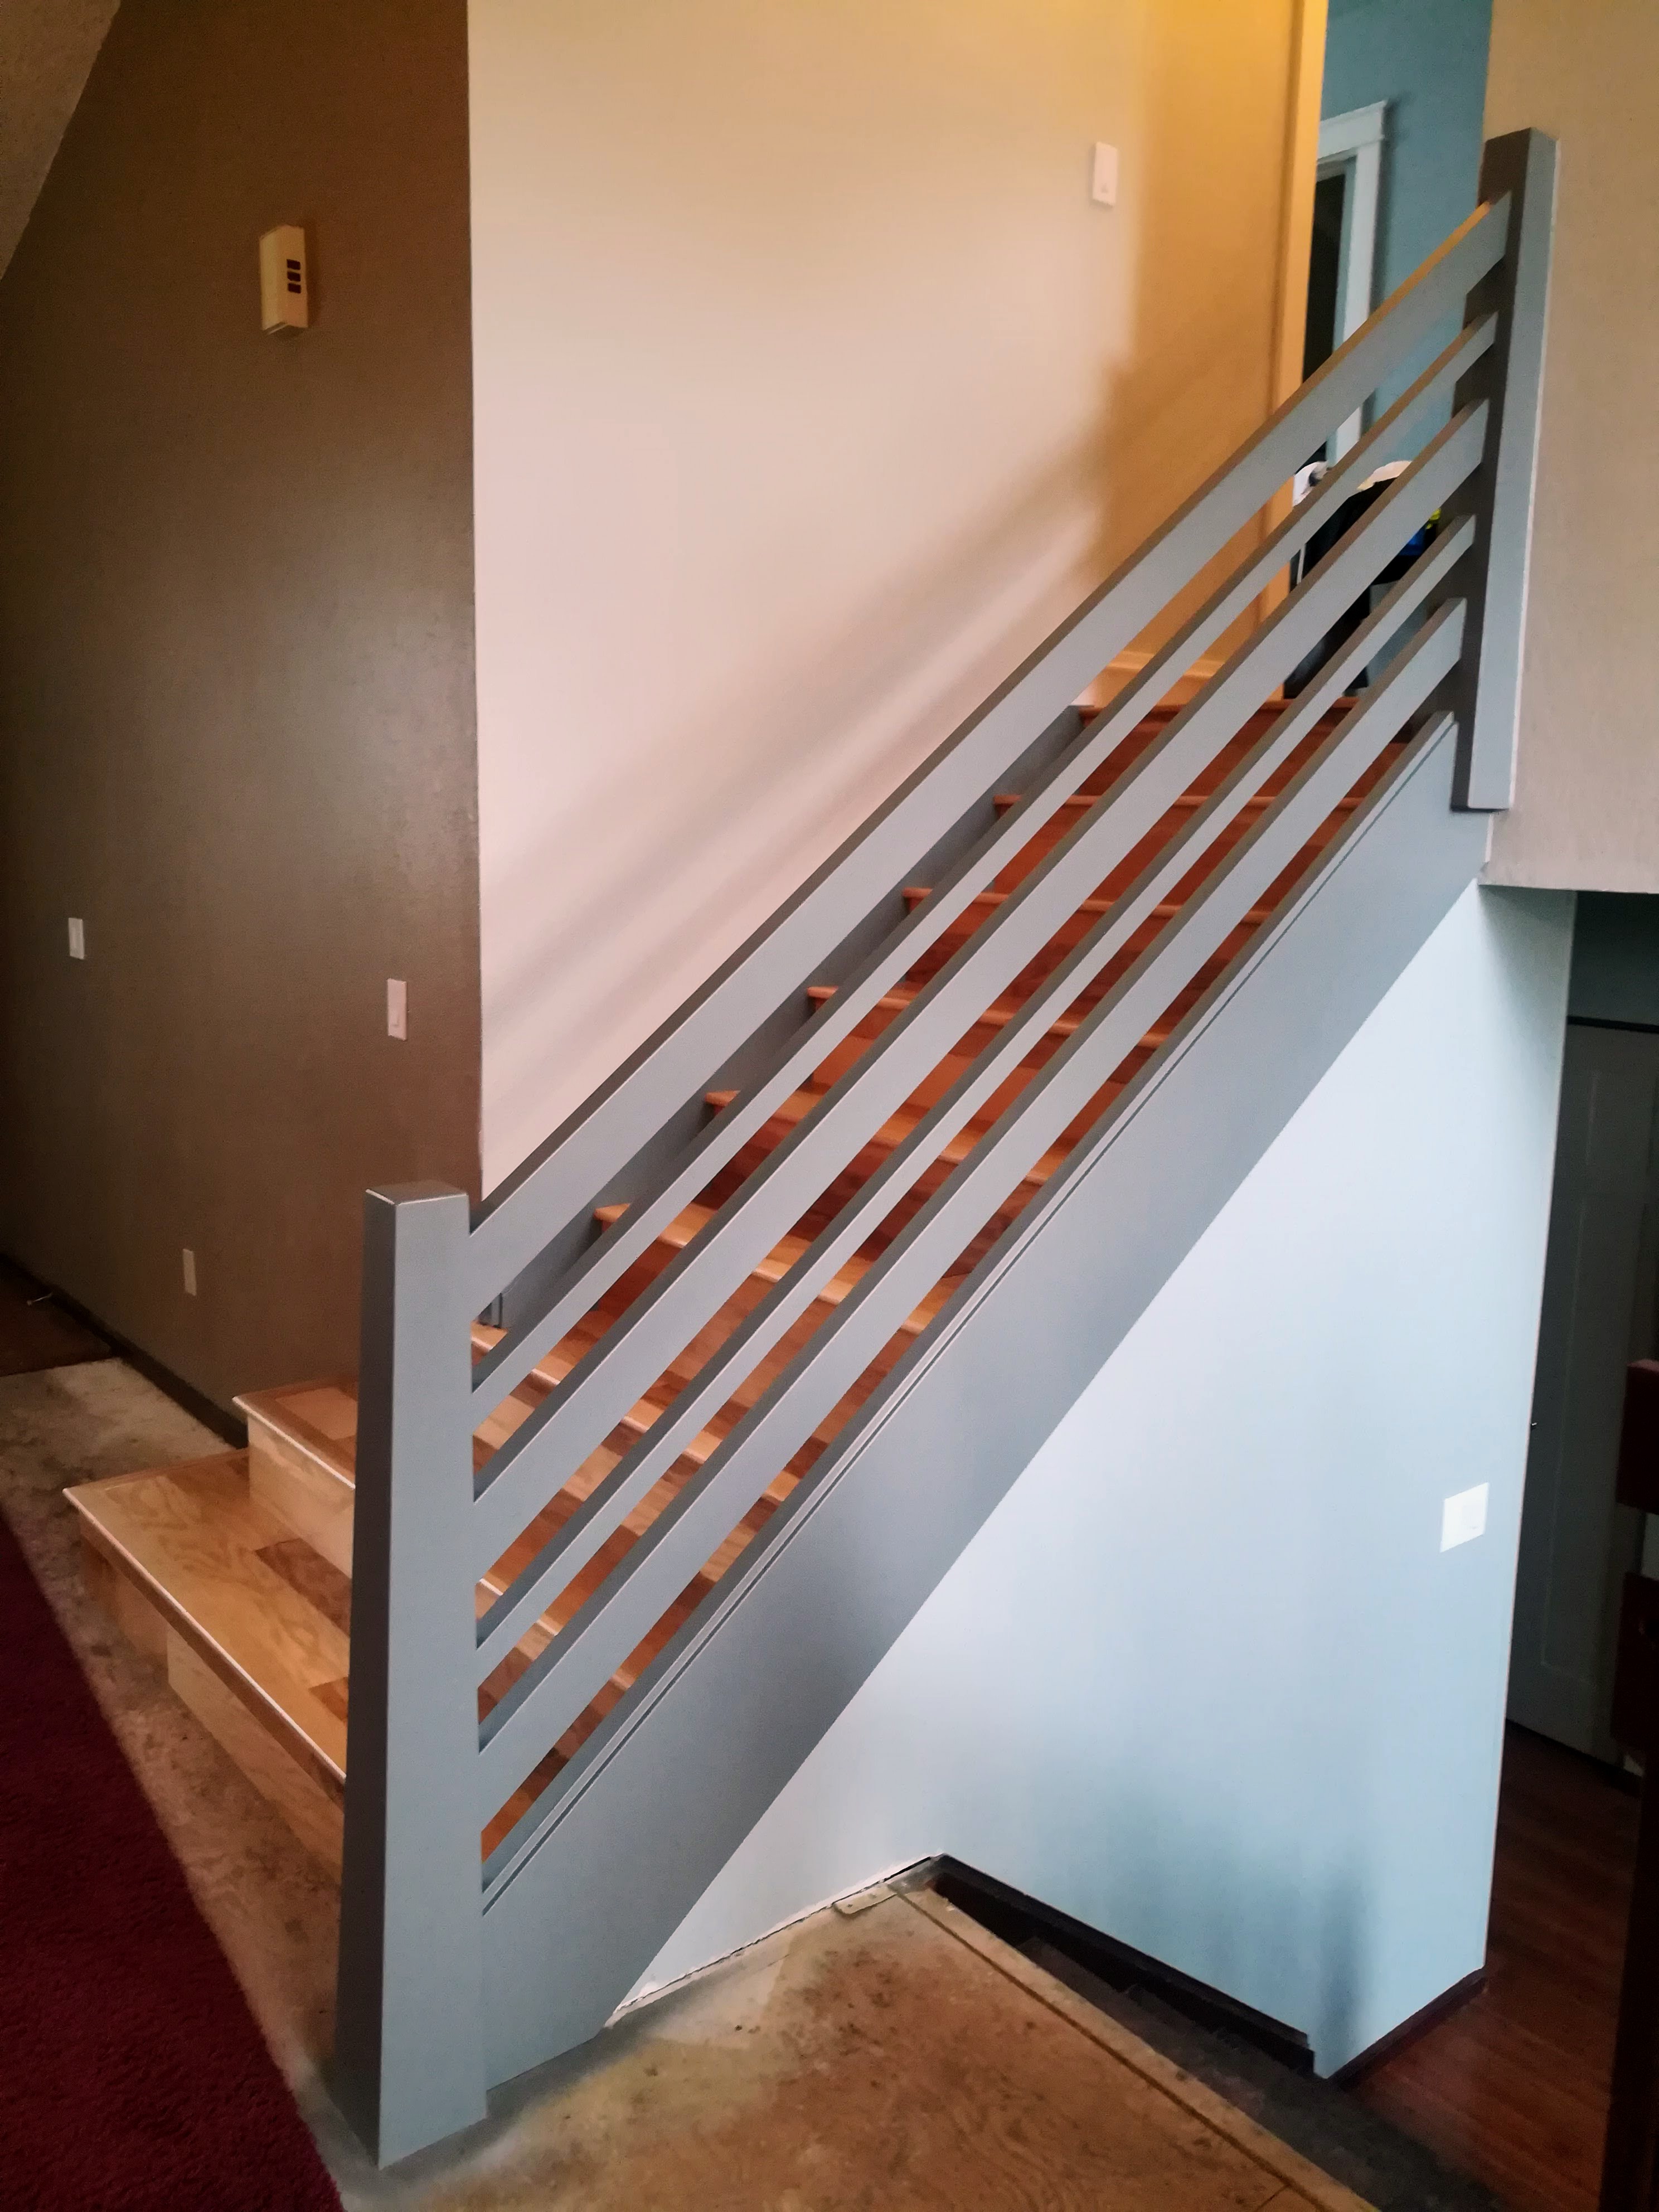
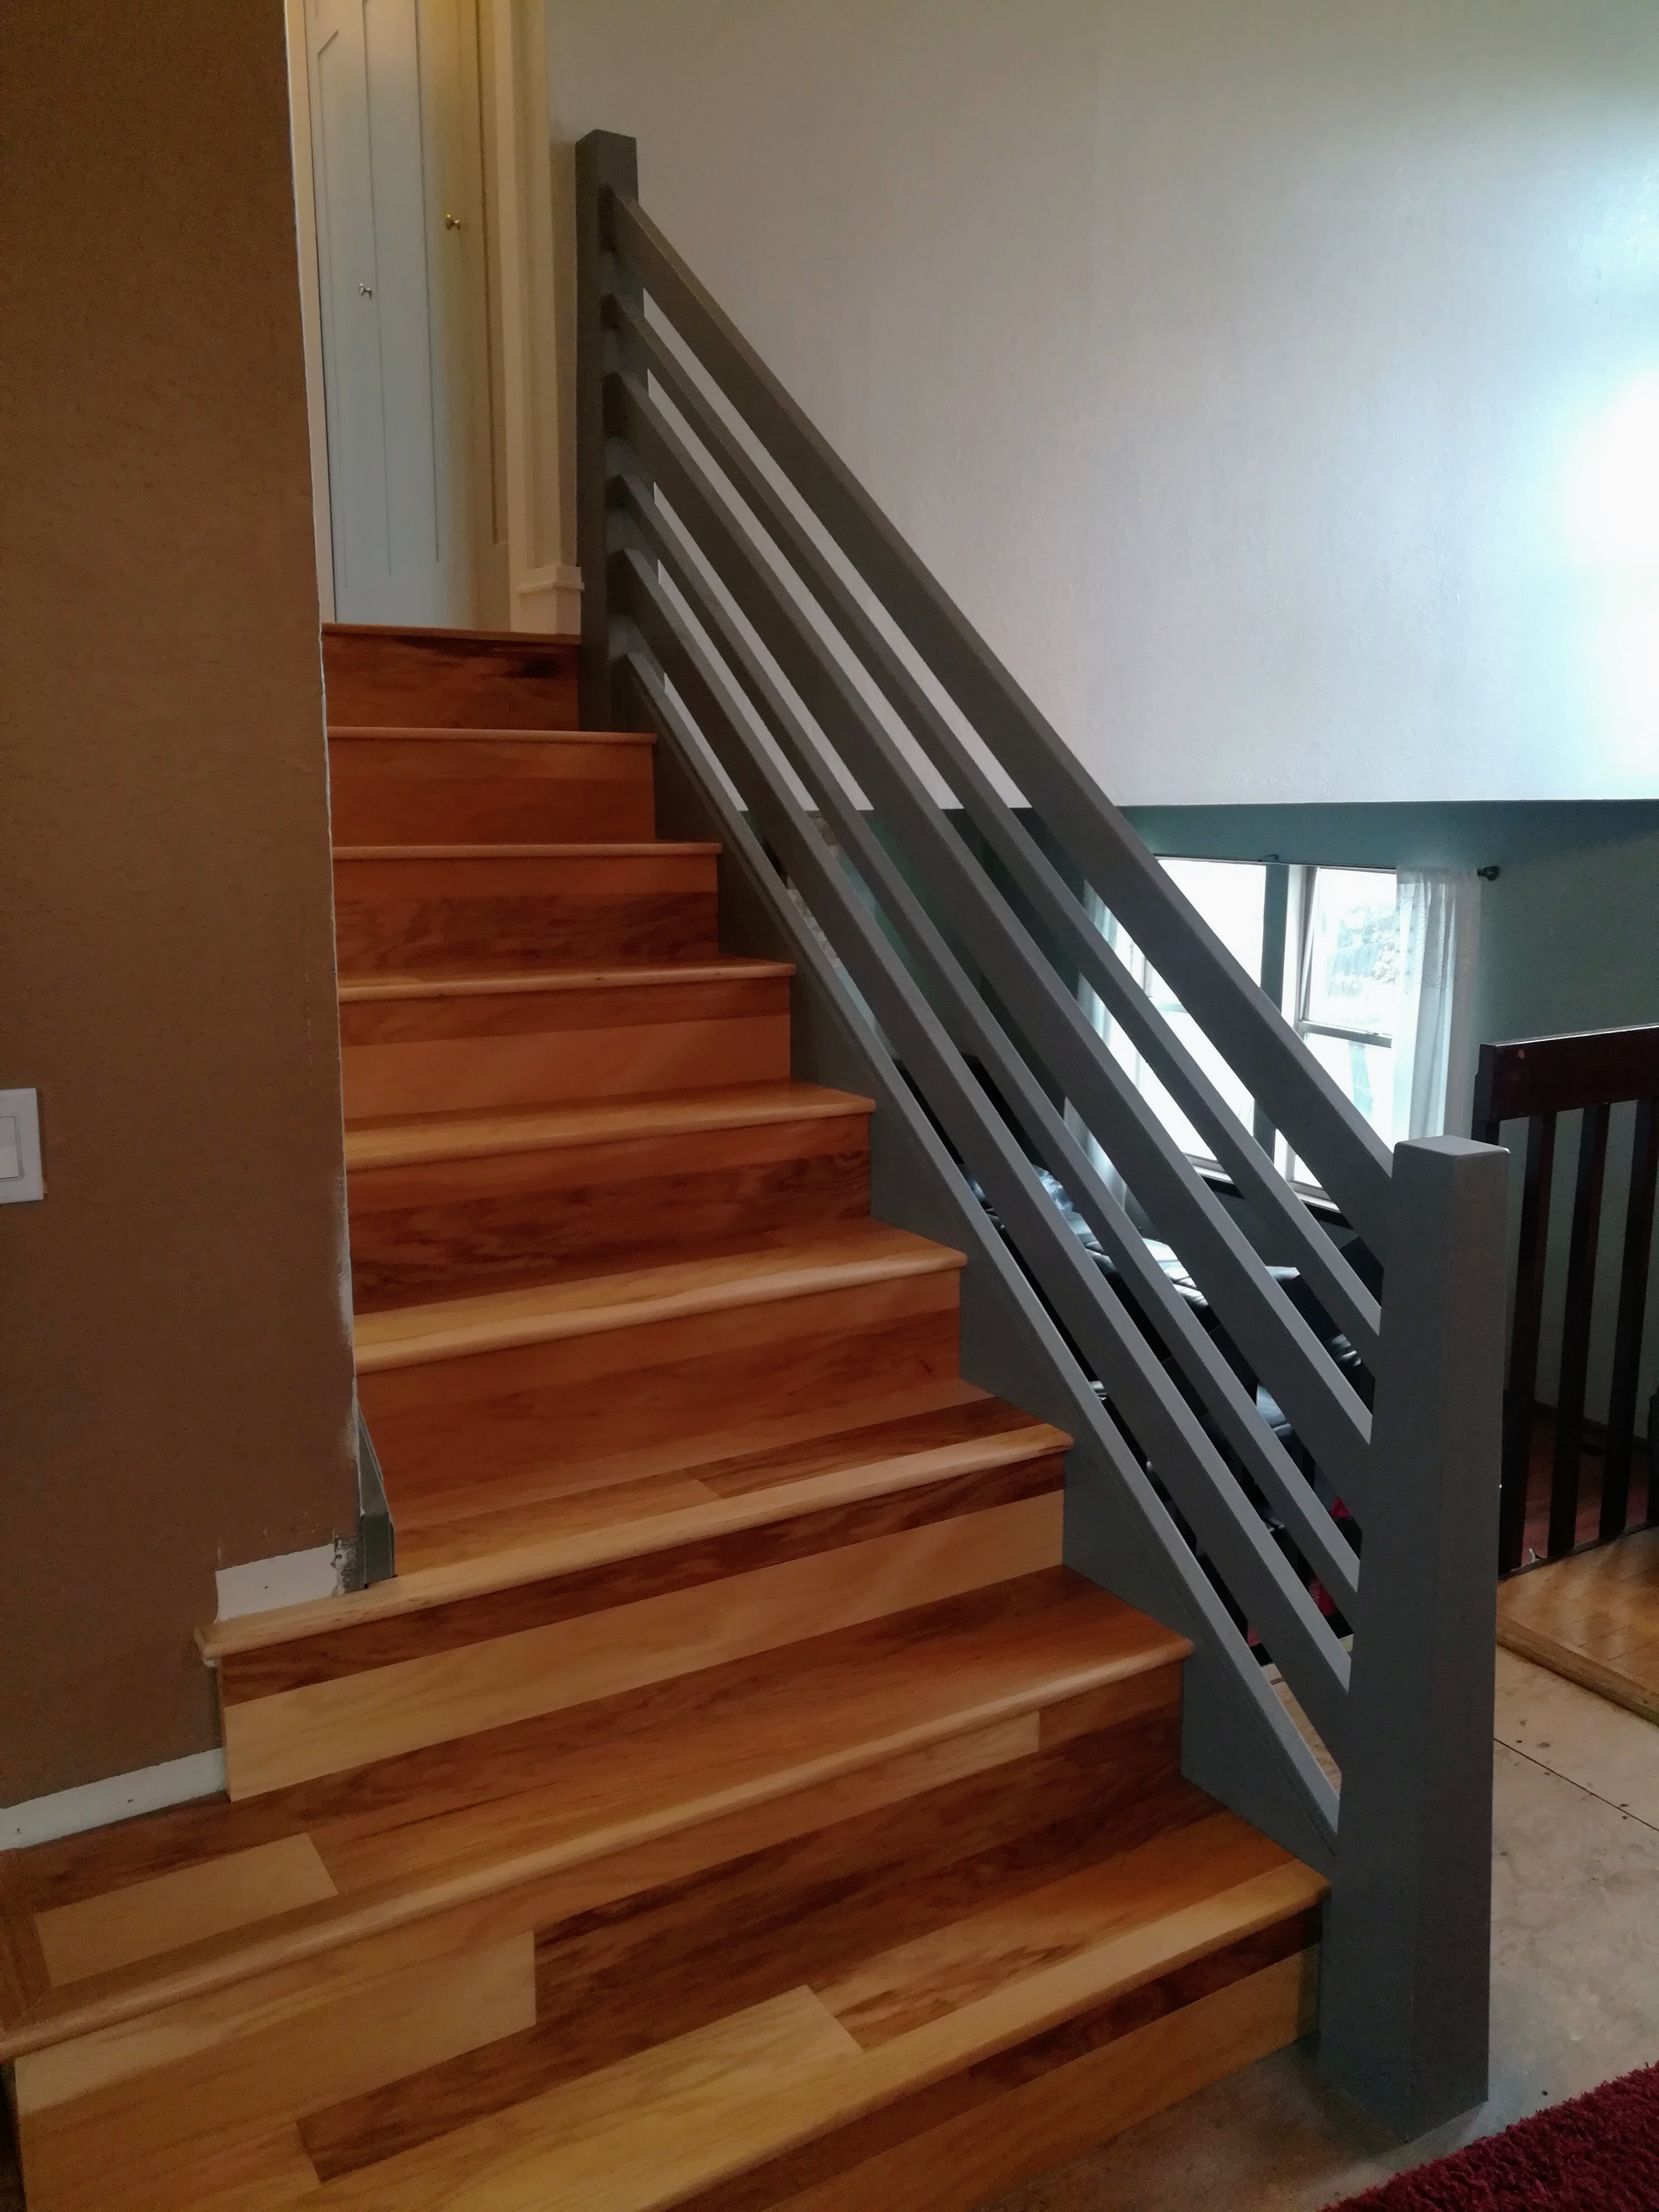
Wow… What an Improvement!
Leslie and I agree… The finished railing is a huge improvement over that 80’s eyesore that we had before. I’ve since finished installing the hickory flooring on the stair treads too. Progress.
 |
 |
Till next time…
Looks great.