
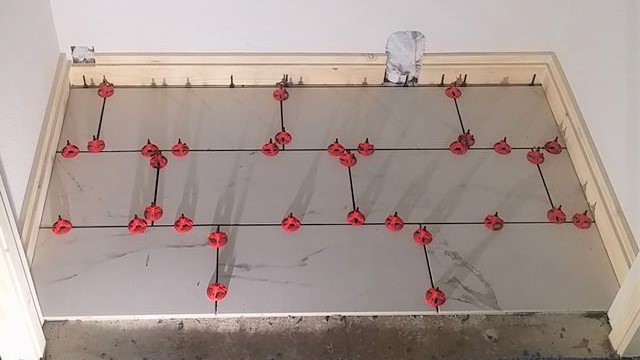
While I can’t speak for every tile leveling system, I can say for certain that the Spin Doctor Tile Leveling System is awesome! I used it on my two most recent tiling projects. It makes the job easier, guarantees even spacing, and forces every tile height to match up with the adjacent tiles.
Some people also refer to this as a tile lippage prevention system. Lippage is just unevenness between two adjacent tiles.
Just so everyone knows… I did not get paid a penny for this endorsement and I bought this system with my own hard-earned money. This is just my opinion.
Amazon Links
The System
The Spin Doctor Tile Leveling System has two basic parts and one optional part.
Screw Caps
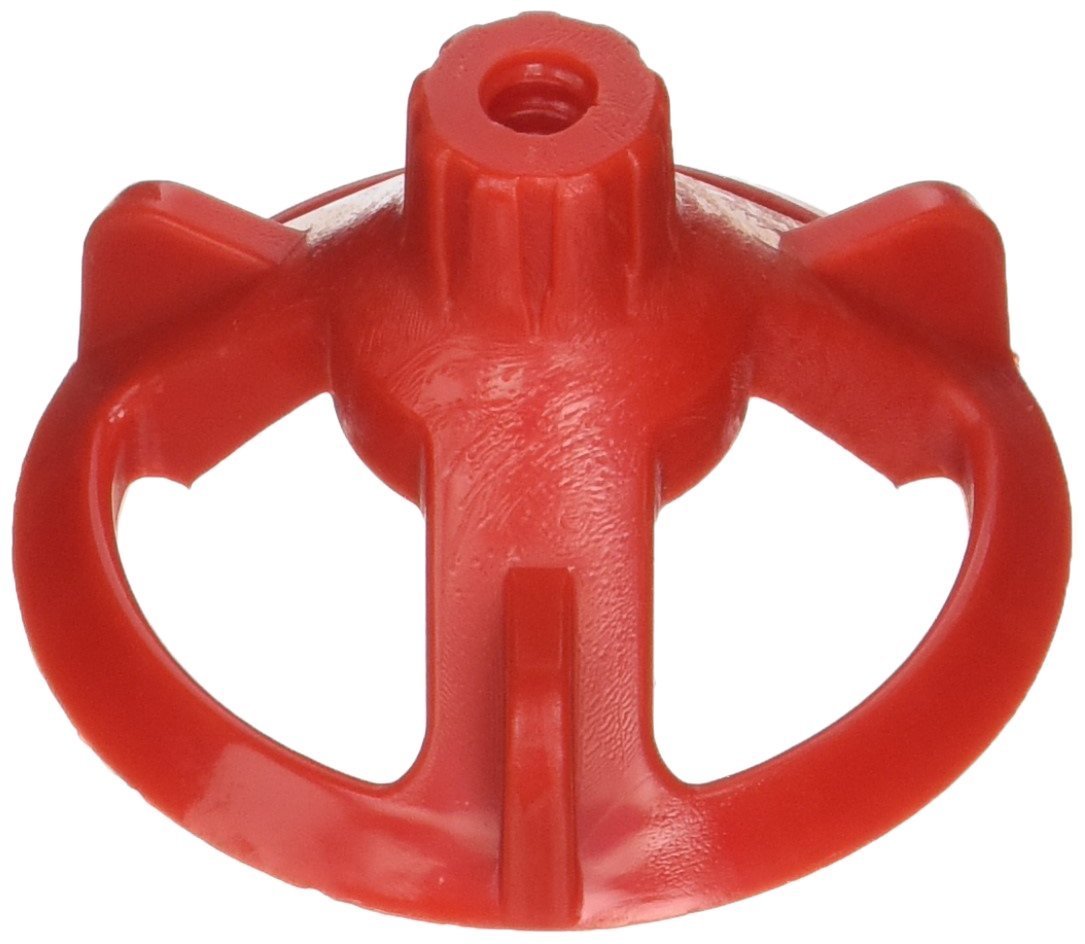
The screw caps are how you tighten down the spacers between two tiles and force them to be level. They are reusable for many projects. I love that you can easily tighten them by hand. No special tools are required.
$25 for a box of 100 caps. I bought two, but I’ve only ever used one box. I can’t lay tile fast enough to use more than that in a day and you can just reuse them again the next day, after the mortar has set.
Spacers
![]()
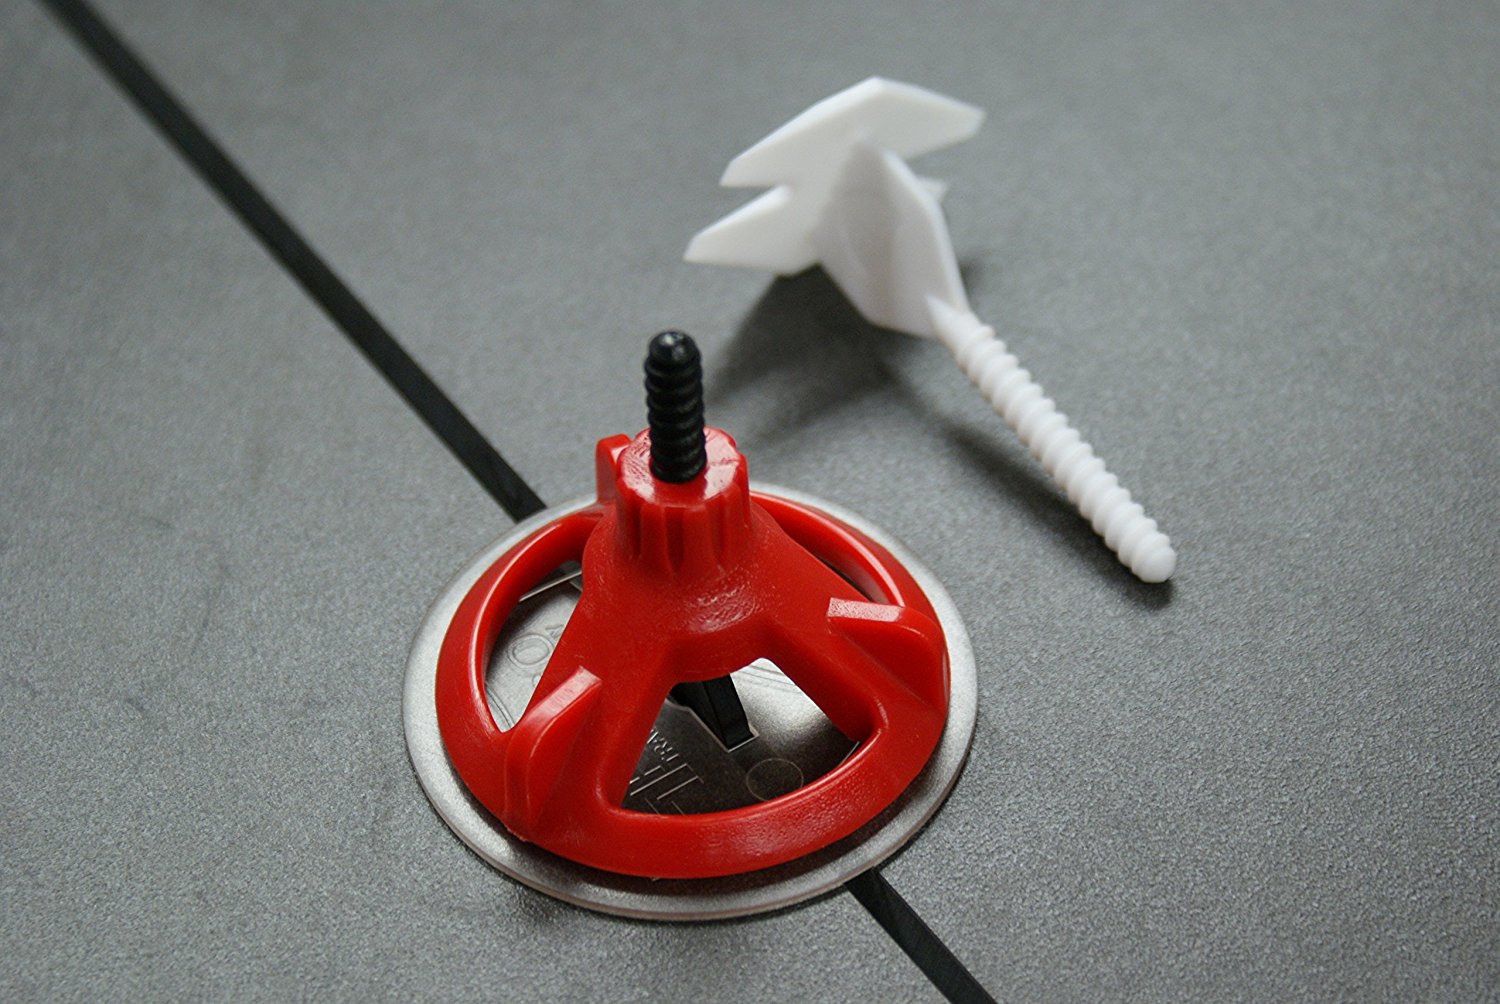
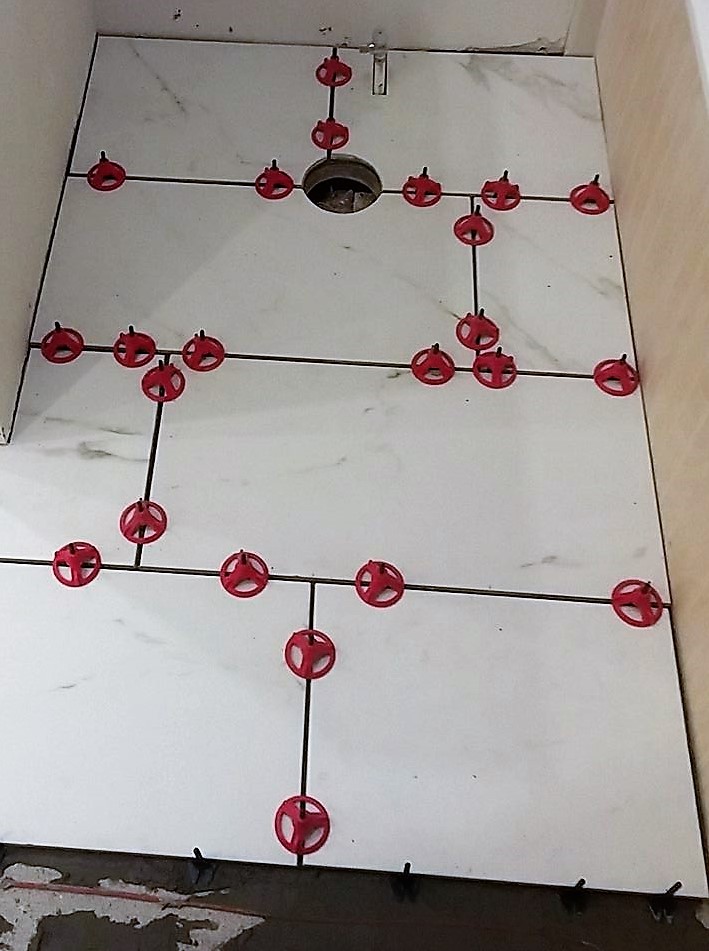
The tile spacers come in two sizes: 1/8″ and 1/16″. These are not reusable.
They are slightly different from standard spacers. They have legs on the bottom that grip underneath the tiles so you can clamp the tiles together using the spin caps. And they also have a threaded part on the top that the cap screws onto.
After the mortar has set up (I wait until the next day), you just spin the caps off and break off the piece of the spacer that is left sticking up. You can either kick them… With shoes on!… Or use a small hammer. Just make sure that you hit them in the direction of the joint… Not perpendicular to the joint… So they break off down low in the space between the two tiles.
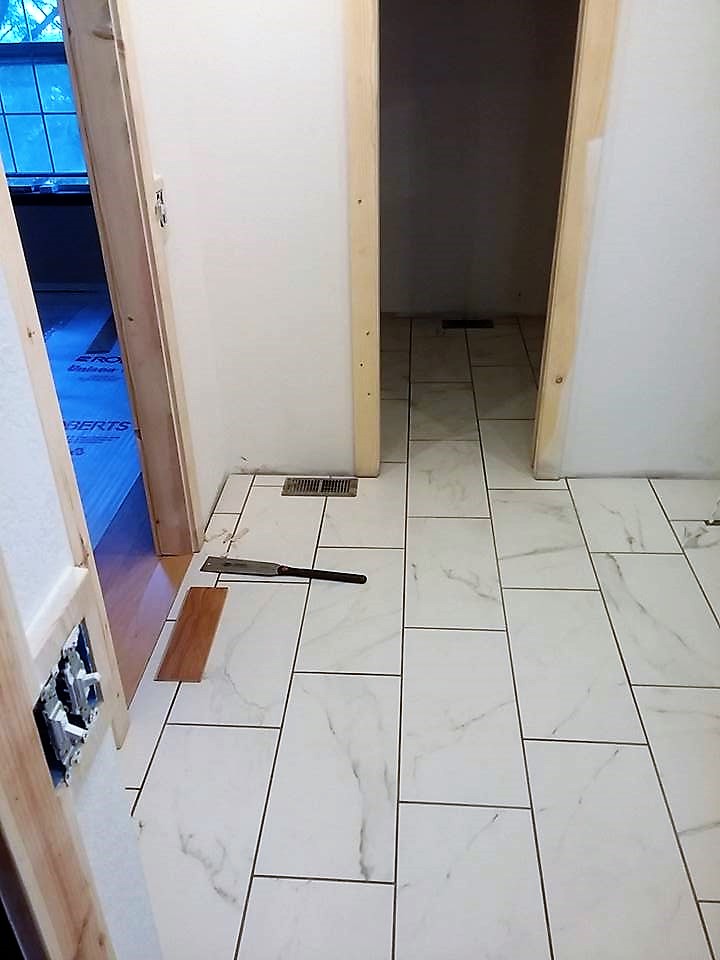
$15 for a box of 100 spacers. I used about 300 total on my bathroom, walk-in closet, and laundry closet with 12″x24″ tiles. How many you need will depend on the size of your tile and square footage though.
Anti-Friction Shields (optional)
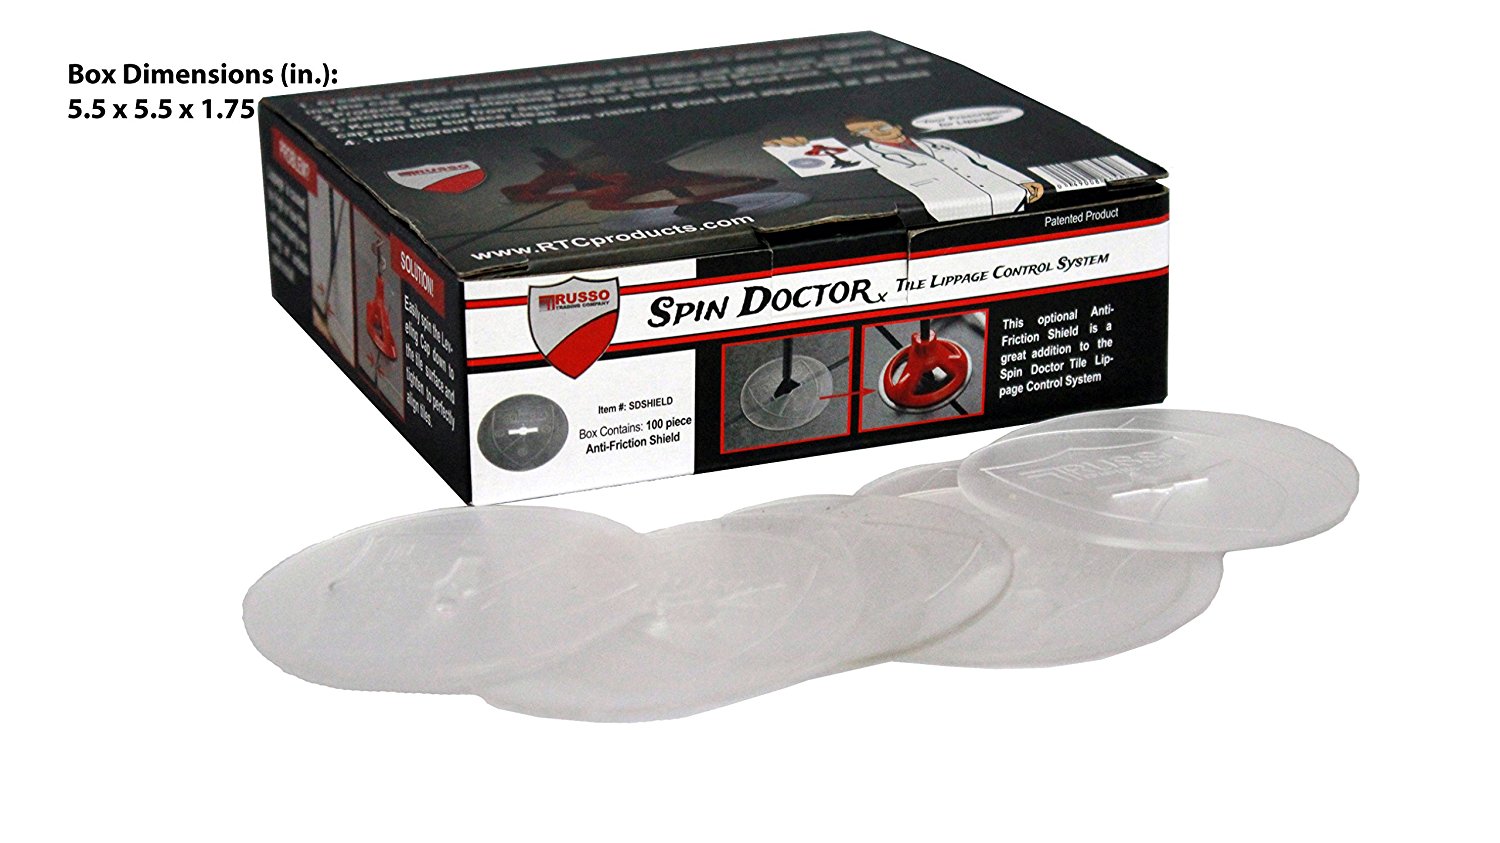
These are supposed to make it easier to tighten down the caps and prevent the tiles from moving around in the process.
I didn’t use them and I had no problems.
My Installation Tips
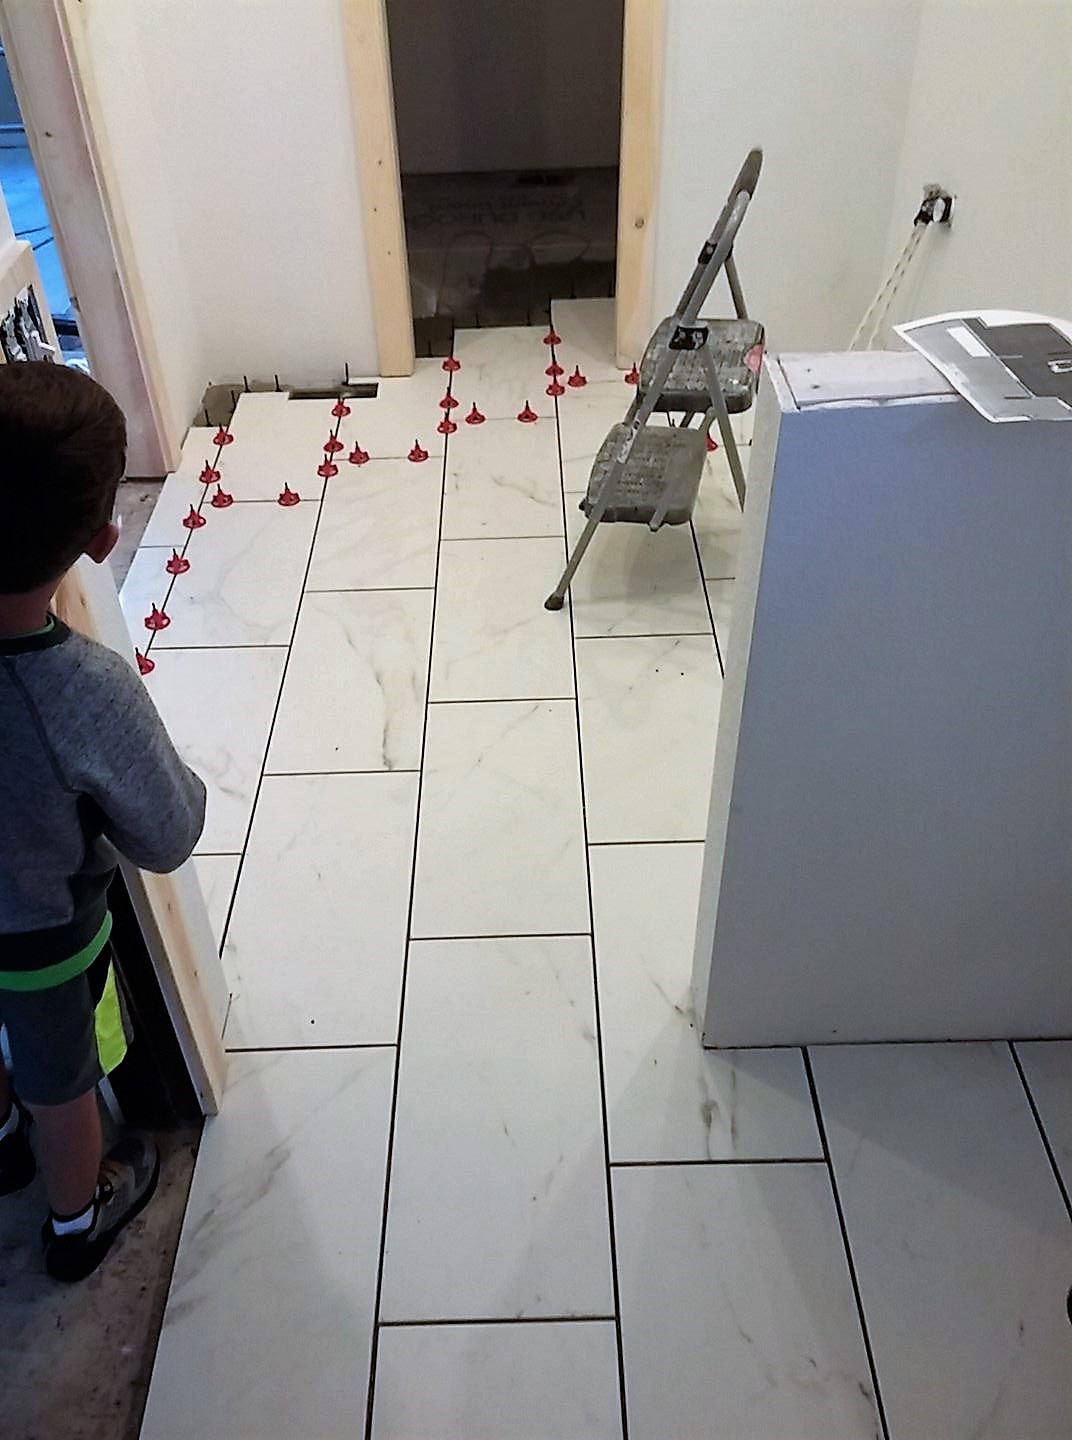
- Don’t put them too close to any walls. The spacers are difficult to break off if there isn’t enough room.
- Don’t let the mortar squeeze up between the tiles. It might make it hard to break off the spacers and it also will make the grouting difficult.
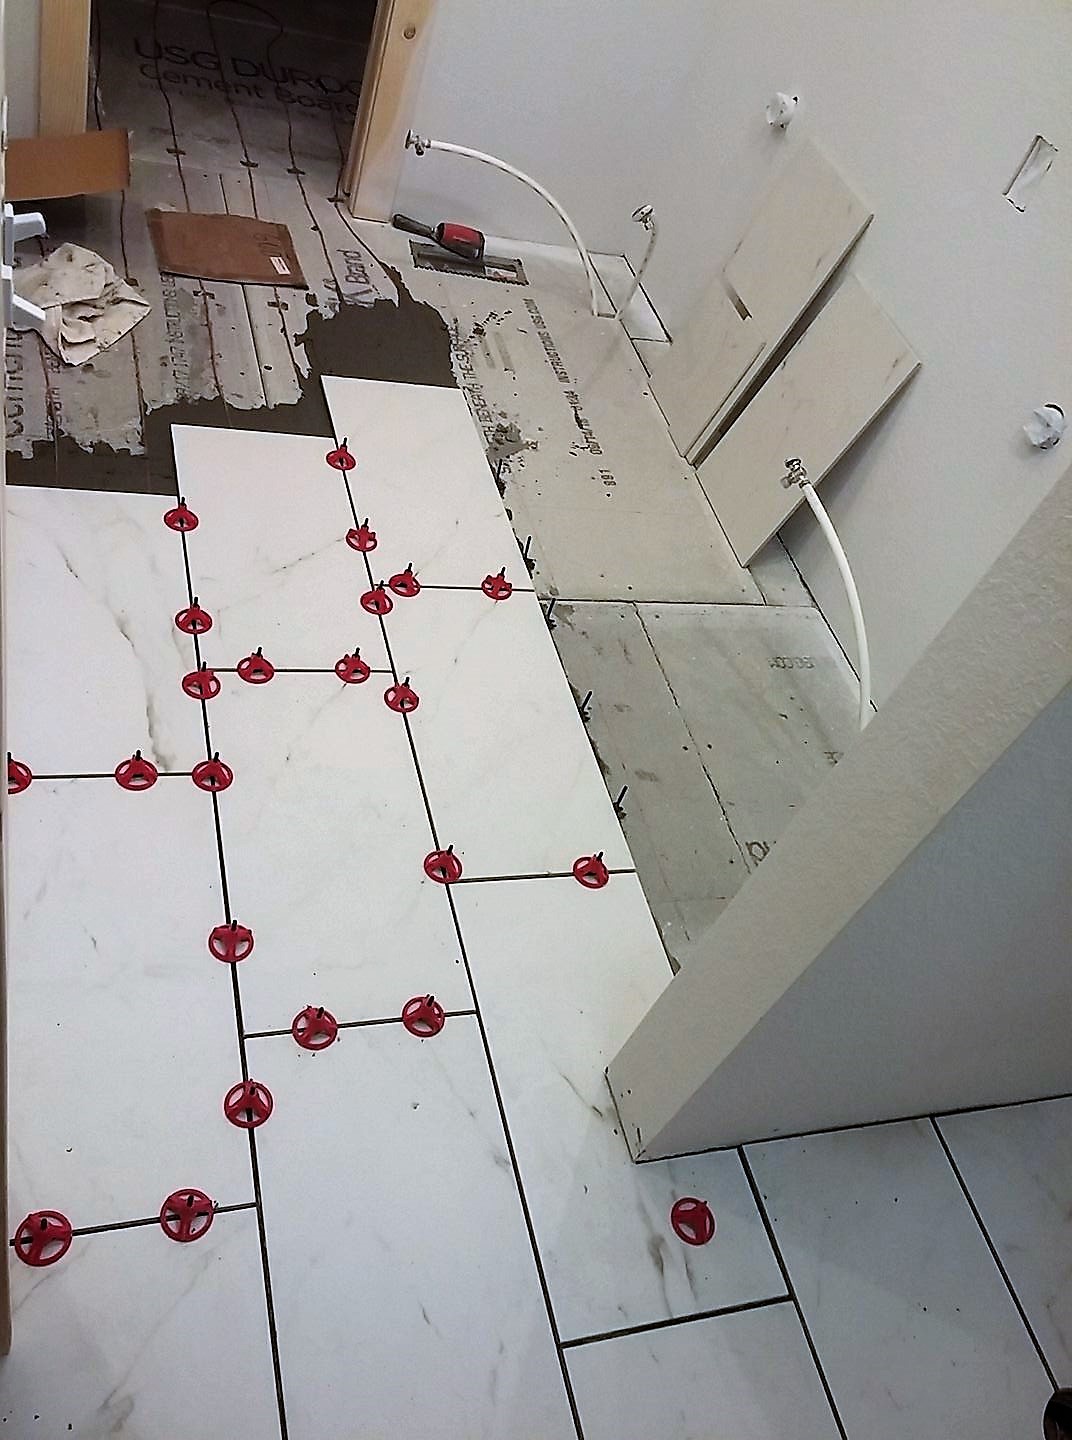
- If you stop overnight in the middle of a tiling job, make sure you put the spacers in all the way around any unfinished edges that will eventually mate up to other tiles. Once the mortar cures, you can’t get them in.
- Be patient. A DIY tiling job takes time. It might seem like it is taking forever, but don’t forget how long you will have to admire the finished project after you are done!
My Verdict
I doubt I’ll ever do a tile job without these now. They make the entire tiling process much more fool-proof for us DIYers that don’t install tile very often. I love how they solve a number of challenging tiling issues all at once: even spacing, even height, and locks them in place until the mortar sets. Try them out on your next tiling job!
Till next time…